How to install Neva solar powered LED post lights
Installing your Neva solar powered LED post lights
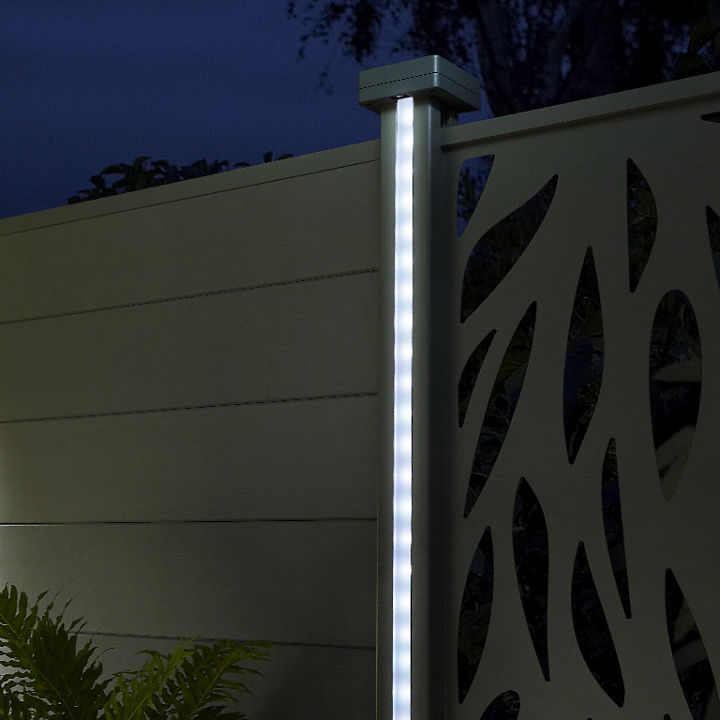
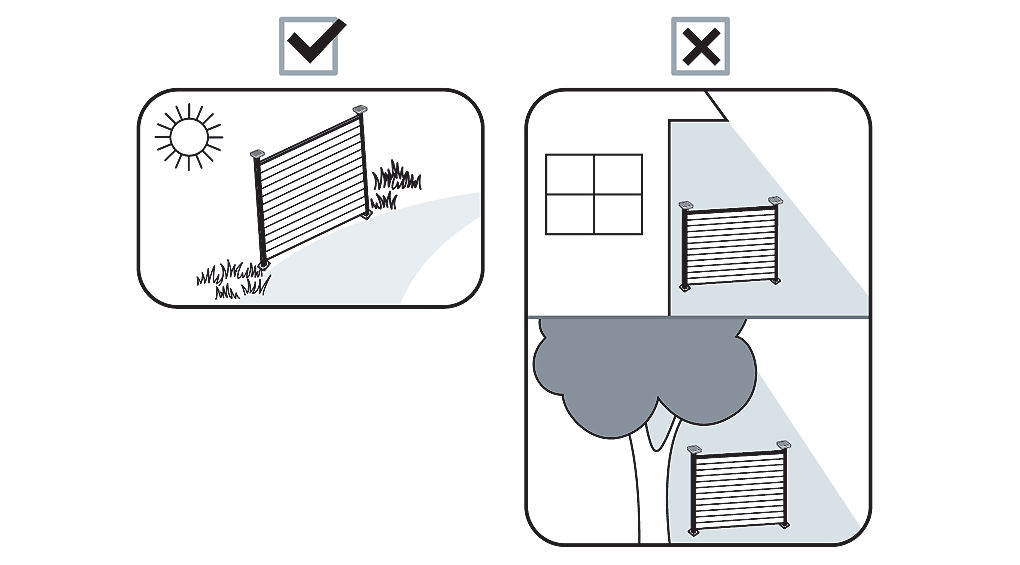
Enjoy your new Neva fence long into the evening with solar powered LED post lights. They are really easy to install and no hard wiring is required, you just have to ensure they are fitted to posts that have their tops (where the solar panels are located) in the sun to generate enough power to illuminate the LEDs.

The lights can only be fitted to 183cm and 240cm aluminium posts and they can also be retrospectively fitted to these posts after your Neva fencing has been installed. Just make sure the posts are installed with the centre recess facing into the patio / garden as this is where the LED strip is inserted and illuminates from.


Tools for the job
- Neva solar LED stripe post light
- Small Pozidrive screwdriver (only required when replacing the battery)
- Stepladder may be required depending on the height of the post
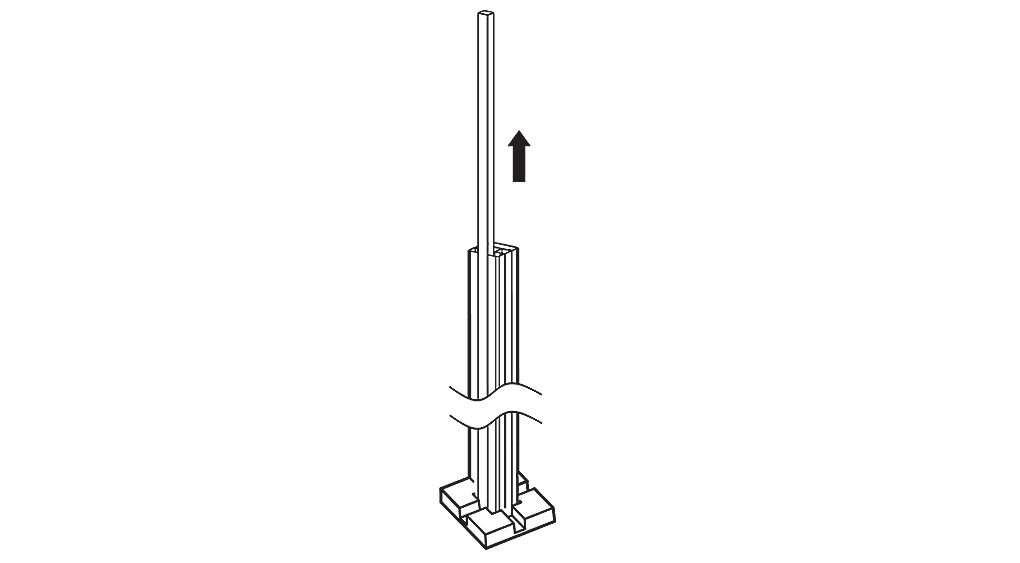
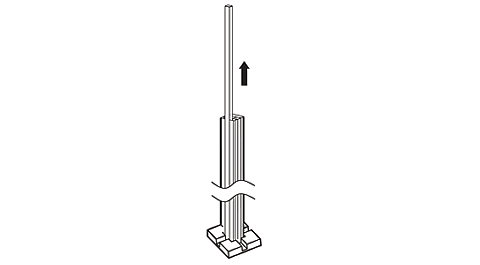
Step 1
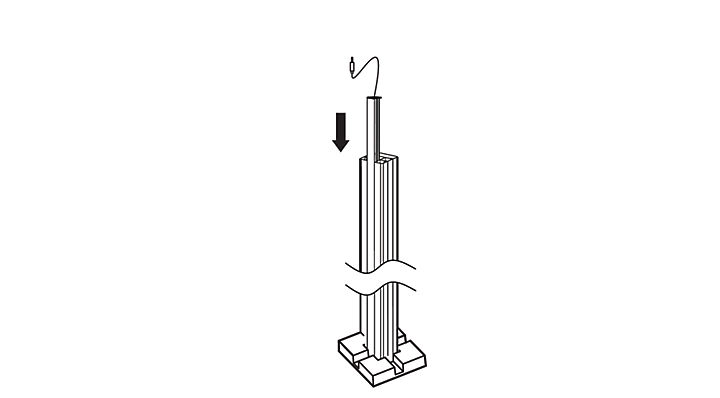
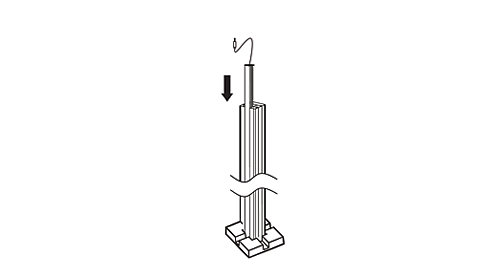
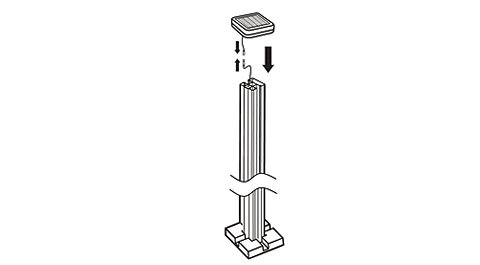
To install the Neva light, remove the post cap by hand (if already fitted) and slide out the long cover strip from the centre of the post. The cover strip and post cap can be kept as spare components or disposed of later as they will no longer be required. A stepladder may come in handy depending on the height of the posts.

Step 2
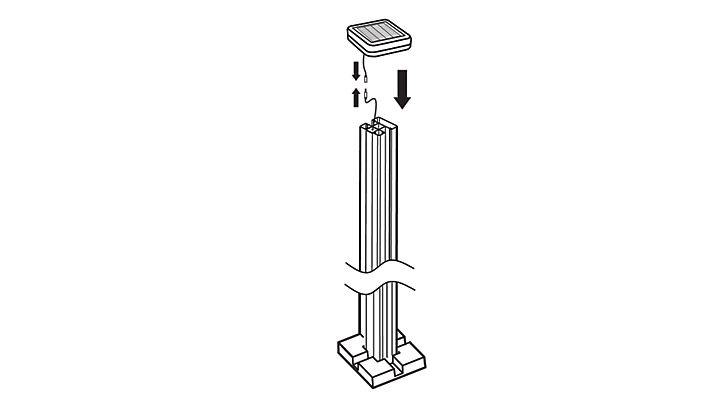
Slide in the light’s LED strip into the centre recess of the post.
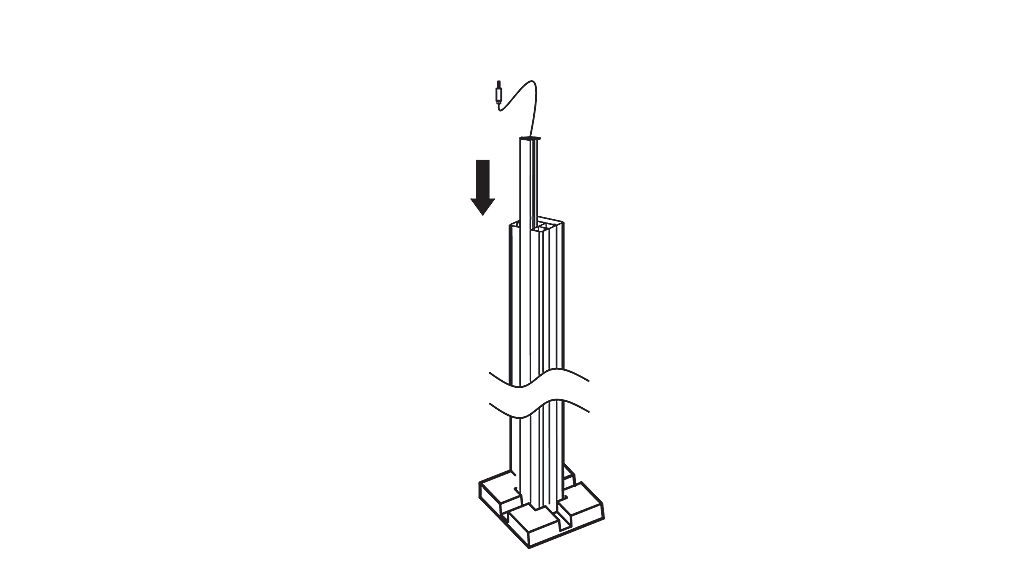
Step 3
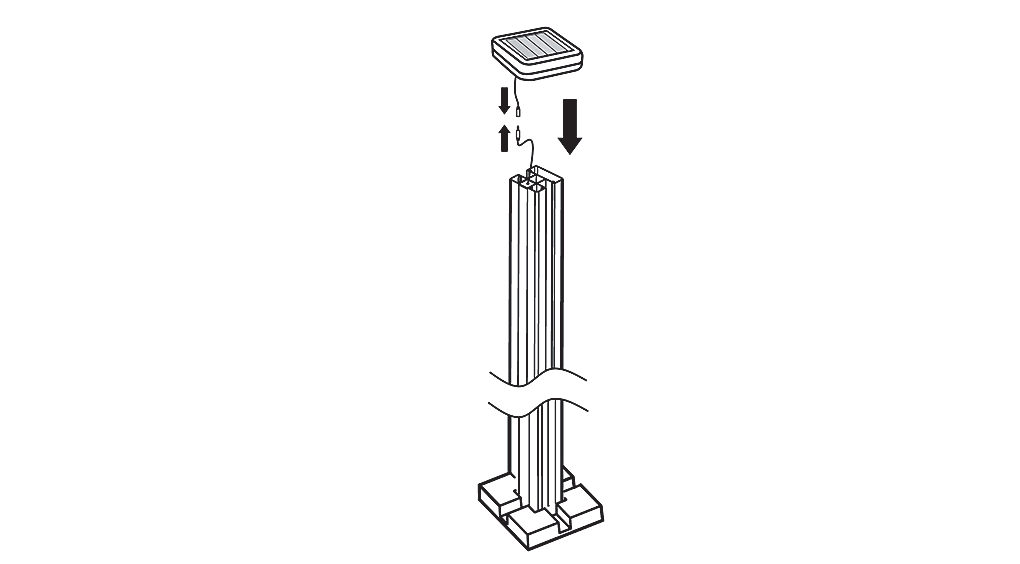
Connect the solar panel post cap to the LED strip light with the push-fit fitting, ensuring the ON/OFF switch (underneath the cap) is at the front of the light for easy access.
Push on the solar-panel cap onto the top of the post by hand, hiding the connection leads within the post at the same time.
Step 4
With the light fitted, it’s time to charge the battery and this will take a couple of days to fully charge.
Turn on the switch during daylight hours to start the charging process and then turn it off at dusk. This will keep the power in the battery. The ON/OFF switch is located and accessed from underneath the solar panel’s top.
The following day, turn the switch back on to allow it to recharge and then when it’s dusk again, the LEDs will shine.
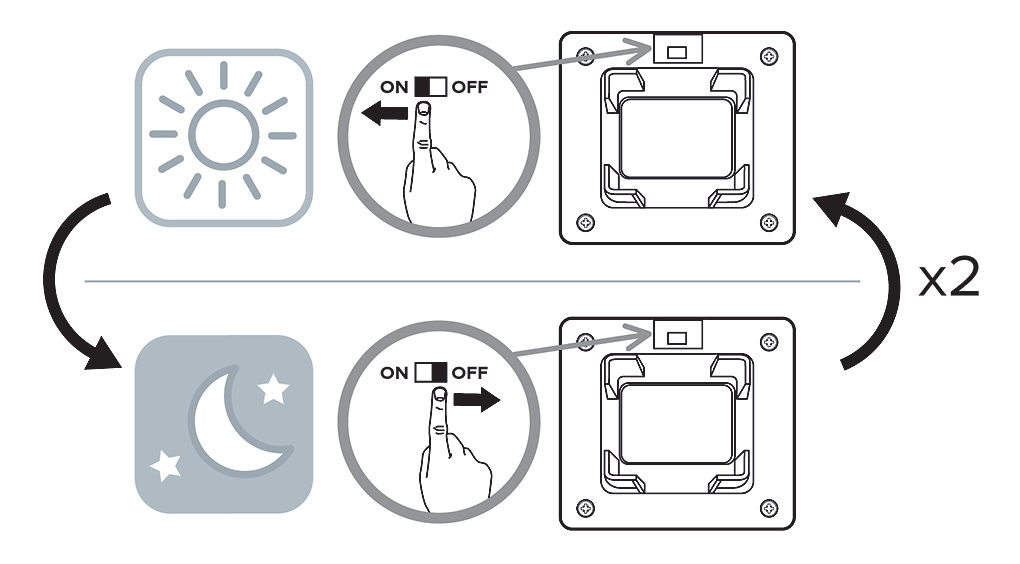
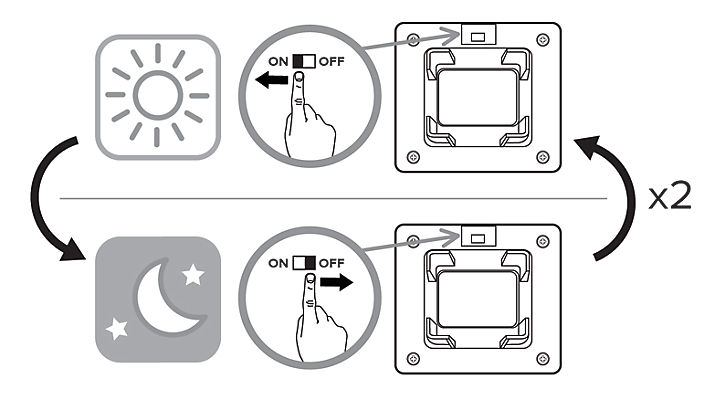
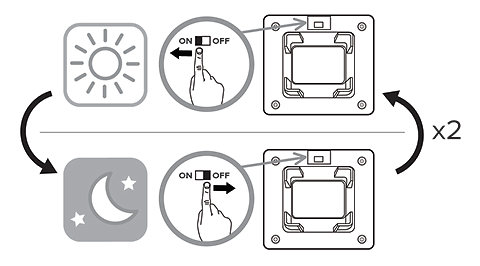
The operating time depends on the charging performance during the day and this will be affected by the amount of daylight hours, weather conditions and location.
Step 5
After the initial charging process, you can leave the light left in the ON position and the LEDs will illuminate automatically when it’s dark.
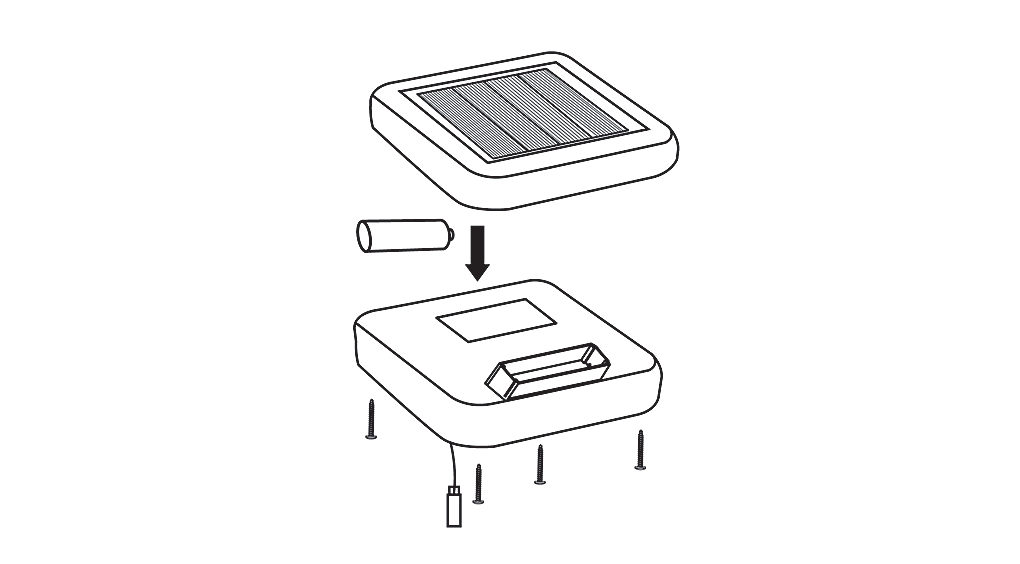
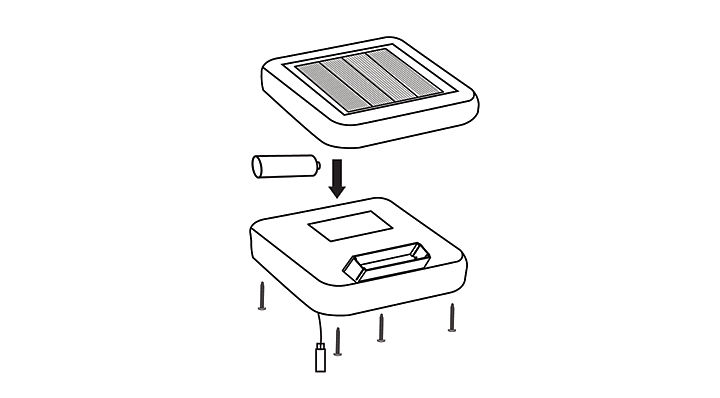
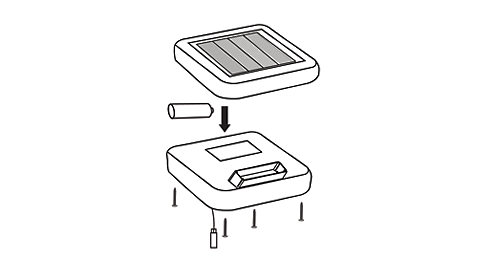
Replacing the battery
You can access the battery compartment by removing the four retaining screws from under the base of the solar panel.Disconnect the panel from the light before turning the switch off and removing the screws with a small Pozidrive screwdriver. Only use the recommended battery type for the product, as detailed in the product instructions.