How to fit post caps to Neva fence posts
Fitting post caps to your Neva fence posts
Post caps not only look good, but they also help protect the top of the post from water ingress, therefore increasing the life of the post, especially for wooden posts.
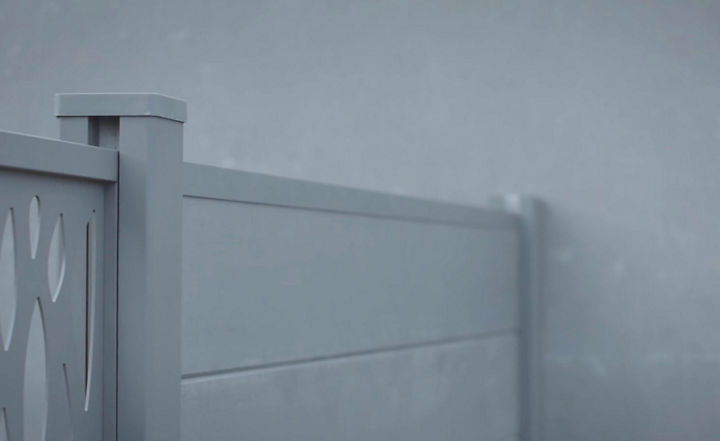


If you have installed aluminium or steel posts, a post cap is included with the post to give a modern finished look and these are simply pushed into position after the slats or panels are fitted. No additional tools are required to fit these caps.
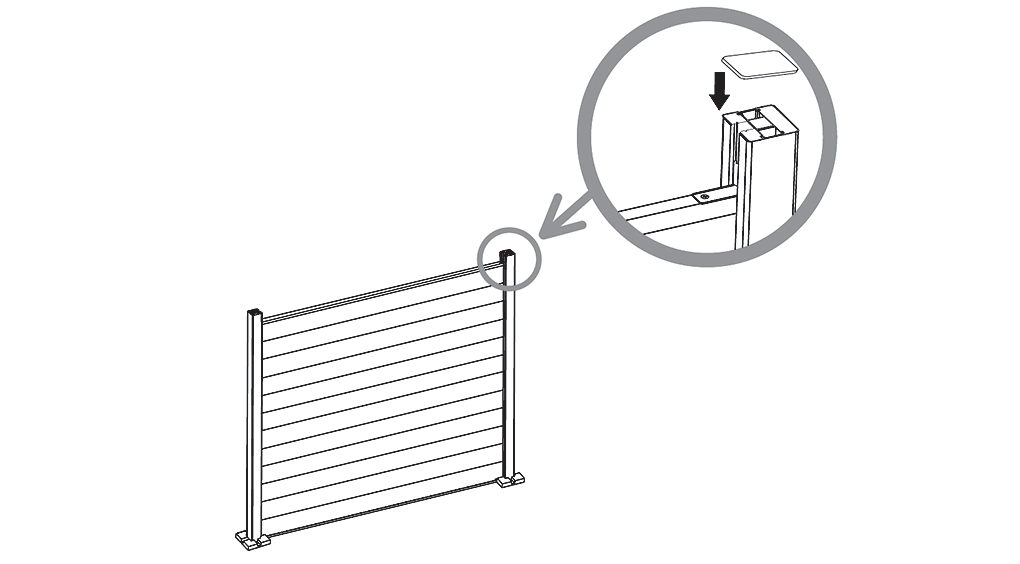

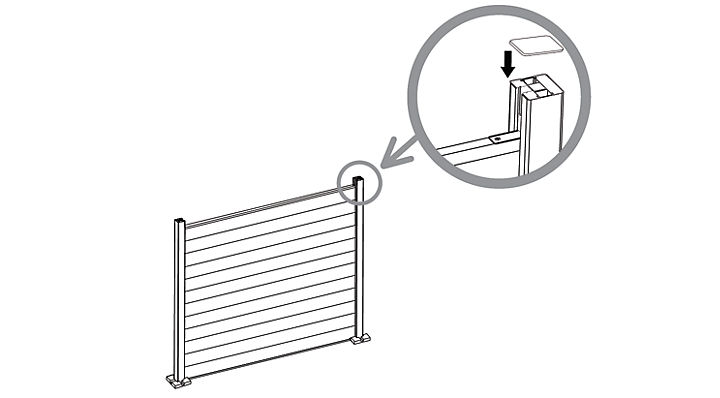
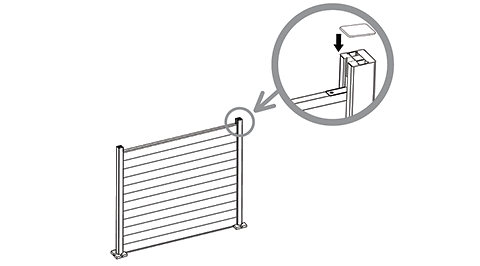
If you’ve installed Neva wooded posts, we recommend fitting flat wooden post caps, which are available in a variety of profiles. Here’s what to do to fix wooden caps to the wooden posts.
Please note, decorative ball post caps (traditionally used on decking) cannot be directly fitted to the Neva posts due to the screw being prefixed in the centre of the ball making it difficult to screw down between the centre of the half posts.
Tools for the job
- Fence post caps (for wooden posts only)
- Exterior wood screws (30mm to 40mm long), to fix the wooden post caps to a wooden post
- Stepladder
- Drill driver and driver bits
- Cross-head screwdriver, size depends on the screws
Step 1
Position the post cap onto the top of the wooden posts. Depending on the height of the post, a stepladder may come in handy.
Step 2
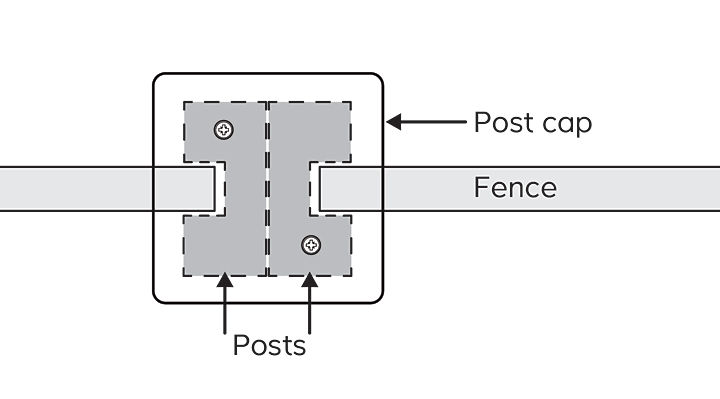
As the posts are half posts fitted back to back, use two exterior screws per cap, screwing a screw into each half post with a 30mm to 40mm exterior wood screw. Position the screws in opposite ends of the widest sections of the post below, as illustrated.
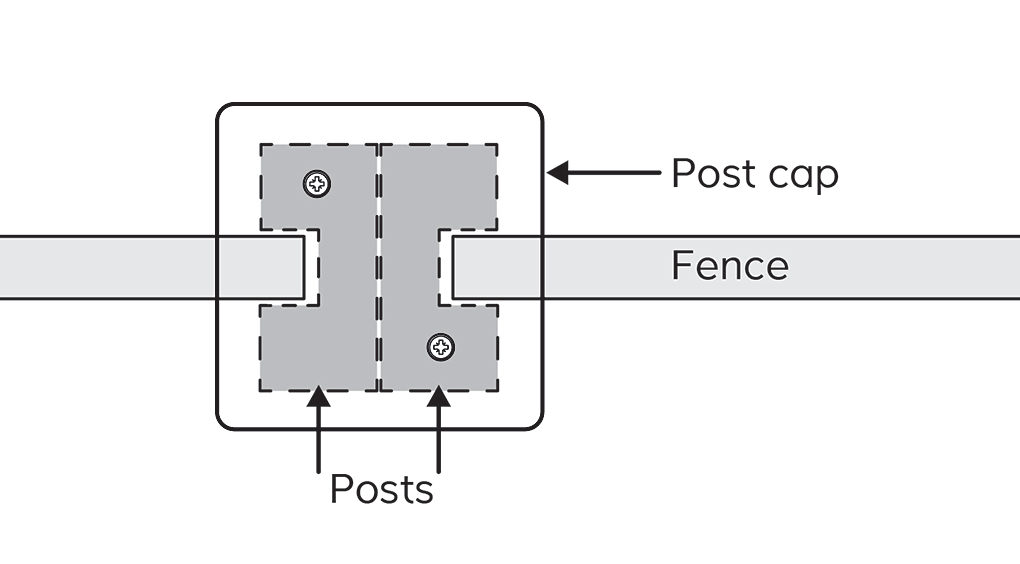

Depending on the type of screw you’ve purchased, either use a drill driver to screw the screws in directly, or drill a narrow pilot hole first (with a 2mm wood drill bit) and then screw in the screws by hand with a screwdriver, as this helps prevent the cap from splitting.
Step 3
Repeat for all the remaining post caps.