How to install Neva fence panels
Installing your Neva panels
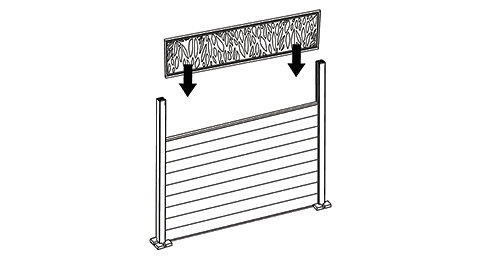
All the panels; decorative aluminium, transparent acrylic and wooden wind-breakers simply slide into place between the slotted fence posts. The post kits come with a fixing kit and it’s recommended that you fix these components down for a little bit of added security.
The instructions on how to do this are within How to install Neva composite and wooden slats.
To install the panels, follow these instructions first.

Safety first
-
Depending on the panels and the height of the posts, an extra pair of hands may be required as the panels can be large and heavy and difficult to slide in from a height.
- Don't be tempted to bend and push the panels into position between the posts as you’ll damage the panels.
- Don't attempt this part of the project on a windy day, as large panels raised high in the air will act as a giant wind sail.
Tools for the job
- A couple of stepladders might be required, depending on the height of the fence
- Drill driver and 2.5mm metal drill bit
- Hex key set
- Crosshead screwdriver
- Neva aluminium decorative quarter panel
- Neva aluminium decorative half panel
- Neva acrylic and aluminium transparent quarter panel
- Neva acrylic and aluminium transparent half panel
- Neva wood wind-breaker
- Neva wood trellis panel
- Masking tape
- Rigger gloves
Step 1
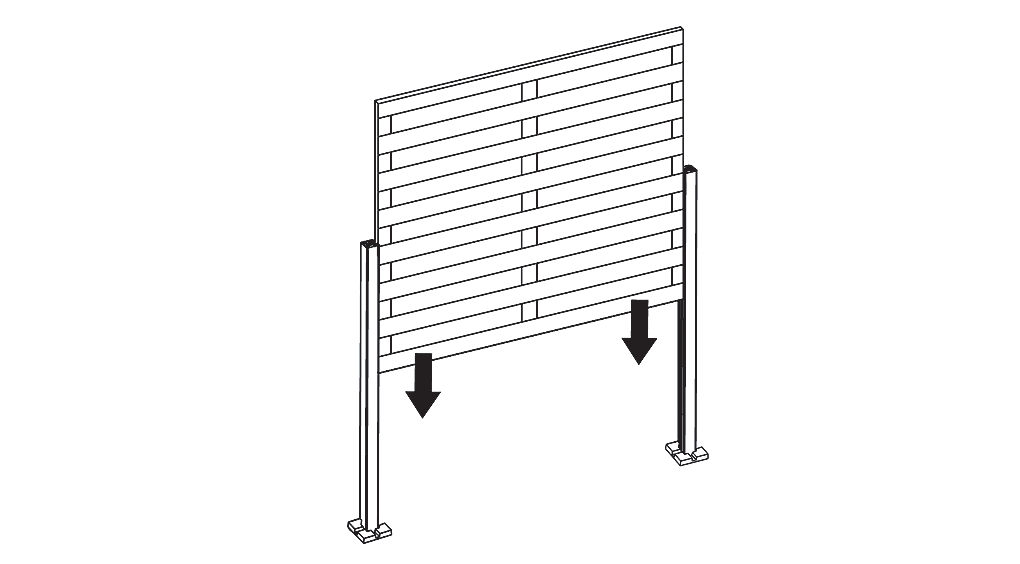
If required, use a stepladder on a level surface and enlist the help of a friend to lower the panels into place and slide them gently down through the recess of the posts. Wear gloves and be careful of your fingers when lowering the fence into position.
Keep the fence horizontal as they are lowered.
Fitting heavy wind-breaker panels is easier with three people; two at either end on stepladders and one person in the middle supporting the weight as the panel is lowered.

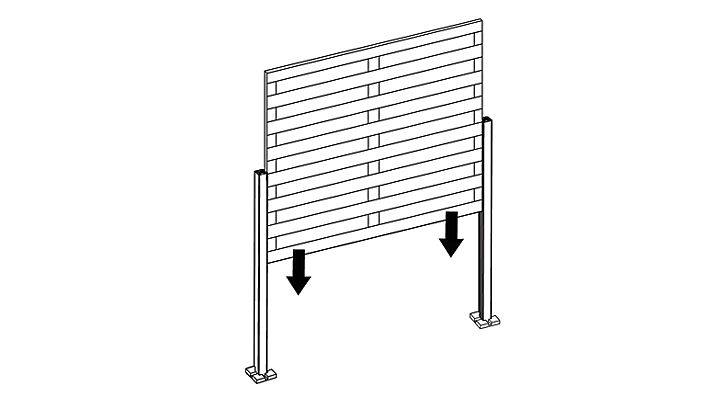
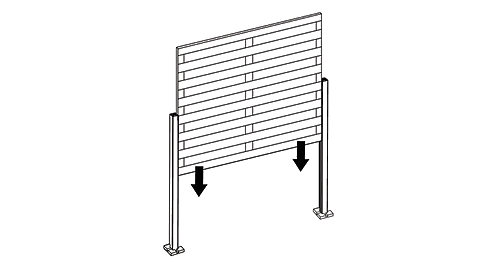
Step 2
If you are fitting trellis or a half or quarter panel onto composite or wooden slats, simply slide this down into position through the post’s recesses.
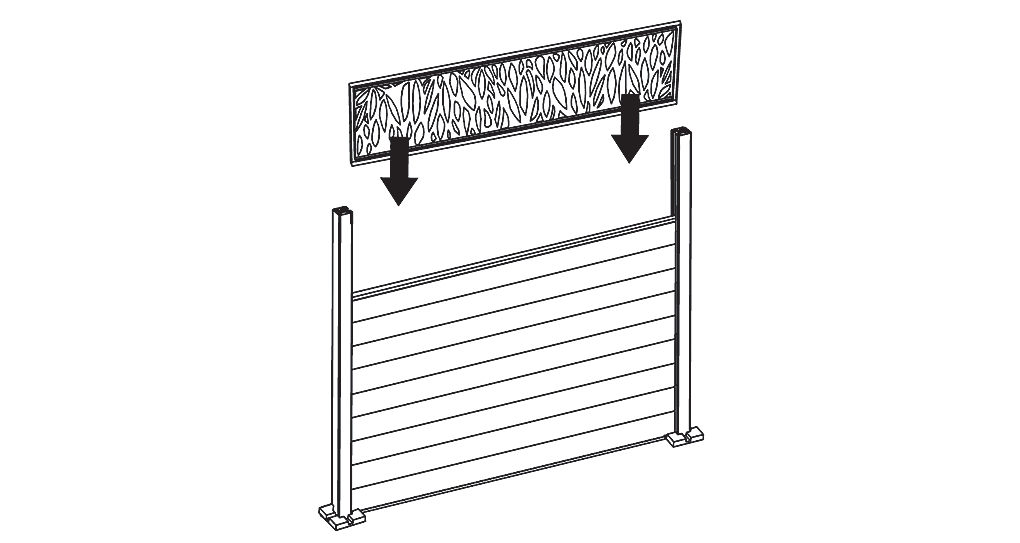

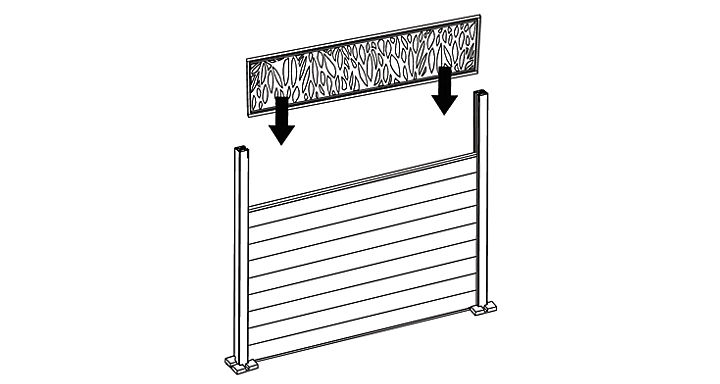
Step 3
Securing the panel or trellis to the post will vary slightly depending on what posts you have. Here’s what to do to fix a decorative panel to an aluminium post, the product instructions will explain what to do for the other posts. The fixings required are supplied with all the post kits.
Slide on the L bracket, with the longest length resting on top of the panel.
Insert and tighten the hex socket cap to the post with the correct sized hex key.


Step 4
Measure and mark the depth of the screw on the drill bit with a piece of tape.
Step 5
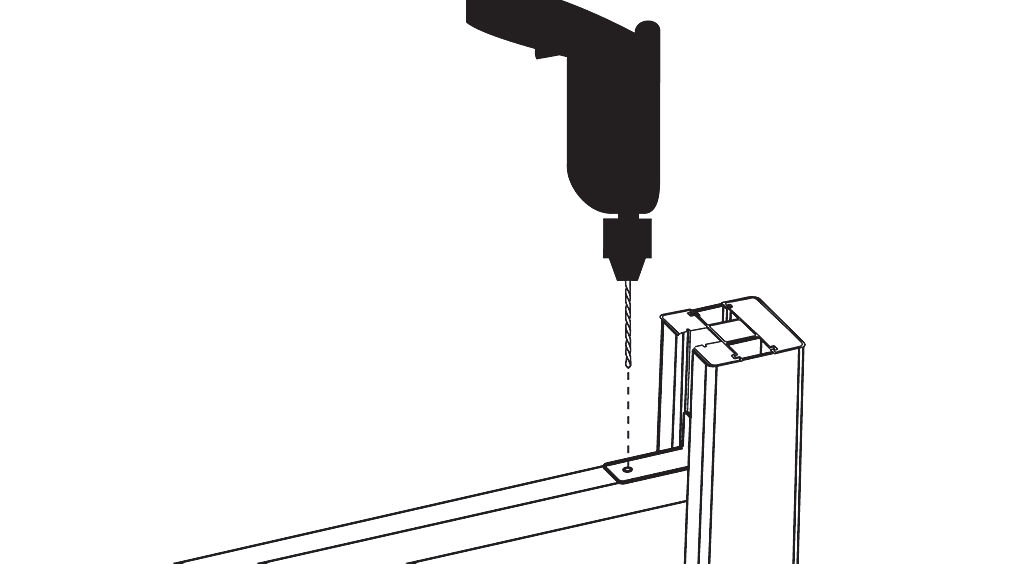
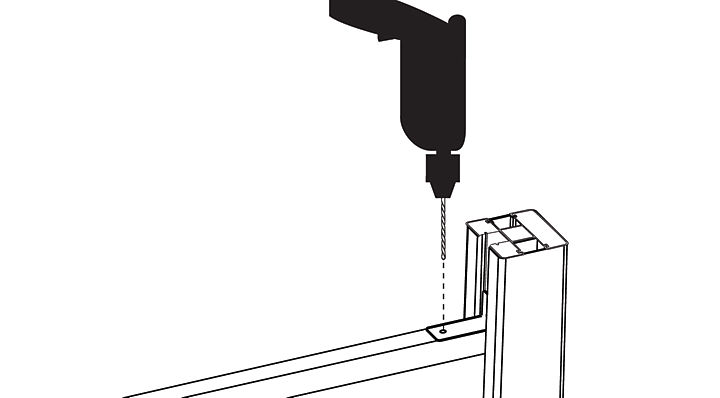
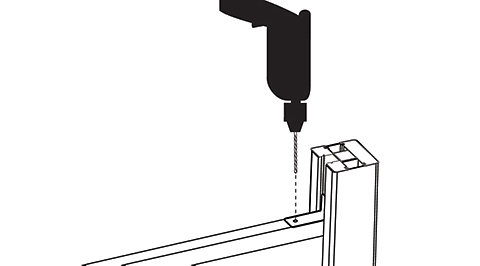
Using a 2.5mm metal drill bit and drill driver, drill down through the screw hole (in the L bracket) into the finishing profile, as illustrated.

Step 6
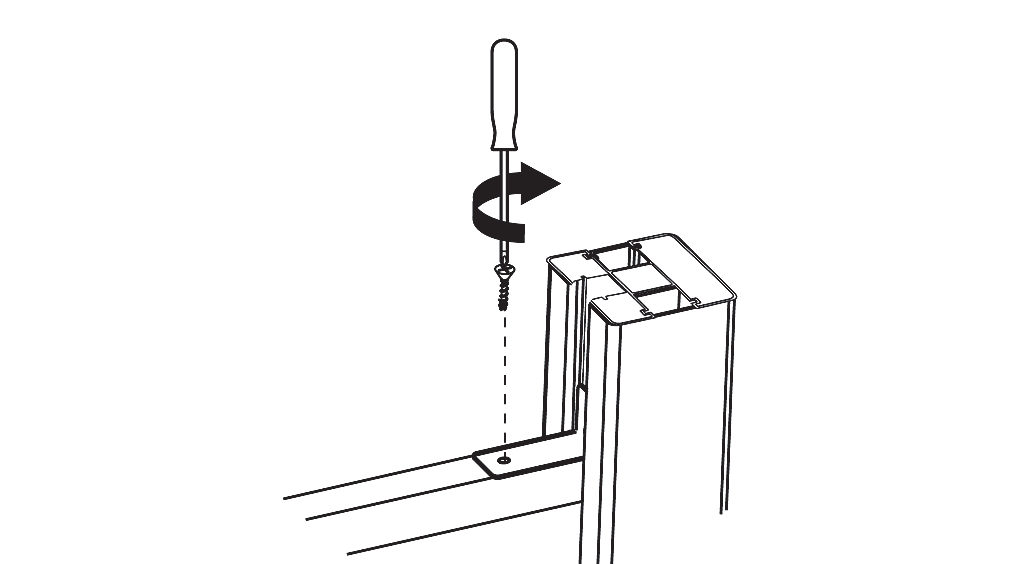
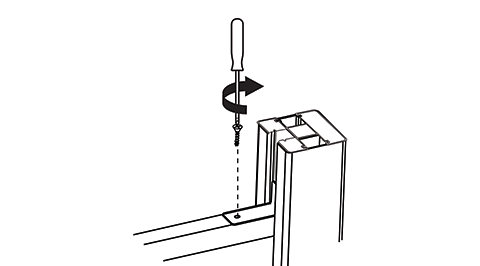
Insert the screw and tighten it with a cross-head screwdriver.


Step 7
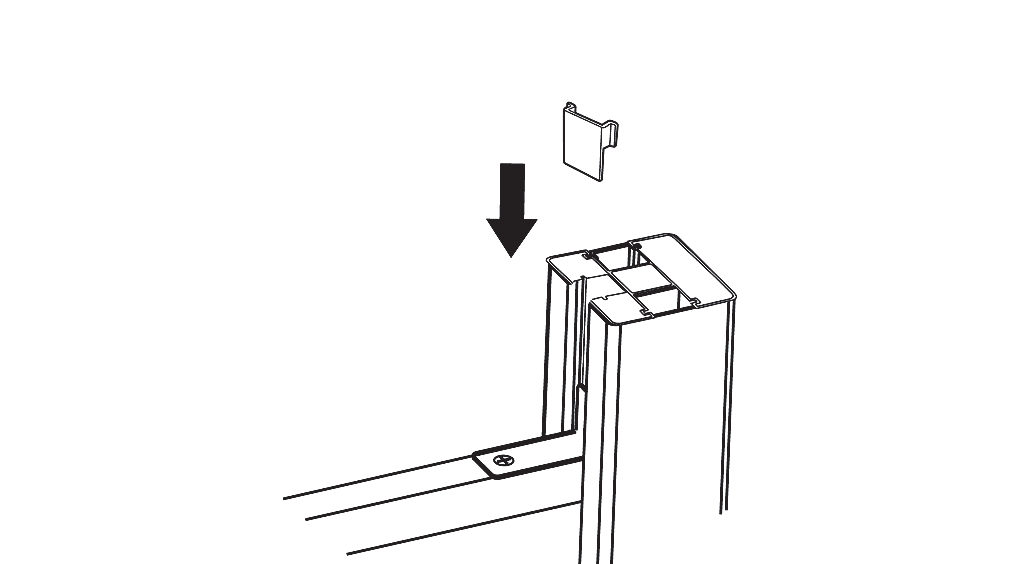
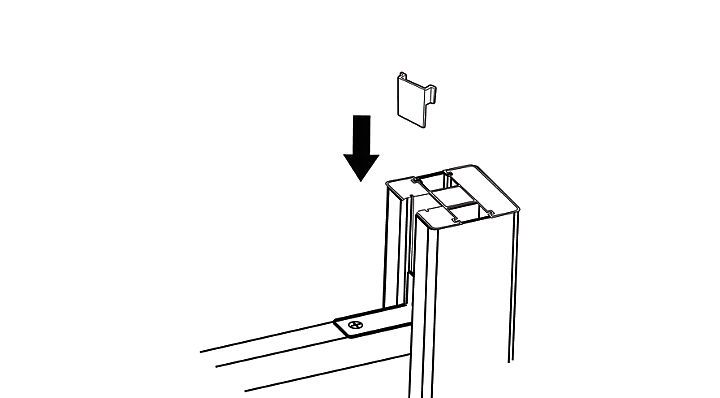
Slide down the small cover plate to hide the fixings within the post.

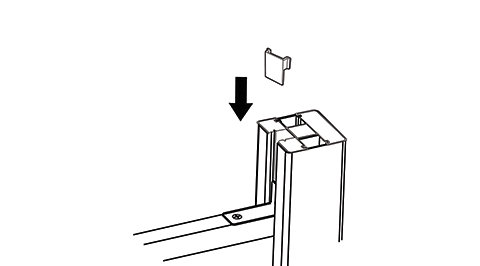
Step 8
Repeat for all the posts with panels in.
Once all the panels are fixed into place, you're ready to complete the look with matching post caps. See How to fit post caps to Neva posts for more information on what to do next. If you have LED post lights to fit, read How to install Neva solar powered LED post lights first before fitting the post caps as they will be replaced by the solar panel top