How to replace a broken tile
Keep your tiles in tip top condition
Damaged tiles can look unsightly and spoil the overall look of your tiled area. Our speedy instructions will show you how to remove and replace the offending article in several easy steps.


Your room is likely to become very dusty and possibly quite messy during this task. We advise wearing a dust mask and goggles to protect your eyes.
Protect the area you’re working in by laying a dust sheet or cardboard on the floor.
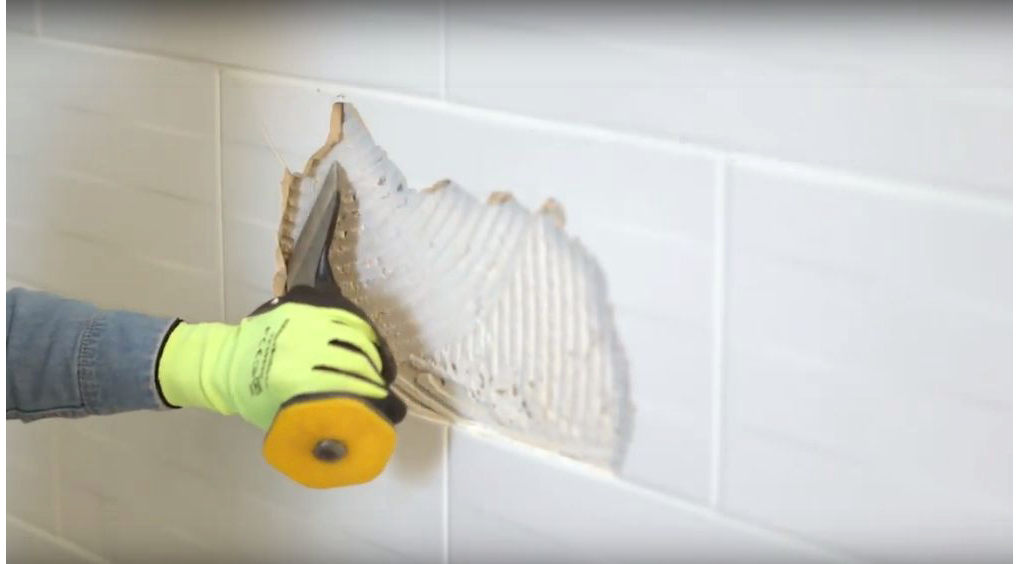
Step 1
Carefully remove the damaged tile with a bolster chisel and hammer until you reveal the layer of adhesive underneath.


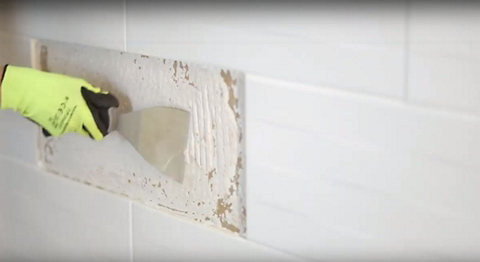
Step 2
Use a grout removal blade to cut out the surrounding grout from the area. And a scraper to remove any remaining adhesive where the damaged tile used to be.
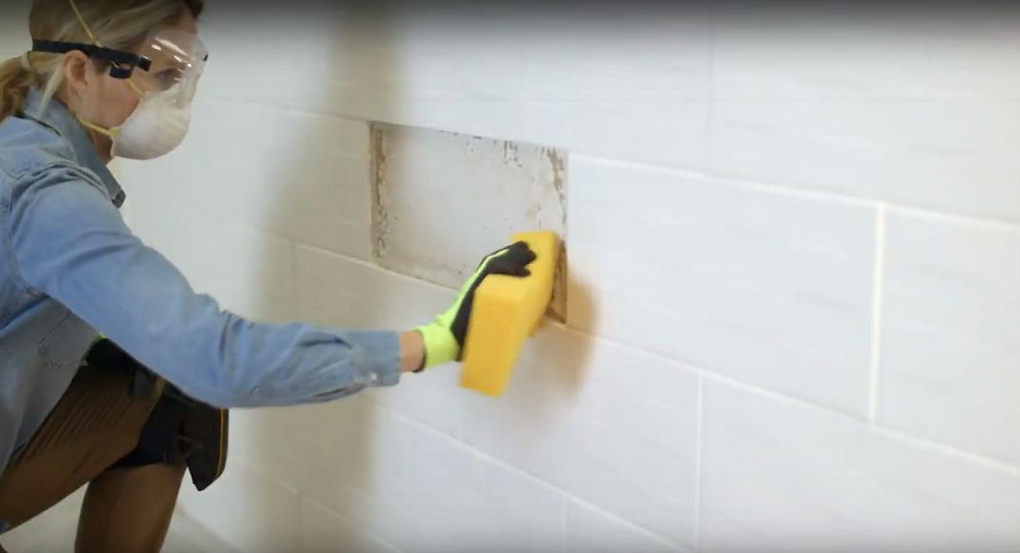

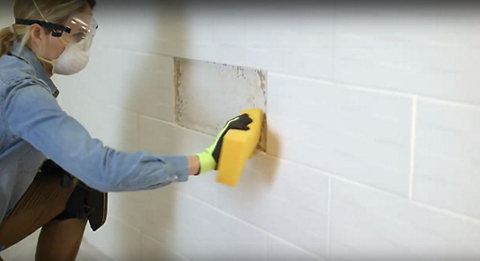
Step 3
Clean off the dust with a damp sponge and leave the surface to dry.
Now you’re ready to fit the new tile.
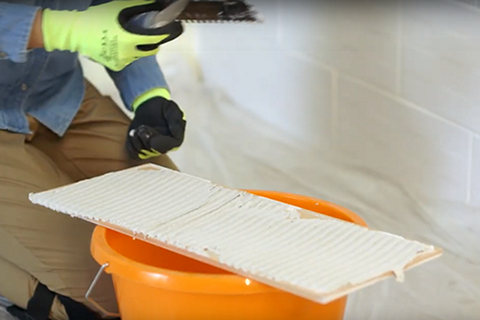
Step 1
Begin by applying an even layer of adhesive to the back of the new tile using a notched trowel.

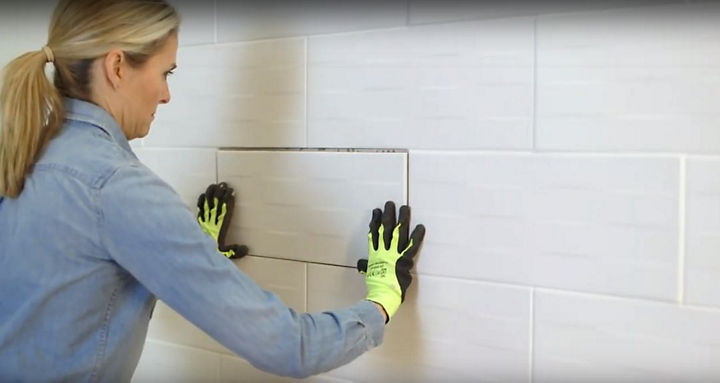
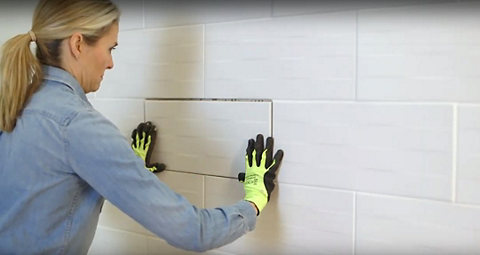
Step 2
Press the tile into the gap and use spacers to position it correctly. Then leave to dry for the recommended time.
Now you're moving on to the last step of this project.
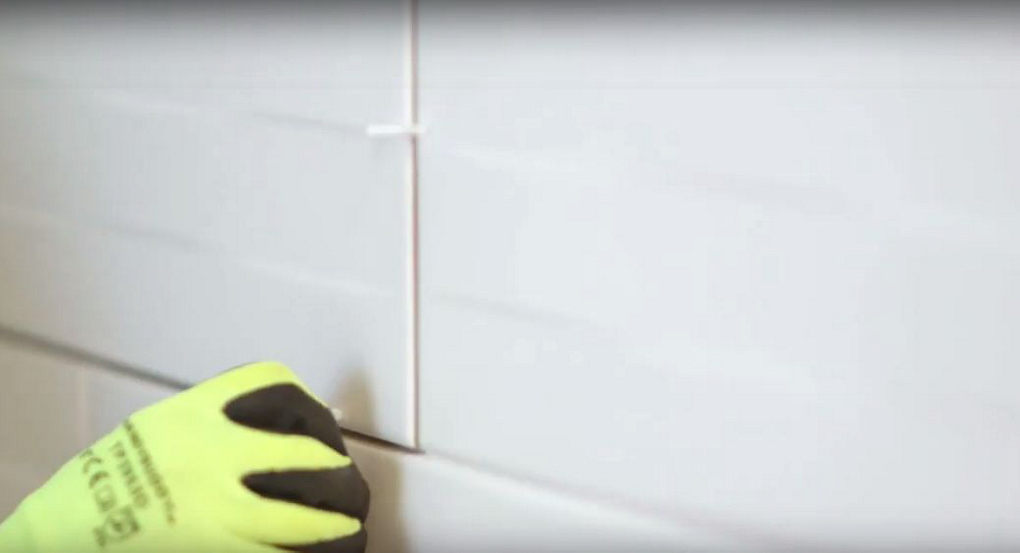


Step 1
Using a rubber edged grout spreader, work the grout into every gap between the tiles. A diagonal motion works best.

Step 2
Use the edge of your spreader to scrape up any excess grout and re-work it. Clean off the excess grout from the surrounding tiles with a just-damp sponge to minimise cleaning later on.
Step 3
Once you’ve finished applying the grout, let it set for a few minutes. Then wipe over the tile using a just-damp sponge in a diagonal motion to avoid dislodging the grout. Leave the grout to dry for an hour. Wipe over with a dry cloth to remove the thin powdery layer and to polish the tiles. If the replaced tile is in a wet area, such as a shower, let the grout dry for 24 hours before using.