How to plan a garden wall
A garden wall in brick or stone may be more expensive than a fence, but it'll weather attractively and last a lifetime. You'll need planning permission for any wall over 1 metre high on the edge of a public highway, and for any free-standing wall over 2 metres high. You may well need a structural engineer's specification for large retaining walls - but you shouldn't really be attempting these anyway without some experience on less ambitious building projects.
Although the techniques for building a wall are pretty straightforward, you'll need to plan and design it properly if it's to be strong and stable. The design of your wall will depend to a large extent on what you're using it for.
Garden walls have lots of uses, such as:
- Holding earth back so you can create a terraced area, or stop a steeply sloping bank from collapsing.
- Creating a solid barrier next to a road or footpath to reduce noise, or for privacy.
- To divide a garden into different areas, or provide extra seating around a feature like a terrace or pond.
- To provide a low, solid base on which you can put up fencing, or build piers to support an overhead structure such as a pergola.
You can build a garden wall from bricks, natural stone or reconstituted stone. There's a wide range of reconstituted stone on the market, made from concrete blocks that are finished and coloured to look like stone.

Brick walls
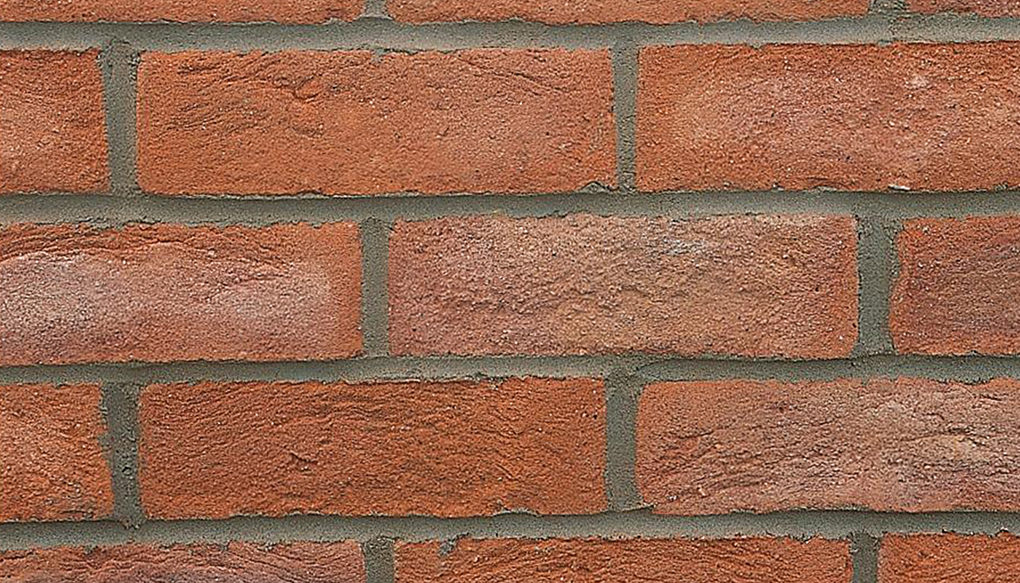
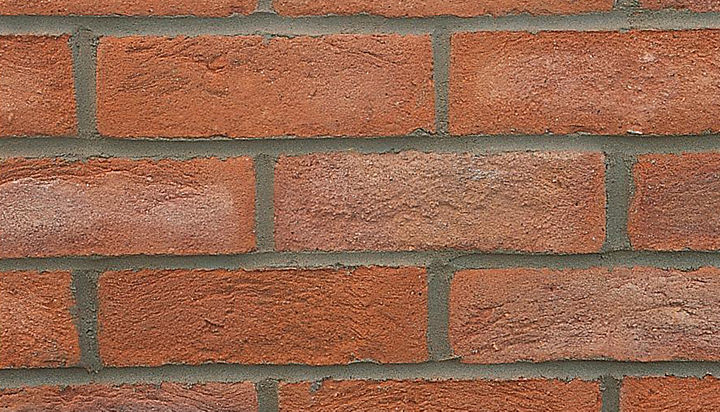
Bricks are the cheapest material and come in a range of colours, depending on the type of clay they're made from and the manufacturing process. They can also be multi-coloured or mottled, and have a rough or smooth texture. Second-hand bricks often have a weathered look that blends in with old house walls, but they're not cheap - and there's usually no way of telling if they're frost-resistant.

Natural stone walls
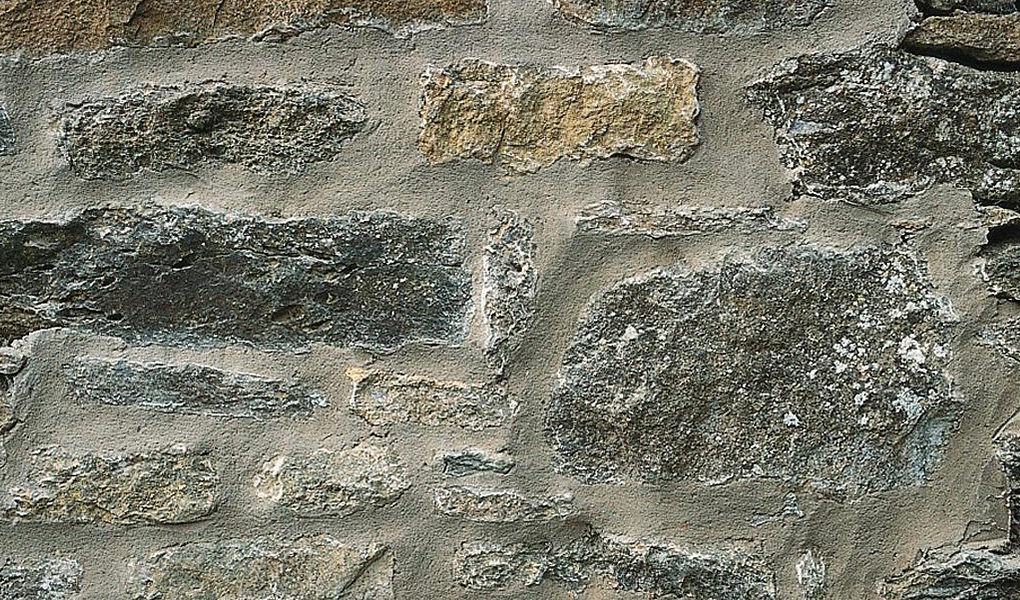
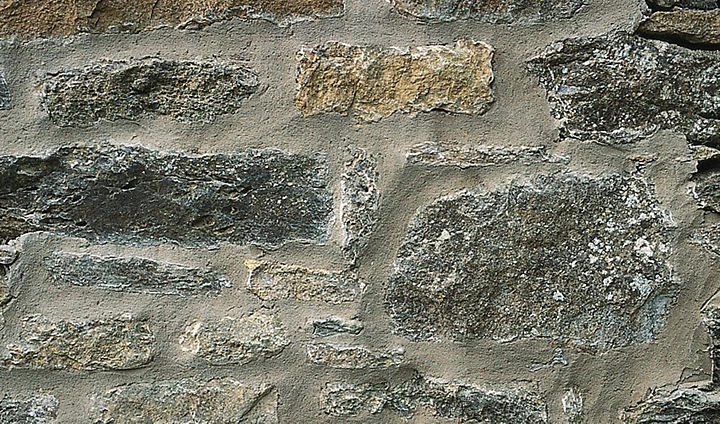
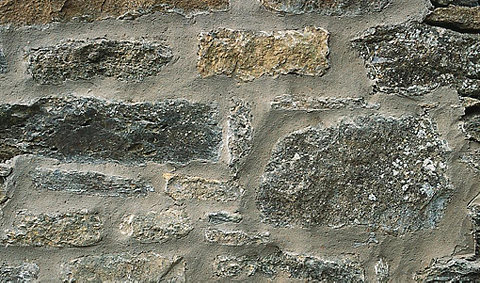
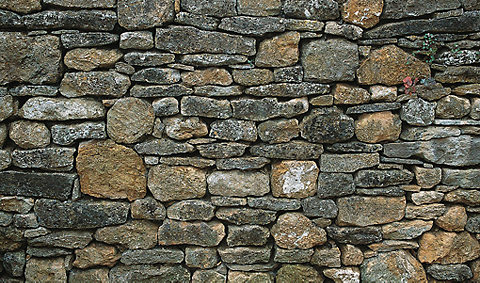
You can buy natural stone from quarries or reclamation yards, but it's very expensive. The stone you buy in its natural state is called random rubble or undressed stone. Semi-dressed stone is cut into fairly uniform blocks with uneven surfaces, while fully-dressed stone with machine-cut faces is called Ashlar. The wall shown here is built with semi-dressed stone.

Semi-dry stone walls
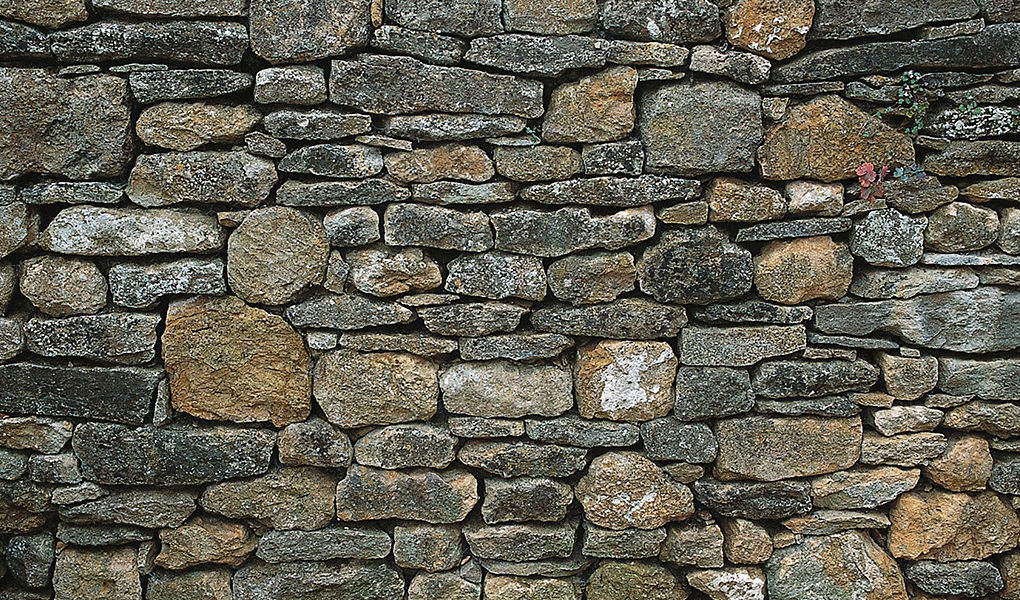
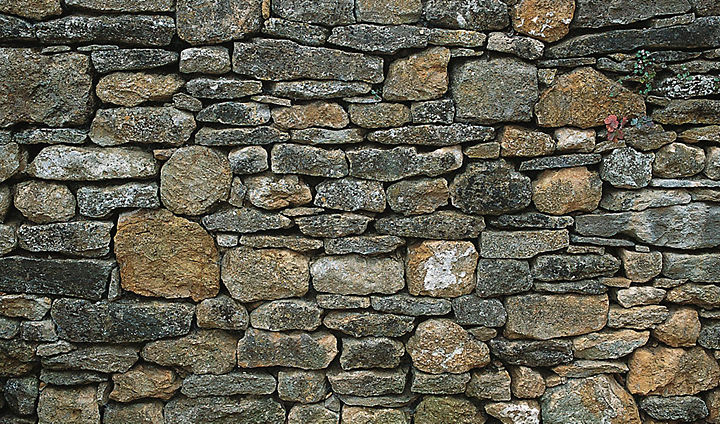
A genuine dry-stone wall is built from stones that are carefully chosen so they're perfectly stable without needing mortar to bind them together. This wall is a semi-dry stone wall. It looks like a true dry-stone wall, but has hidden mortar joints.

Dry-stone effect walls
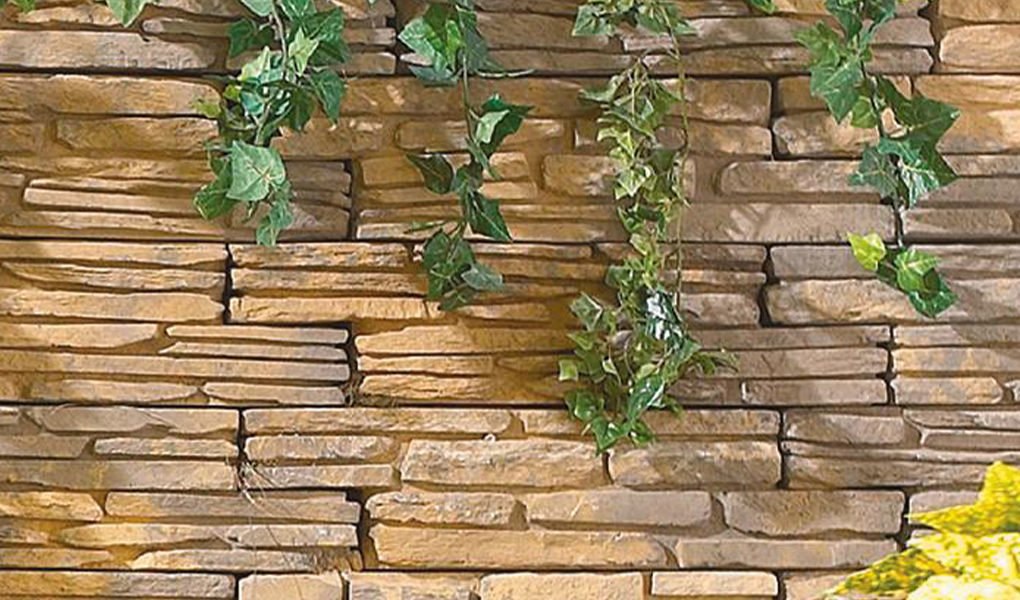
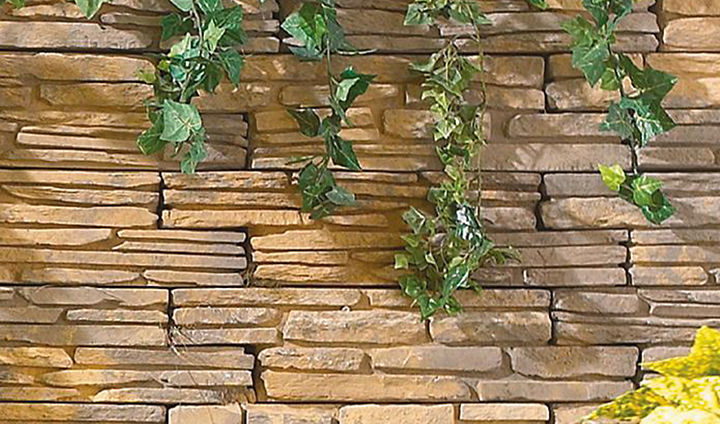
These walls are made from reconstituted stone blocks that let you create the look of a dry-stone wall at a fraction of the cost of the real thing.
Choosing the type of material for your garden wall is only the start of the process. If you're building a brick wall, you'll also need to decide on the pattern (or 'bond'). And whatever material you choose, you'll have to make sure you've got a suitable mortar.
How to choose your walling materials
When you're deciding on the type of materials to use for your garden wall, it's worth taking the following things into account.
-
The material your house is built from - as well as other houses and walls in the immediate vicinity.
-
Your budget. Natural stone is by far the most expensive option, and prices vary from region to region. The amount of dressing the stone has received is also reflected in the price - perfectly-cut Ashlar stone is more expensive than undressed stone. To work out a rough cost, try and allow 1 tonne of stone for about 3.3 sq. m of finished stonework. But remember this is an approximate figure, as stone varies in size and weight.
-
You need to be very accurate when you build a wall with bricks, as they're less forgiving than natural stone. But once you've mastered the basic techniques, you'll find brick-building is much quicker than laying stone.
-
Reconstituted stone is quite easy to lay, and isn't too expensive. As the stones come in varying sizes, you can estimate the number you'll need by dividing the area of walling by the dimensions of the blocks you plan to use.
To build any kind of brick wall, you'll need to get the hang of cutting bricks. But although it's not quite as easy as a professional bricklayer makes it look, you shouldn't find it too hard to master.
Step 1
Measure the brick with a ruler, and mark the cutting line on all four sides with a pencil. Tap a bolster gently with a club hammer to score along the cutting line, all the way around the brick.
Step 2
Then lay it - indentation (or 'frog') side down - on grass or sand, and hit the bolster firmly to cut right through it. Make sure you always wear safety goggles when you're cutting bricks or blocks.
A brick wall is made of layers of bricks (known as 'courses') cemented together with mortar. The pattern in which the bricks are built is called the 'bond'. The idea of a bond is to stagger the vertical mortar joints so they're not in the same place in two or more consecutive courses. This spreads the wall's load along its length, which makes it stronger and more stable.
The three types of bond most often used for garden walls are stretcher bonds, English bonds and Flemish bonds. When you're working out the number of bricks you'll need for a particular bond, add an extra 5% to allow for cutting bricks and breakages.
English bond
You can form this pattern by laying alternate courses of stretchers and headers. Insert queen closers before the last header to maintain staggered joints at the ends of your wall, and at right-angled corners. You'll need approximately 120 bricks per square metre.
Flemish bond
Headers and pairs of parallel stretchers alternate on each course to make a double-skin wall. Use queen closers on alternate courses to stagger the joints. You'll need approximately 120 bricks per sq m.
Stretcher bond
You should use this type of bond for single-skin walls the thickness of a single brick, and double-skin walls when they're joined with wall ties. Lay all the bricks lengthways with the long face exposed. Half-bricks (half-bats) complete the end of every other course on a straight wall, so that each vertical joint centres on the bricks above and below. And to make corners, just alternate headers and stretchers. You'll need approximately 60 bricks per square metre.
Mortar is what sticks the bricks or stones together in a wall. General purpose mortars are a mixture of soft sand, lime, cement and water; or soft sand, cement, plasticiser and water. Hydrated lime is added to mortar to slow down the drying process, which stops it from cracking. It also makes the mortar easier to use.
Plasticisers and frost-proofers create small air pockets in the mix, making it smoother. These are used as a substitute for lime in colder conditions. Frost-proofer gives some protection against freezing, but only in the case of slight frosts - so it's best not to build your garden wall in freezing conditions.
Always follow the manufacturer's instructions when you add plasticisers to the mix, as too much will make your mortar too weak.
Some masonry cements have plasticiser already mixed with them. You can also get bags of mortar that come ready-mixed to the correct proportions. Although they're more expensive, they do come in handy for smaller jobs. And if you want to, you can buy different coloured mortars to match different walling materials.
Mortar mixes
One 25kg bag of sand, with the other ingredients mixed in the proportions shown in the table, is enough to lay approximately 55 bricks.
| General-purpose mortar (moderate conditions) | 1 part cement 1 part lime 6 parts soft sand |
| Strong mortar (severe conditions) | 1 part cement6 parts soft sand plasticiser |
| Very strong mortar (exposed to snow, heavy wind and rain) | 1 part cement 4 parts soft sand plasticiser |
Storing materials
Keep your bricks and mortar materials dry until you're ready to use them. It's a good idea to cover bricks, sand and aggregate with a plastic sheet. Also, try to raise bags of cement off the ground and cover them with a plastic sheet, or store them indoors.
Gauging mortar
For most purposes, you can measure mortar ingredients with a shovel. But on some types of wall (such as faced brick or pointed stonework) it'll spoil the finish if the mortar varies in colour. 'Gauging' the mortar stops this from happening - as you measure the proportions of the mix more precisely, using a bucket rather than just a shovel. Draw a line on the inside of a bucket with a felt-tip marker indicating one unit of the mix. Then shovel the ingredients in turn into the bucket, making sure each measure is level with the line.
You can mix mortar by hand or with a cement mixer - there's no real advantage in mixing it by hand unless you only need a small amount.
You should use the mortar within two hours of making it (and less in hot weather), so mix as much as you think you can use in that time. As a very rough guide, allow about two minutes to lay each brick.
Mix your mortar on a level surface like a sheet of plywood - and if you use a mixer, put this on flat ground. Also, don't allow mortar or concrete to dry on your tools. Clean them with a stiff brush from time to time.
Safety first
It's important to wear safety goggles, gloves and a face mask when mixing mortar or concrete. And never put your hands or the shovel into a mixer while it's running.
Mixing mortar by hand
Thoroughly mix the dry mortar ingredients together. Use a shovel to make a hole in the centre of the pile, and pour clean water into it (mixed with plasticiser, if you're using it). Then carefully push the dry mix into the water, letting it absorb. Mix it thoroughly, adding more water as necessary. The consistency of the mortar is really important - it mustn't be too dry or too runny. To test it, make a depression in the mix with a shovel. If this is easy to do and the mortar holds its shape, you've got the right consistency.
Using a mixer
Put about a quarter of a bucket of water into the mixer. Add half the sand, then the cement and lime if you're using it. Run the mixer, then add the rest of the sand and more water if necessary. Mix it thoroughly until you have a good consistency.