Christmas clearance has landed! Click + Collect selected items in just one hour. Shop now >>
How to board a loft
Boarding out your loft can provide a safe and clean storage space for all your boxes of memories, Christmas decorations, extra clothes and anything else you can't bear to part with.
Get the Right Tools and Equipment
In order to properly board your loft you'll need a jigsaw and workbench, hammer, screwdrivers, drill, tape measure and pencil. A loft can be a cramped and dusty environment to work in, therefore, gloves and a face mask are also advisable.
Putting down boards to convert your loft into a usable storage space is a simple task which does not normally require any planning permission and should be affordable and manageable even for a DIY beginner.


Step 1: Measure Up
Work out the area that you need the boards to cover. Remember that most people only bother to board the central area of their loft, as the angle of the roof usually makes the edges less useful for storage and more difficult to access. Standard loft boards come in two different sizes; 2,400mm x 600mm and 1,220mm x 320mm; both of which are 18mm thick. Remember to make sure that the boards you decide on will actually fit through your loft hatch!
Top tip - The Bigger Picture
Once your loft is boarded, chances are you'll be making a lot more use of it. With this in mind you'll want to consider adding a pull down ladder and wiring in some lighting up there to make it easier and safer to access.


Step 2: Get to Work
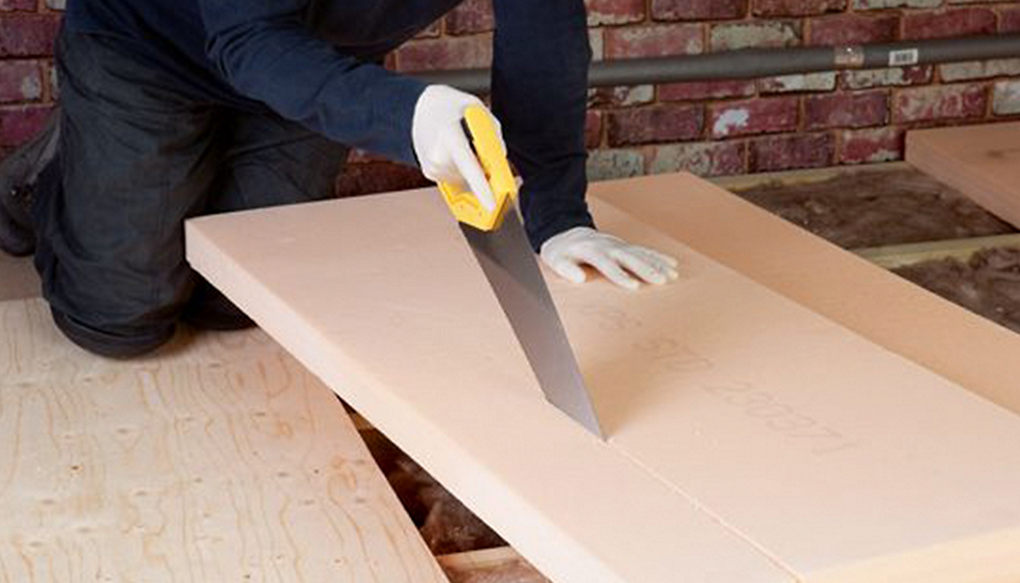
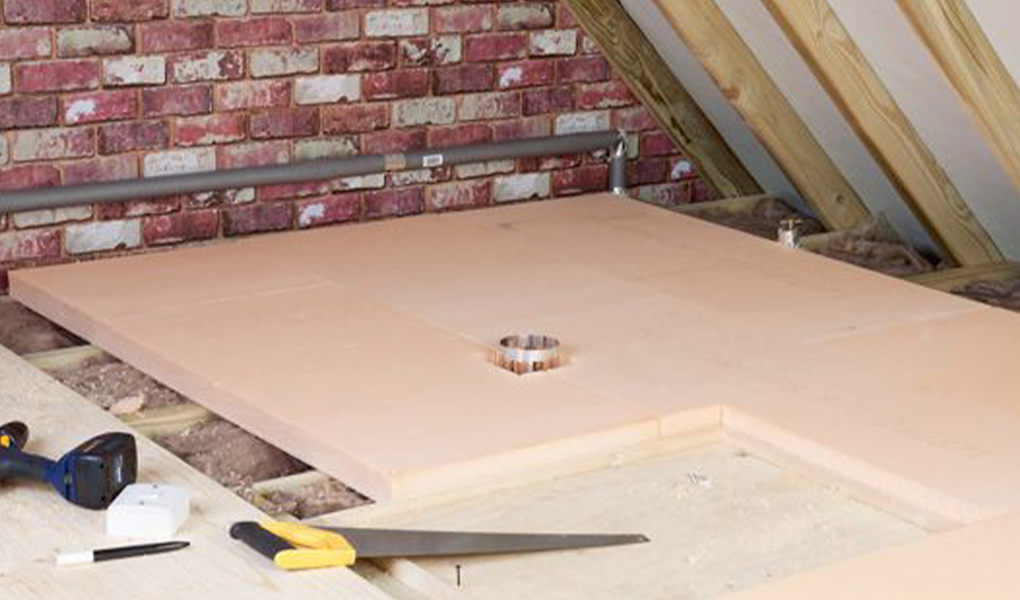
Put on your protective clothing and place a board between the ceiling joists to act as a temporary work platform. Start putting the boards in place. For better strength, boards need to be laid in a staggered pattern, so joins don't all line up and create a weak point. Take care not to trap any wires running through your loft and cut the boards to provide easy access to the tops of light fittings, which you are sure to come across.
Top tip - Insulation Issues
For most houses, it's recommended to have at least 270mm of insulation on the loft floor, meaning that the insulating material will be piled up above the level of the joists, making it difficult to attach boards over the top. Squashing the insulation is not good for its performance, better to remove the extra layers above the level of the joists and attach them to the roof instead, using twine and nails to hold them in place.


Step 3: Making it Permanent
Once you're confident that you have placed your loft boards in a way that provides a safe area to stand on and store your things, it's time to screw them into place. Drill 2 or 3 pilot holes along the edge of each board, lining up with the centre of the joist below and fix them into place with screws.
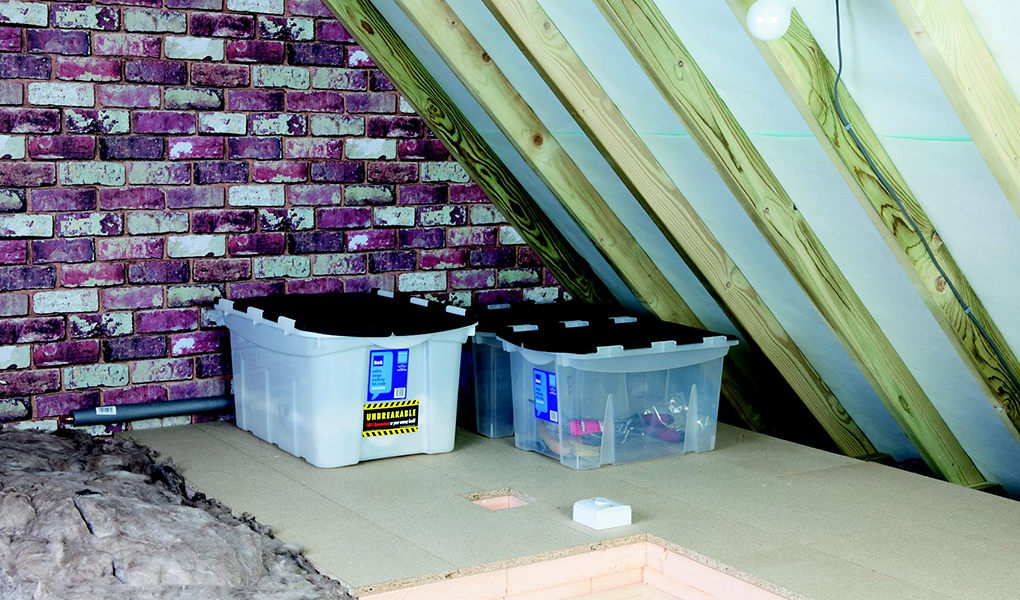
Top tip - Storage Solutions
Keeping your newly created storage space organised and clutter free is the best way to get the most out of it. Get hold of some plastic storage crates, these will stack on top of each other and protect your possessions from dust.