How to deal with damp
Damp is one of the last things we want to face at home. It doesn’t matter if we’re a homeowner or a renter, it’s not a good thing. It can make a room feel cold, unwelcoming and unhealthy, and at worst it can mean structural or weatherproofing issues.
Luckily, damp can often be treated and prevented without calling in the professionals. There are also easy signs to keep an eye out for that might indicate a problem, and simple things you can try to stop it from appearing.
In this guide, we’ll walk you through the process of identifying a damp problem and finding out its cause and suggest how to repair and fix it so that you can enjoy your living space once again.
You’ll probably be able to see or smell whether you have damp in the winter, but you can look for warning signs at any time of year. Check the following:
-
Walls – Hold your hand against the wall, does it feel very cold or damp? Look for signs of mould or fungal growth which will appear as black speckled marks or grey growths on painted walls, woodwork and wallpaper. Flaking paint or curling wallpaper can also be a sign.
- Ceilings – As well as looking for signs of mould, pay close attention to the colour of the ceiling. Is it discoloured or stained in areas? Brown patches in the external corners and near chimney breasts can be damp.
-
Windows - Condensation on windows in the morning, along with small puddles of water along windowsills, can indicate high moisture levels within your house. This can be both a cause, or symptom, of damp. Black mould may also develop on wooden and PVC window frames, and silicone sealant used around the edge of frames.
- Bathrooms and kitchens – Look at the grouting and sealant for signs of black mould. Check around window frames and on ceilings for similar damage. Look inside cabinets and cupboards to see if there are any areas of staining and mould growth and pay attention to musty smells.
- Furniture and soft furnishings – Black mould can grow on the inside of curtains, blinds and on upholstered surfaces such as sofas. Check the back of furniture for specks of mould and also for cloudy condensation on wooden and plastic surfaces.
-
Basements and unheated storage spaces – A musty, damp smell is likely to be first indicator of a problem here. Whilst you’re down there, check for staining and mould on painted walls and woodwork.
In most homes, damp is caused by one of the following issues:
Poor ventilation
Why does this happen?
Moisture is generated in any house – through washing, cooking, drying laundry and even breathing. To keep your home feeling dry and comfortable, moist air needs a way to escape the building. If it can’t escape, it builds up within the home creating condensation.
The way homes have been built and renovated in the past has made it more difficult for any moisture to leave the building. This can happen in modern buildings, which are often well insulated and designed to keep warm air in, but don’t provide sufficient escape routes for moisture. It can also occur in older properties where the addition of new insulation, windows or doors has blocked or disrupted escape routes.
What are the signs to look out for?
Condensation on windows, cold walls and surfaces (such as tiles) and a cool, damp feeling within your home.
How to fix this
Reduce condensation, repair and prevent further damage from moisture.
Penetrating damp
Why does this happen?
Sometimes the weatherproofing of a building can let you down. Common causes include leaking roofs (from broken or loose tiles, or damaged flashing on older buildings), leaking gutters (where the gutter has come loose or is blocked with leaves and debris) or damaged and deteriorating mortar, render or pebbledash on exterior walls.
What are the signs to look out for?
The sudden appearance of a damp patch (that often looks like a brown stain) on the inside of an exterior wall, in the upper corners of a room, on a ceiling or near a chimney breast.
How to fix this
Find out the source of the problem and make repairs to prevent further water ingress. We have a number of guides that can help, or you can get a professional in to sort this for you.
Leaking plumbing
Why does this happen?
If your plumbing is old or loose it can cause the hot or cold water supply to leak. There could also be a problem with waste water or central heating pipework that can cause anything from gushing water to a slow trickle of damp.
What are the signs to look out for?
Similar to penetrating damp, this damp appears away from the external walls and corners of a room as a growing damp patch. It’s mostly likely to occur on a ceiling or beneath a radiator or sink.
How to fix this
Start by fixing the cause of the problem – our handy guide to dealing with plumbing problems offers advice on some of the most common.
Rising damp
Why does this happen?
Rising damp usually occurs in older homes (early 20th century or older). In modern properties, damp-proof courses are built into the footings and foundations of a home. These help to provide a barrier between the moist soil below the house, and the habitable areas above. In older properties however, damp-proof courses may be less substantial or not part of the construction. This means that brick walls can absorb moisture from the ground below, allowing damp to rise into the floors above. The addition of modern plaster, insulation, windows and doors in more recent years may also have weakened the building’s ability to breathe, trapping moisture in the walls.
What are the signs to look out for?
Cold, damp surfaces and mould growth in the external corners of ground-floor rooms. Cold walls and floors, as well as a musty smell.
How to fix this
For homes with considerable rising damp, installing a modern damp-proof course is the best solution. Whilst this can be an expensive option, it will help to prevent any further deterioration of the building and reduce the need for preventative measures in future. Consult an expert to find out the best option for your home and budget. Where symptoms are milder, rising damp can be managed in a similar way to issues caused by condensation.
Keep on top of outdoor home maintenance
Prevention is better than cure when it comes to damp problems. Check your roof regularly for damage, especially after stormy weather. Keep gutters clear and fix or replace as soon as any damage occurs. A specially designed gutter clearing tool will help to make light work of this or install gutter guards to help keep leaves and debris out.
Inspect the pointing of exterior brickwork, and if you have any concerns about crumbling mortar speak to a professional to investigate repairs.
Keep the home warm
Condensation occurs when warm, moist air touches a cold surface like a chilly windowpane or a cold external wall. Loft and wall insulation can help create warmer spaces, and properly fitted double-glazing will help to avoid misty windows as the inner panel of glass is insulated against the cold air outdoors.
Try to maintain a constant temperature within your home by setting your thermostat to a lower temperature, but over a longer period of time each day. This will help to avoid sudden rises and dips in temperature, when condensation could develop. If your central heating system was installed some time ago, consider upgrading elements to make your home more efficient and easier to control. Programmable room thermostats and thermostatic radiator valves make it easier to heat your home where it needs it most, and Smart Home devices let you monitor temperature and energy usage as well as control your heating when away from home.
Help to make the most of the heating when it is on by ensuring that radiators aren’t blocked by furniture and that towel warmers aren’t overloaded with damp towels.
Make sure your home is well-ventilated
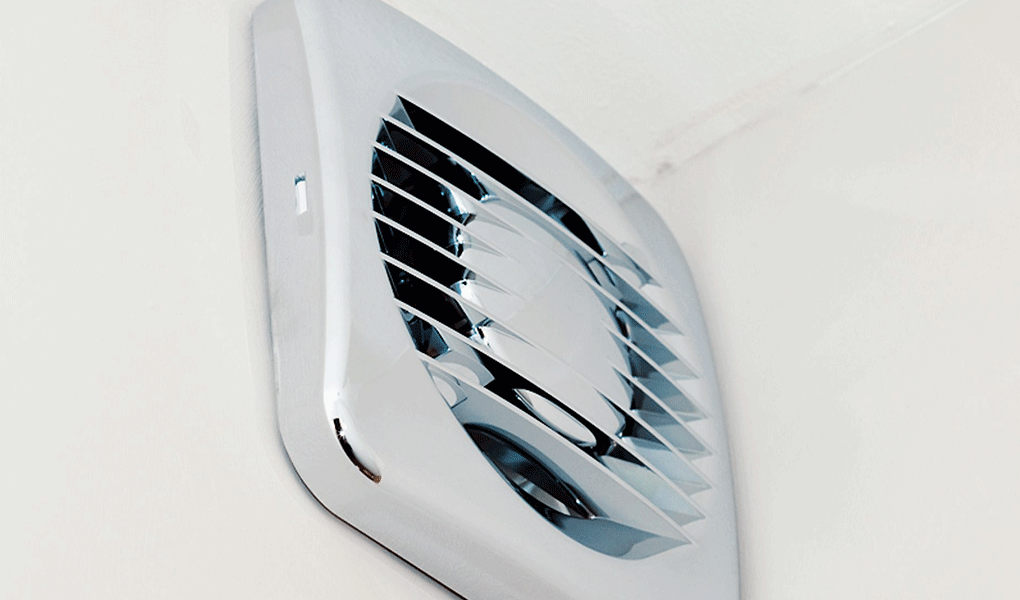
Providing a route for moisture to escape from your home will help to minimise condensation. Double-check that washing machines and tumble dryers are plumbed in and vented correctly. Install an extractor fan in bathrooms and kitchens if one isn’t already in place, and make sure that it’s set to run for a long enough period of time to clear moisture from your room.
Open windows when possible – newer window frames may allow you to open windows just a chink and then lock in place. This is especially important during the colder months when we spend more time indoors.
Avoid producing lots of moisture
Drying washing indoors can create a lot of condensation, so dry laundry outdoors on a rotary drier or use a tumble dryer whenever possible. You’ll be surprised how quickly laundry can dry outside even in winter (as long as it doesn’t rain). Choose an efficient A or A* rated tumble dryer to keep running costs as low as possible.
Vented tumble dryers are a good choice if you already have a vent installed, otherwise opt for a condenser dryer that doesn’t need venting and won’t allow moist air to escape into your home. A dehumidifier with laundry setting can be a huge help if drying indoors can’t be avoided.
Try to avoid home improvement and cleaning projects that create a lot of moisture when the weather is cold or wet and surfaces dry more slowly. Tasks such as painting and decorating, mopping floors and cleaning windows are best saved for better days when you can comfortably open a window.

Take care when cooking
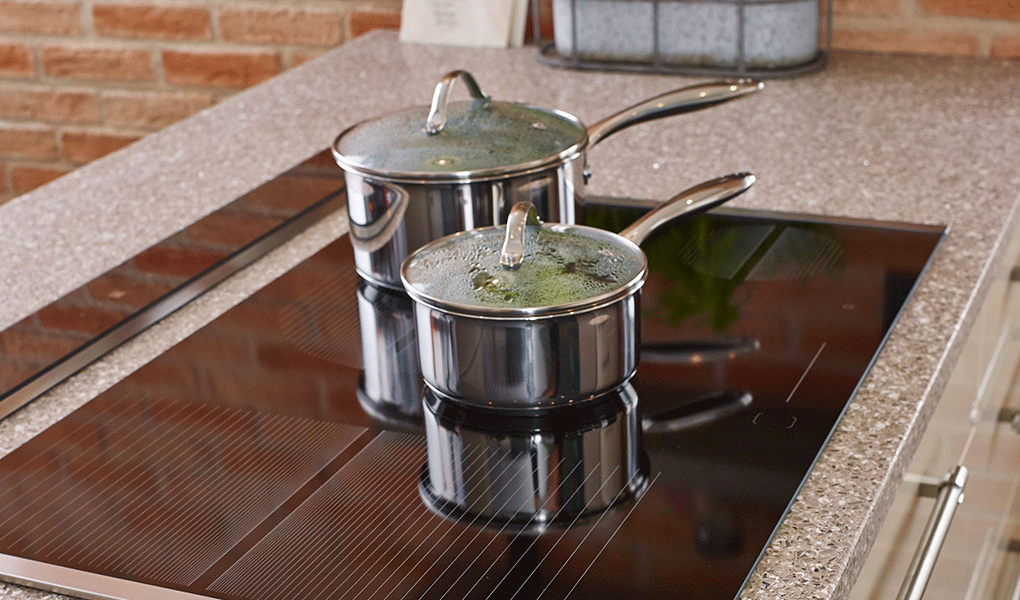
Pans on the stove, as well as kettles, can produce considerable amounts of steam and moisture. Covering pans with a lid whilst cooking will help to minimise condensation on your kitchen windows.
Switch on your cooker hood when using the hob and leave on for five minutes once you’ve finished to help clear the air. Don’t forget to regularly replace the filter on your cooker hood to make sure it’s working as efficiently as possible.
Remove excess moisture
Using a dehumidifier will help to remove excess moisture from the air, leaving your home feeling warmer and more comfortable. Opt for a smart model that switches on when humidity rises or use a timer to run for a short time every day. You’ll be surprised how much moisture it will remove from your home. Moisture absorbers are ideal for cupboards and tight spaces where damp appears, but a power supply isn’t practical. If condensation regularly develops on windows, use a window vac to remove the water in the morning. Alternatively, wipe with a chamois leather and wring out into the sink. This will help rooms to dry out quicker.
Choose moisture resistant paint and wallpaper
If your home is prone to damp or condensation, choose wall finishes that make problem prevention easier. Opt for painted surfaces and choose paints designed for use in kitchens and bathrooms. With formulas designed to resist moisture and steam, they’ll not only help to keep mould at bay, but will also wipe clean more easily if any mould develops. If wallpaper is more your thing, choose vinyl wallpaper that is splash proof and can be wiped clean.
Leave room to breathe
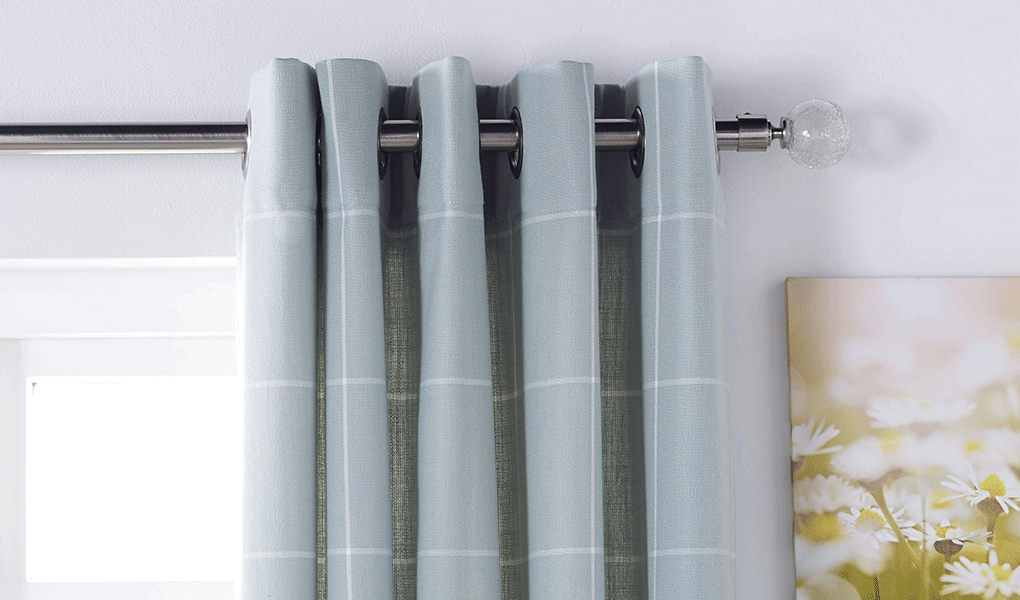
Condensation can form behind furniture and furnishings that touch colder outer walls, resulting in eventual mould growth. Try to position furniture a few centimetres away from external walls, to allow air to circulate. If you experience a lot of condensation on windows, choose coverings that can be moved well clear of frames. Fit a generous length of curtain pole or rail that allows you to pull curtains well away from the window and install blinds over the window alcove rather than within.
Many mould removing products contain bleach. Whilst this is very effective at destroying mould, it can damage fabrics and painted surfaces. Wear old clothes, eye protection and a mask when using.
Damp or mould stains on painted walls and ceilings
If you’ve been dealing with damp, we know it can be a real hassle and the last thing you want to be left with once the problem is fixed is unsightly stains on your wall or ceiling. But don’t despair, it’s a simple job and we’re going to show you how to get rid of those marks and give you the best possible change of stopping them from returning.
Once the source of the damp has been fixed, allow the area to thoroughly dry out using a dehumidifier if needed. Then, treat the surface with a mould removing treatment following the instructions on the packaging carefully. Once the surface is free of mould and dry, it can be painted with a damp seal or stain blocker paint which will ensure that the staining does not bleed through the emulsion once completed. Once dry, touch up with the same paint used elsewhere on the wall or ceiling.
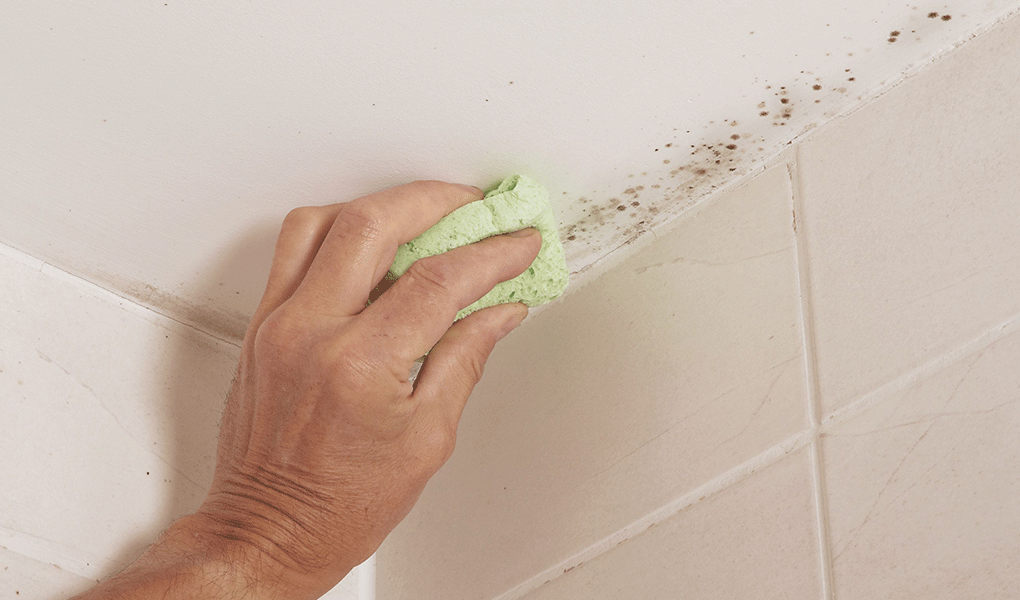
Mouldy grout and sealant in the bathroom or around sinks
If the grout and sealant is in good condition, begin with a mould removing treatment. Following the instructions on the packaging, remove as much of the mould as possible.
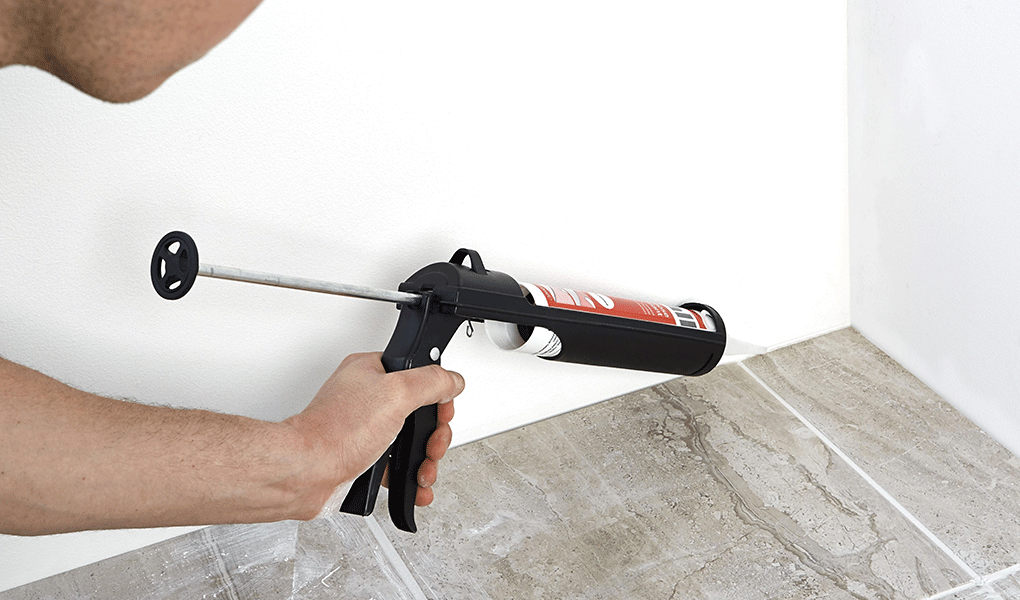
This may be enough to revive the area. However, if it doesn’t fully remove mould stains from silicone sealant, allow the area to dry thoroughly and then cut the old sealant away with a knife blade. Using a mould-resistant sealant and sealant gun, re-seal the affected area and wait until the sealant has cured before allowing the area to get wet.
