How to fit vents & fans
If you install ventilation in the parts of your home that don't have windows, you can stop serious problems from developing in the future. If you get condensation in an unventilated roof space, for example, your timbers can become damp and develop wet rot, and the insulating material will become wet and useless. This, in turn, can cause your electrical wiring to short-circuit.
Steam in your bathroom and kitchen can also lead to damp if your ventilation is poor. In these cases, fitting an extractor fan is an effective way to reduce condensation.
If you have a standard pitched roof, the simplest way to ventilate it is to fit plastic vents in the soffit board. If your roof insulation is likely to block the air from soffit vents, you can fit eaves vents between your rafters and joists to make a passageway for it to flow through.
If you have an attic room with a sloping ceiling, you can fit tile or slate near the ridge, and ridge vents on the ridge itself - so they draw air over the ceiling in your roof space. You can also fit tile or slate vents where a solid wall (such as a party wall) across your loft space is stopping air flowing from the eaves on one side of your house to those on the other side.
If a flat roof (on an extension, for example) is insulated, you can install vents called over fascia ventilators at the eaves, and where the roof meets your home's external wall.
The external walls of your house contain airbricks to ventilate the space below suspended wooden floors. With a cavity wall, an airbrick is built into each side of the wall, and a telescopic sleeve bridges the cavity between them.
As airbricks should never be blocked, you should check them regularly for leaves and other debris. Also, make sure you replace a broken airbrick immediately to prevent mice getting into the area under your floor.
A fixed window vent operated by a pull-cord creates a flow of air without causing draughts.
First, get a glazier to cut a circular hole in the glass in your window. You can either remove the pane, or call the glazier out to cut it while it's in place.
The vent screws either side of the pane. If you applying some clear silicone sealant to the retaining ring, it'll make it more weatherproof and secure. If your window doesn't open, you'll need someone outside to help you fit the vent. Take care not to over-tighten anything, and be very careful of the sharp edges around the hole.
There are two main types of extractor fan: axial fans, which you can fit in an exterior wall or in a window; and centrifugal fans, which are usually mounted on the ceiling.
They can be operated either by a pull-cord or a pull-switch in a separate location. Some can be wired to the light switch, and will switch on with the light and stay on for a timed period after it's switched off. Others come on when the humidity in the room reaches a certain level. And as different rooms need different rates of air flow, make sure you choose a fan that's suitable for the room where you want to install it. If there's a boiler in the room, there must also be enough ventilation for it when the fan is on.
Remember that modifications to any electrical circuit must comply with the latest IEE Wiring Regulations. We'd strongly advise you to get an electrician to run the cable and make the final connections for you.
Preparation
It's a good idea to mount your fan as high as possible on the wall. If you can, fit it opposite a door so fresh air can easily replace the air that's extracted when the fan is running. In a kitchen, the best place for a fan is close to the cooker - so that steam isn't drawn across the room. Use rigid ducting for a wall-mounted fan if the outer hole is directly in line with the inner hole. In other cases, flexible hose is best.
Safety first
If you're planning on making changes to a lighting or power circuit in a bathroom or kitchen, you must inform your local authority's Building Control Department first. Modifications to any circuit must comply with the latest IEE Wiring Regulations. New or replacement cables may need RCD protection.
The IEE Wiring Regulations divide a bathroom into hazard zones. Choose a fan that's suitable for the zone where you want to put it.




1. Drill the hole for the extractor fan
Mark the place where you want to put your fan, and use a pipe and cable detector to check for any hidden pipes and cables. Make sure there are no pipes on your outside wall that will block the fan, and that the outlet isn't directly below a window. Also, remember to wear ear defenders, a dust mask and heavy-duty gloves for safety reasons, and use a power holesaw to drill though the wall. You'll need to angle the drill slightly upwards towards the inside.
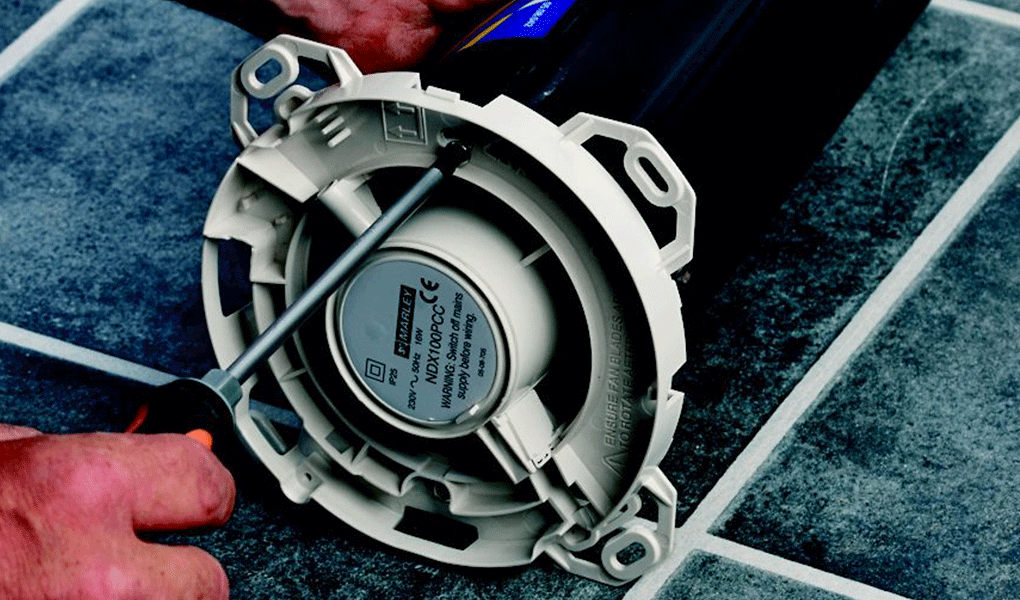

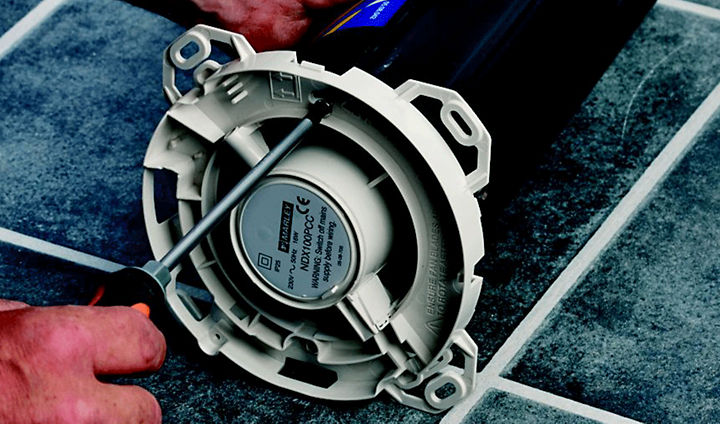
2. Screw the fan body to the ducting
If you need to, cut the ducting to length with a small saw, then screw the fan body to the ducting.
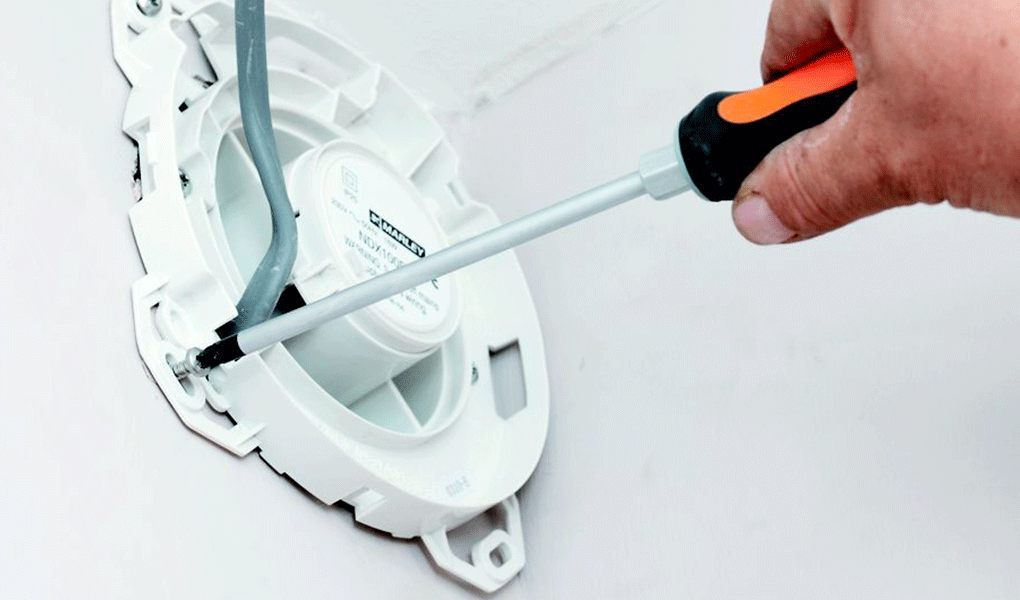

3. Secure the extractor fan to the wall
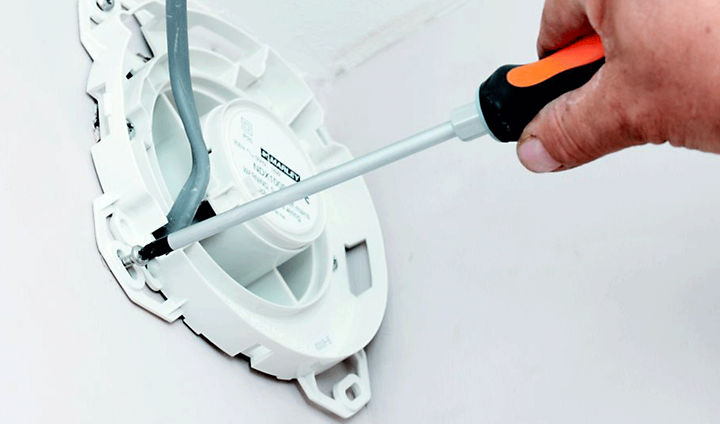
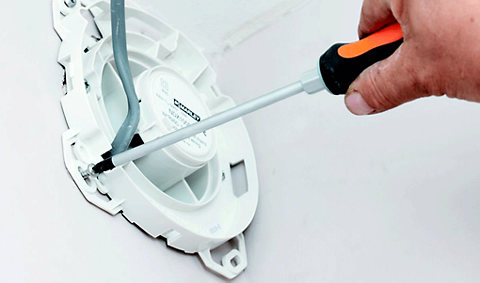
Push the fan and ducting into the hole, following the manufacturer's instructions to make sure the electrical cable is threaded through.
Mark and drill fixing holes, then screw the fan into place. Take off the central safety cover to show the electrical connections. But make sure you get an electrician to make the final connections for you, in line with the manufacturer's instructions.



4. Add the grille covers
Fit the internal grille cover, with the slats parallel to the ceiling.
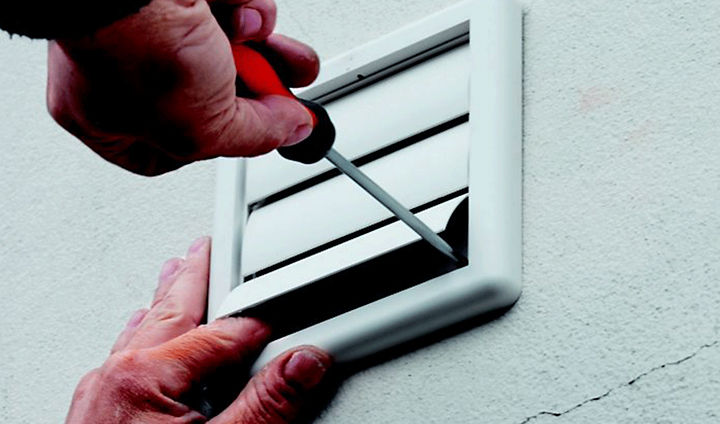
Then, repair the outside wall with exterior filler, and fit the external grille.