How to upcycle a wardrobe
Forget buying a new wardrobe if yours is looking a bit tired. Transform an existing one in just a few steps with our guide.
Painting an old wardrobe gives you a chance to create a focal point in your room which matches your style and decor. Not only that, it'll help cover any marks or scuffs it's picked up over the years, bonus!
It's important that you get the right paint for upcycling projects, so we recommend you choose one from our GoodHome cabinet and wardrobe paint range.
Think about your colour choices. For a shabby chic vibe you'll want light shades, whereas if you want to make your wardrobe a real statement then choose something bright and bold.
Project shopping list
If you can't make it into one of our stores try click + collect. Many of our products are ready in just four hours, and even more are available the next day. Simply pay for your items online, and pick up free of charge from your nearest B&Q store.
| Materials | Tools | Safety |
|---|---|---|
| GoodHome renovation paint | Paint brush | Goggles |
| Sandpaper | Screwdriver | Gloves |
| Dust mask |
When painting your wardrobe make sure it's somewhere with adequate ventilation, so either outside or a room with lots of open windows.
Step 1
Begin by wiping down your wardrobe with a cloth and some general household cleaner to get rid of any dirt, dust or cobwebs that might be lurking. Remove all the drawers and use a screwdriver to take off the handles.
Step 2
Whilst wearing a dust mask, lightly sand it all over to give it a rough surface, this helps the paint to adhere to the wood easier. If your wardrobe has a varnished finish, you'll need to do a little more work to get rid of the shine, although worry about removing all the varnish. Wipe away the dust with a cloth.
Step 3
Lay a dust sheet underneath your wardrobe to catch any stray paint drips.
Step 4
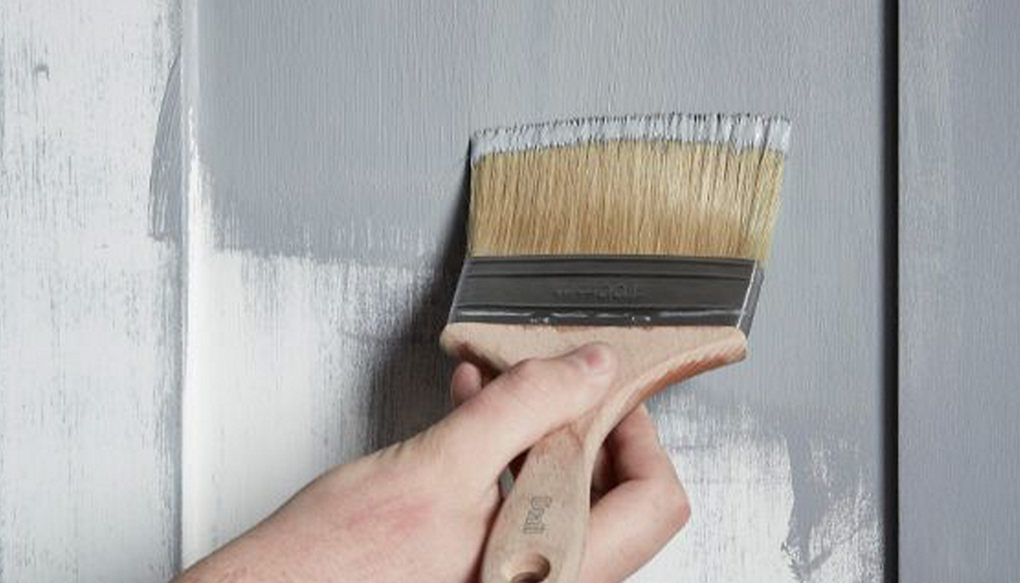
Open your renovation paint and stir it thoroughly. Apply the paint in thin layers in a consistent direction, starting with the drawer fronts and the doors and shelves. Then paint the rest of your wardrobe, starting at the top and working down. Leave it to dry.
Step 5
When your wardrobe is fully dry you can reattach the handles and pop the drawers back in, ready to be centre stage in your room!
Top tip
Allow 10 days for paint to fully cure. During this time treat your new paintwork with extra care, gently wiping any spills or liquids immediately.