How to replace a toilet seat
This guide will take you through removing your old toilet seat and installing a new one. It's best to read the manufacturer's instructions before you start this project as installation and fixings can vary. Ensure you are wearing protective clothing, including goggles and gloves, to protect against exposure to chemicals, dust, or flying debris.
Equipment:
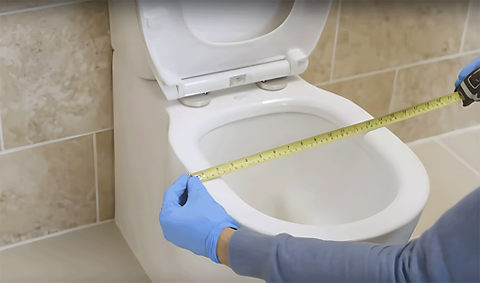
1. Measure the toilet
Measure from your toilet seat fixing point to the lip and then the width to find the dimensions needed for your new toilet seat.
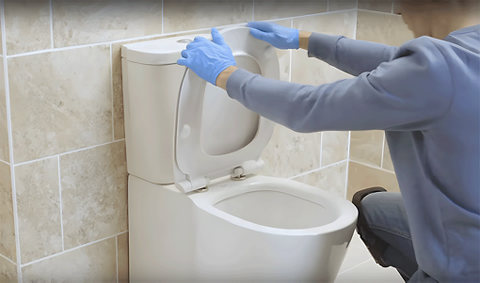
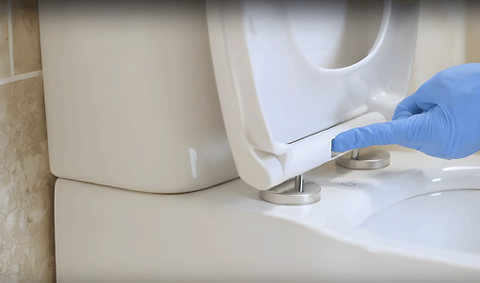
2. Remove old toilet seat
For a back-to-wall toilet, your seat may have hidden fixings. Start by taking the seat off the hinges, levering off the cover plates, and remove the brackets.
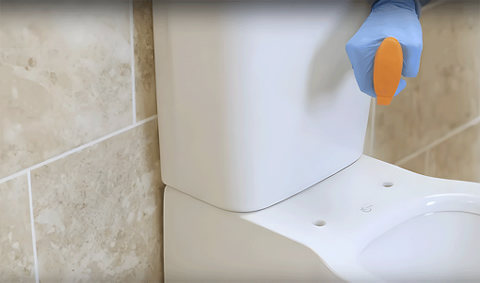
3. Disinfect the area
Once you've removed the seat, clean the toilet area with disinfectant. Dry thoroughly to avoid any mould forming.
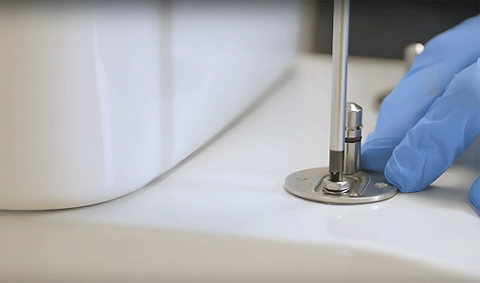
4. Put the nuts in place
Now you can unpack your new seat and fixings. Always read the manufacturer’s instructions. Drop the nuts through the holes in the toilet and use the screwdriver to tighten them in place.
5. Replace the covers
Push the stainless steel covers over the brackets.

6. Finish installing the seat
Slot the seat into place.