How to repair paving

Introduction

Although concrete is very hard-wearing, you might sometimes find that you need to repair your paving, paths or steps. A section of paving or even a single slab might sink because of small ground movements or heavy use, and this can make rainwater collects in puddles. Find out how best to repair damaged paving.


If a slab has sunk or been damaged, it's quite easy to lift and either re-lay or replace it.

Top tip - Slab sizes

There's a slight difference in size between older concrete slabs (which come in imperial sizes,) and new metric ones, which are a fraction smaller. If you have to replace an old slab, see if you can take one from somewhere else on the patio (such as from a position against a wall) and use that to replace the broken one. You could fit the mismatched slab against the wall, where it'll stand out less - or fill the gap with earth and plants.

Safety first - Look after your back

Don't risk hurting yourself. If you're laying slabs of 600mm x 600mm or larger, ask someone to help you lift and lay them.
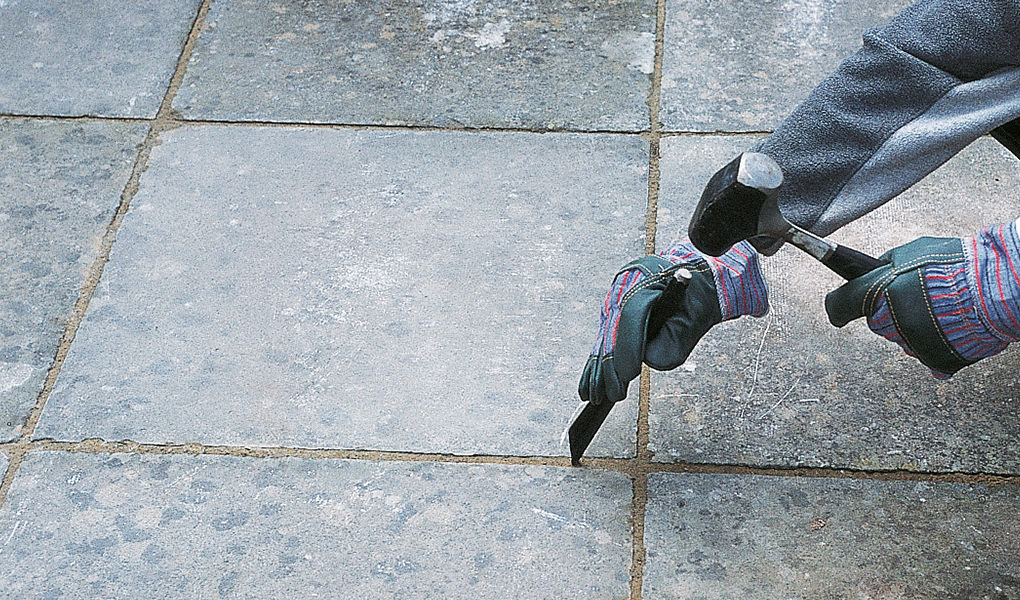
club hammer and chiselclub hammer and chiselclub hammer and chiselclub hammer and chisel

Step 1

Making sure you're wearing safety goggles and heavy-duty gloves, chip out the pointing around the slab with a plugging chisel and club hammer.
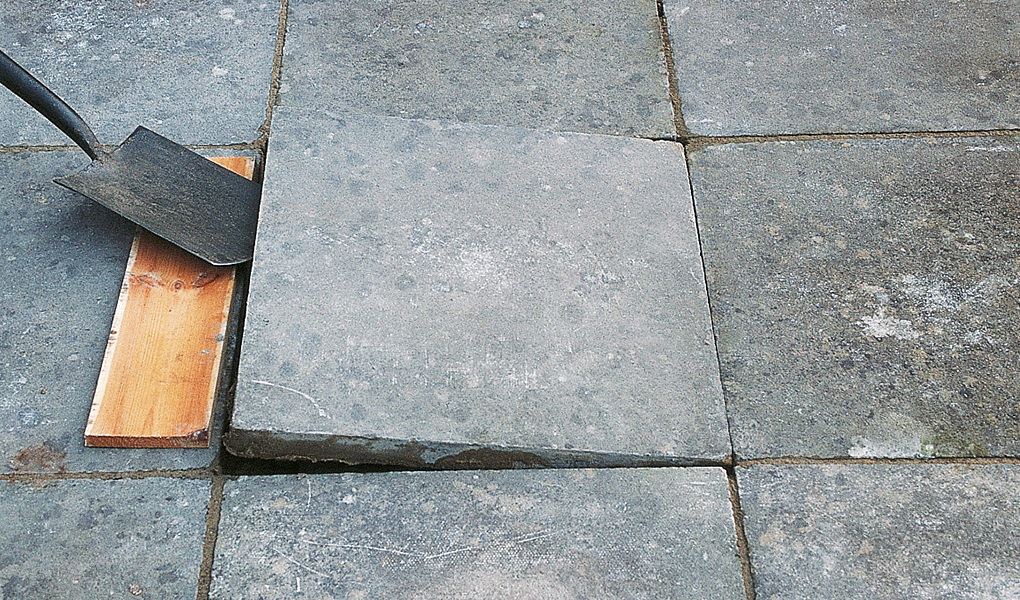
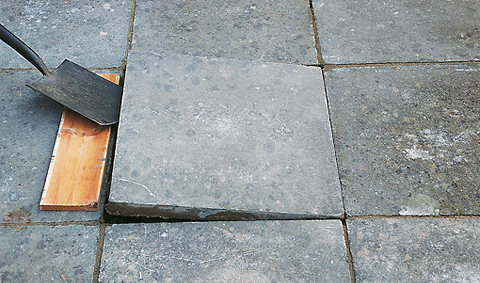
Spade lifting paving slabSpade lifting paving slabSpade lifting paving slabSpade lifting paving slab

Step 2

Lift the slab with a spade, using a timber off-cut to protect the slab next to it.

Slab being lifted from groundSlab being lifted from groundSlab being lifted from groundSlab being lifted from ground

Step 3

Insert a broom handle under the slab and roll it out of the way.
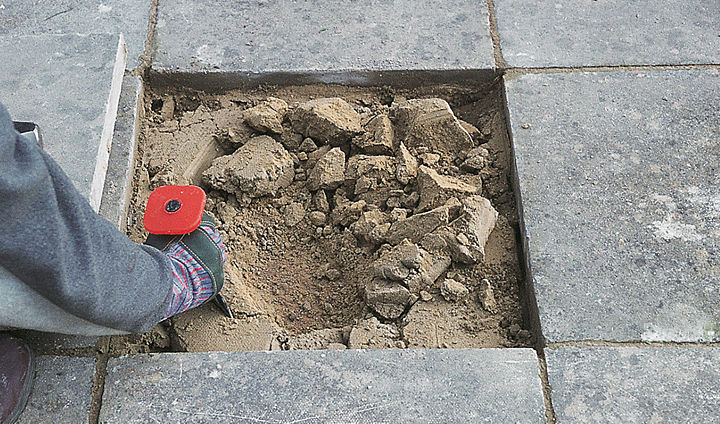
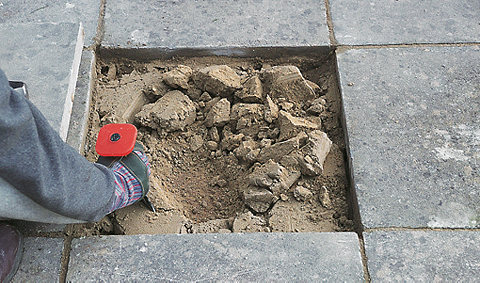
digging up dirt with chiseldigging up dirt with chiseldigging up dirt with chiseldigging up dirt with chisel

Step 4

Break up and remove the old mortar using a bolster chisel and club hammer. If the slab has been laid on sand, use a piece of timber to level it and add more sand if you need to.
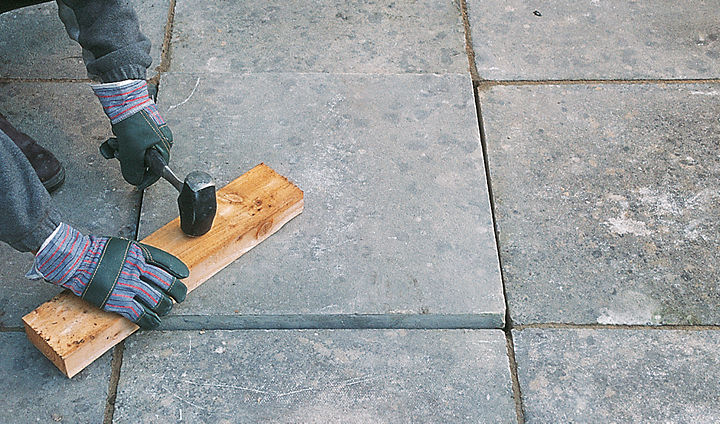
replacing paving slab with hammerreplacing paving slab with hammerreplacing paving slab with hammerreplacing paving slab with hammer

Step 5

If the slab has been laid on mortar, wet the back and lay it (or a new slab) in position on a fresh bed of mortar mixed with four parts sharp sand to one part cement. Make sure it's in line with the surrounding slabs. Then use a timber off-cut and the club hammer to press the slab into position, and fill the joints with dry mortar.


Years of use and exposure to the elements can make concrete steps deteriorate on the edges where the tread meets the riser. Try and repair the damage as soon as you can to stop your steps from becoming unsightly - and unsafe.

Top tip - Concrete repairs

Look out for specially-formulated epoxy patching mortar, which gives hard-wearing, high-strength repairs to concrete and masonry.

Top tip - Clean paving

Keeping your paving stones clean will help you stop your path or patio becoming slippery in wet weather. Using a pressure washer with a chemical brick and patio cleaner is an efficient way to get rid of oil, grease and moss.

brick layingbrick layingbrick layingbrick laying

Step 1

Remembering to put on some safety goggles and protective gloves, chip out the loose and flaking concrete with a cold chisel and club hammer. Then paint the damaged area with PVA adhesive diluted with water according to the manufacturer's instructions. Next, cut a piece of board to the same height as the riser and prop it against the riser with bricks.

brick layingbrick layingbrick layingbrick laying

Step 2

Let the adhesive dry to the point that it becomes tacky, then use a trowel or float to fill the damaged area with a concrete filler. You can prepare this by combining three parts sharp sand with one part cement, and a solution of equal parts of PVA adhesive and water mixed separately. Run an arising tool along the edge to create a neat, rounded front edge to the tread. Finally, cover the area with polythene for three days to let it harden, then remove the bricks and board.


Small hairline cracks in concrete aren't a problem. But you will need to repair large cracks and holes to stop them from filling with water - which could freeze and cause more damage.

chisel concretechisel concretechisel concretechisel concrete

Step 1

Chip away the damaged area to a depth of at least 15mm with a sharp, cold chisel and a club hammer. Then undercut the edge of the concrete with the chisel to hold the filler in place.

flattening concreteflattening concreteflattening concreteflattening concrete

Step 2

Brush away any dust and debris from the hole and paint it with PVA adhesive, diluted according to the manufacturer's instructions.

Step 3

When the PVA is tacky, you can fill the area with a concrete repair filler mix. Use a float to level the surface with the surrounding concrete. Lastly, cover the area with polythene and leave it to harden for three days


Watch a quick video guide to cleaning your paving.