How to repair a house wall
Most houses are built from a combination of bricks, concrete blocks and timber on a solid base known as the foundations. Some older houses can also be made of local natural stone. The construction of the walls depends on whether they're external or internal, and whether they're load-bearing or non-load-bearing.
The external walls of a house are all load-bearing, as they support the weight of the roof, floors and internal walls. Internal walls divide the floor space into rooms, and are usually made of less heavyweight materials. Because many internal walls aren't structural (in other words, they don't support the structure) they're known as non-load-bearing walls.
Not all internal walls are non-load-bearing, though. Some can partly support floor and ceiling joists, while others add to the stability of the building. So never assume an internal wall is non-load-bearing, and always get professional advice before you attempt any major alterations.
Solid external walls
External walls can be of solid or cavity (hollow) construction. In houses built before the 1920s, you'll usually find solid external walls are made of natural stone or brick. They're usually at least 225mm thick (the length of a standard brick), and are often a brick and a half-thick where the house is exposed to severe weather. Today, solid walls are usually made from concrete blocks. This type of wall generally gives good sound insulation, but doesn't retain heat very efficiently.
Cavity external walls
Most modern houses have external walls constructed with a cavity in the middle. Typically, the leaves (walls) are each about 100mm thick, separated by a gap of at least 50mm, and tied together with metal wall ties to make them stable.
Cavity walls are built from bricks, concrete blocks or timber framing, or a combination of these. They're more effective than solid walls at preventing moisture penetration and heat loss. Uninsulated cavity brick walls can also have insulating material blown between them - which makes your house much cosier and more energy-efficient.
Internal walls
There are two types of internal wall in a house: party walls and partition walls. Party walls are shared walls between detached or semi-detached houses. Partition walls divide up the floor space within a property into rooms, and are usually (although not always) non-load-bearing.
Internal walls can be made from a variety of materials including stone (in older houses), brick and concrete blocks, and plasterboard or wallboard fixed to frames made from timber or metal. Lightweight internal walls can even be made from glass blocks.
You can fill a deep crack with screwed-up newspaper, which makes a good base for the filler. For larger holes, you might need to build up several thin coats of filler rather than one thick one, making sure to let each coat dry before adding the next.
Corners are particularly vulnerable to wear and tear, and often need patching. There are two ways to do this. You can repair the damage with undercoat plaster, using a nailed-on piece of board to achieve a neat edge. Or if a longer stretch is damaged, it's better to reinforce the corner with metal or plastic corner beading. In either case, you'll need to cut back crumbling plaster to a firm surface with a cold chisel and hammer first.


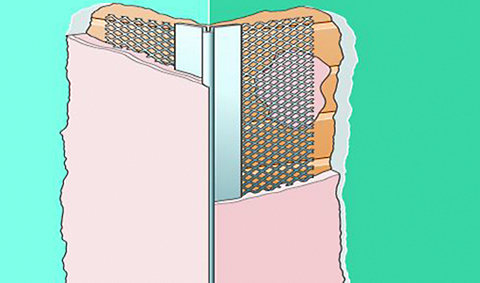
Making a patch using metal corner beading
1. Fit metal corner beading to the wall
Start by cutting the expanded metal corner beading to the right length with a hacksaw, then paint the cut ends with metal primer to seal them. Wet the wall and apply patches of plaster undercoat each side of the corner, using a plasterer's trowel.
Press the beading into position, allowing the plaster to squeeze through the mesh. Build up the undercoat plaster, then scrape it back to 2mm below the old finished level with your trowel.
2. Apply finishing plaster
Apply a top coat of finishing plaster in a wide band, feathering this in so it's level with the existing surface. Take care not to damage the metal beading's coating or you may find rust comes through later. To be on the safe side, brush metal primer over the corner before you decorate.

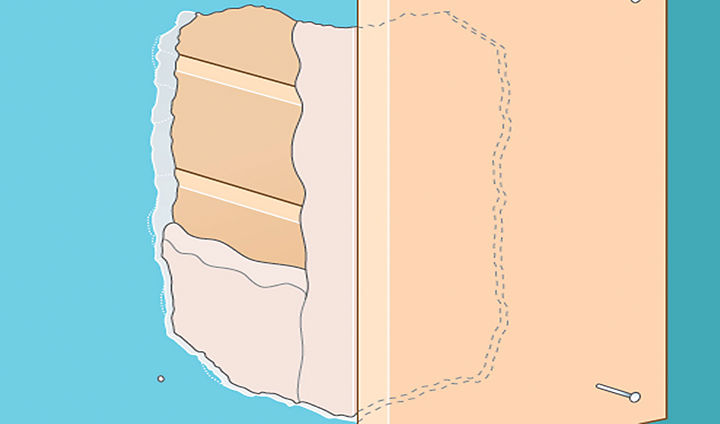
Making a patch with plaster and a board
Hammer two nails into a piece of board slightly larger than the damaged area on one side of the corner - making sure the nails fit into firm plaster beyond the damaged area. Position the board's edge so that it's flush with the plaster surface on the adjacent wall.
Nail the board to the wall. Dampen the broken edges on the uncovered wall with a large paintbrush, and apply plaster undercoat with a trowel. When the plaster has set, pull the board away from the wall.
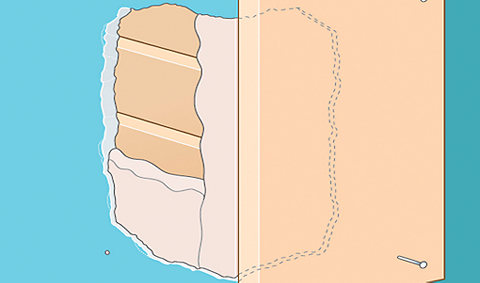
Once the plaster has completely hardened, nail the board to the repaired side and fill the other side of the corner in the same way. Leave the plaster to dry, remove the board then sand the corner to a smooth edge. Finally, fill and sand the holes made by the nails.
As long as the laths are secure, you can fill small holes in a lath-and plaster wall in the same way as ordinary plaster. Broken laths can often be the reason for plaster crumbling. If this is the case, you'll need to reinforce them with expanded metal mesh under the new plaster.
1. Cut a piece of mesh to the size of the hole
First, remove any debris until you get back to an edge where the plaster is still firmly attached to the laths. Then use a pair of tinsnips to cut a piece of mesh the size of the hole.


2. Fit the mesh to the wall
Place the mesh and fix it in place around the edges with plaster undercoat. (It's not a good idea to nail or staple onto the laths, as you might damage the surrounding plaster and lath.)


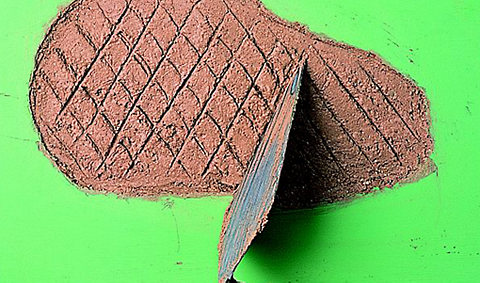
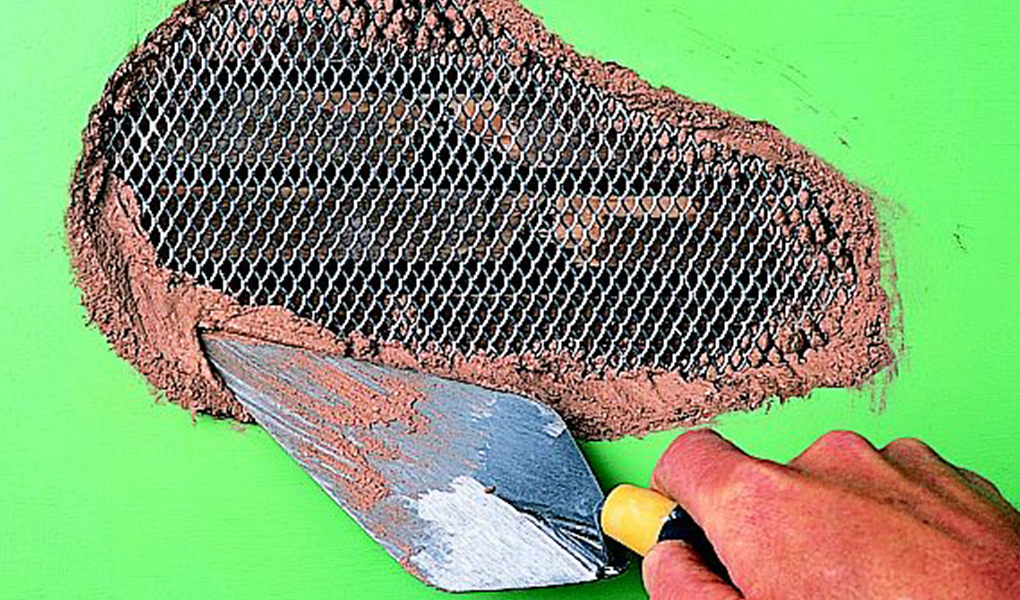
3. Apply plaster across the repair
Next, dampen the laths and apply a plaster undercoat using a plasterer's trowel. You'll need to force the plaster between the laths to make sure it sticks well. Then score the surface in a diamond pattern to create a key for the finishing coat. Let this set and put on a finishing coat of plaster.
Problems on a painted surface are usually caused by poor preparation, incompatible paints on top of one another and trapped moisture. Generally, the only cure is to strip off the paint and redo it.
Safety first - Lead in paint
Paint with a high lead content can cause poisoning. Most paint you buy nowadays contains little or none of it, and any that does must have a clear warning. But before stripping old (especially pre-1960s) paint, you must use a lead-testing kit on it first. If the result is positive, use a specially formulated chemical stripper - don't dry-strip the paint either with a hot-air gun or a sander. Keep the windows open and children well out of the way.
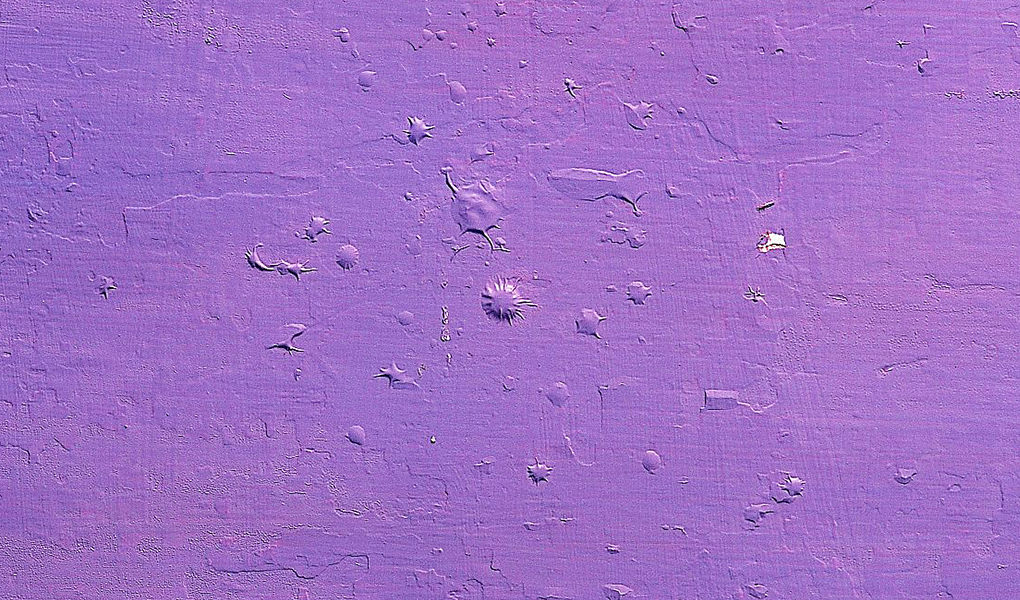

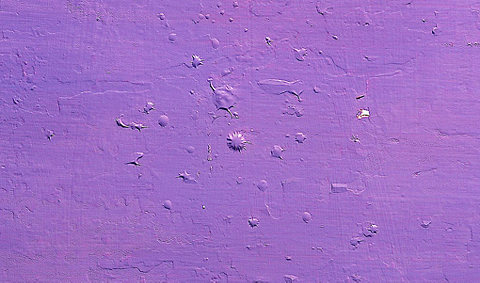
Paint blisters
Blisters sometimes appear on painted woodwork. If water appears when you prick the blister, you know the surface is damp. Strip the paint with a hot-air gun, and prime and repaint it when the wood is dry. Air can also get trapped under the painted surface of open-grained wood. If this is the case, strip the paint off and fill the grain with epoxy-based wood filler. This filler flexes with the natural expansion and contraction of the wood. Alternatively, you can re-paint with microporous acrylic paint.
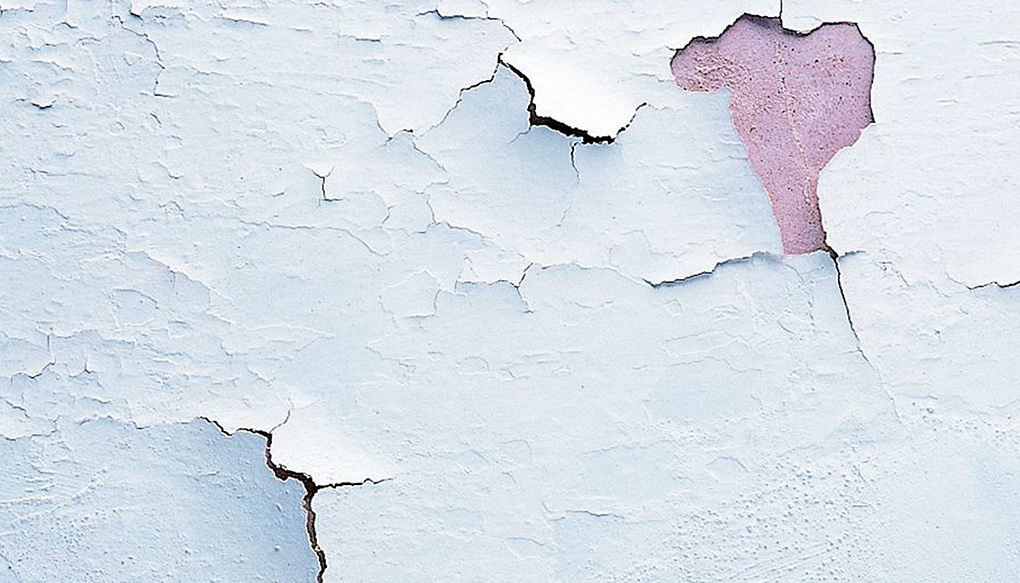


Paint flaking
Paint will peel off a surface that's already flaky, or one that's incompatible (such as emulsion over gloss). After stripping off the flaking paint with a wide stripping knife, sand the surface with medium-grade abrasive paper around a sanding block, then wash it with sugar soap and water before re-painting it. Emulsion will also flake if painted over distemper (old-fashioned water-based paint that contains glue). In this case, you'll need to treat the whole area with special stabilising solution before you re-paint it.

Paint runs
If you apply too much paint to a wall too quickly, you'll get paint runs. You can simply brush runs out of wet paint. If it's dry, rub it with fine abrasive paper until the surface is smooth. Then dust and wipe it with a damp cloth, and carefully apply a new top coat.
Problems with wallpaper are often down to human error. Perhaps you (or whoever originally did the job) rushed it when hanging the paper, used too little paste, or just weren't careful enough. Here are a few solutions.
Top tip - Fixing gaps at seams
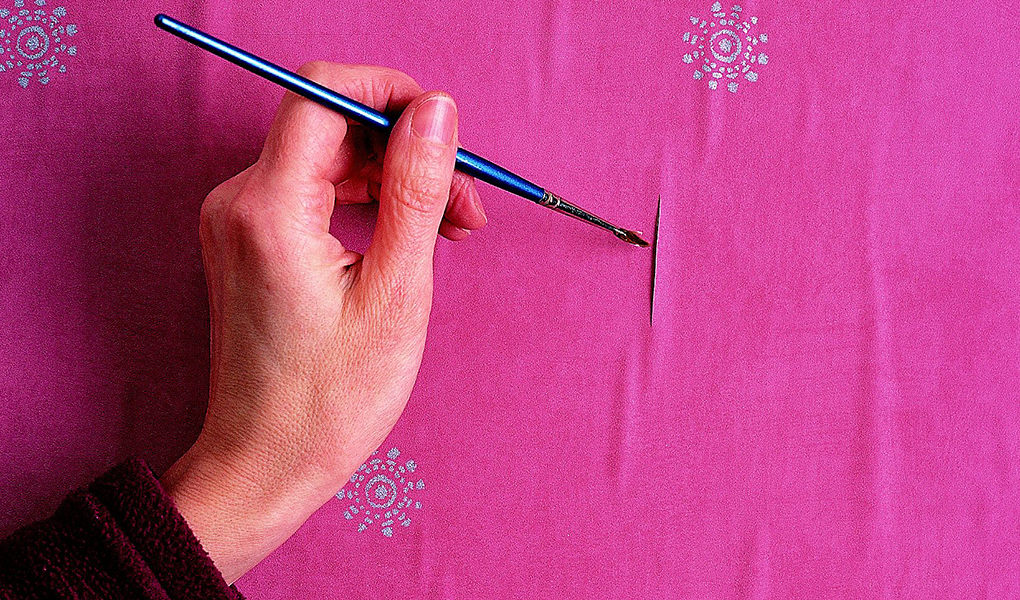
Sometimes you might notice that gaps have appeared at the seams of your wallpaper. These are usually caused by poor hanging, but occasionally they occur because the paper has shrunk when it was drying. You can fill white gaps with a felt-tip pen the same colour as the base colour of the paper. Some paper manufacturers sell special pens for this purpose.


Bubbles under the paper
Any small air bubbles should disappear as your wallpaper dries. But if the paper wasn't left to soak for long enough, it may expand on the wall and create more. If you spot any bubbles, simply cut them with a razor blade and insert some wallpaper paste behind the flaps with a fine brush. Press the paper into place, then wipe off the excess paste with a damp rag.


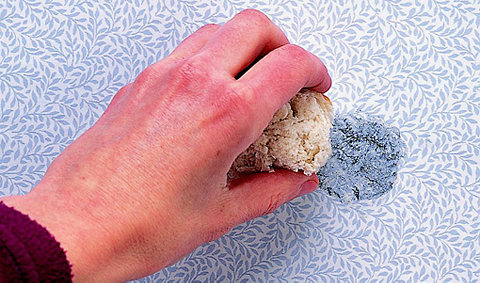
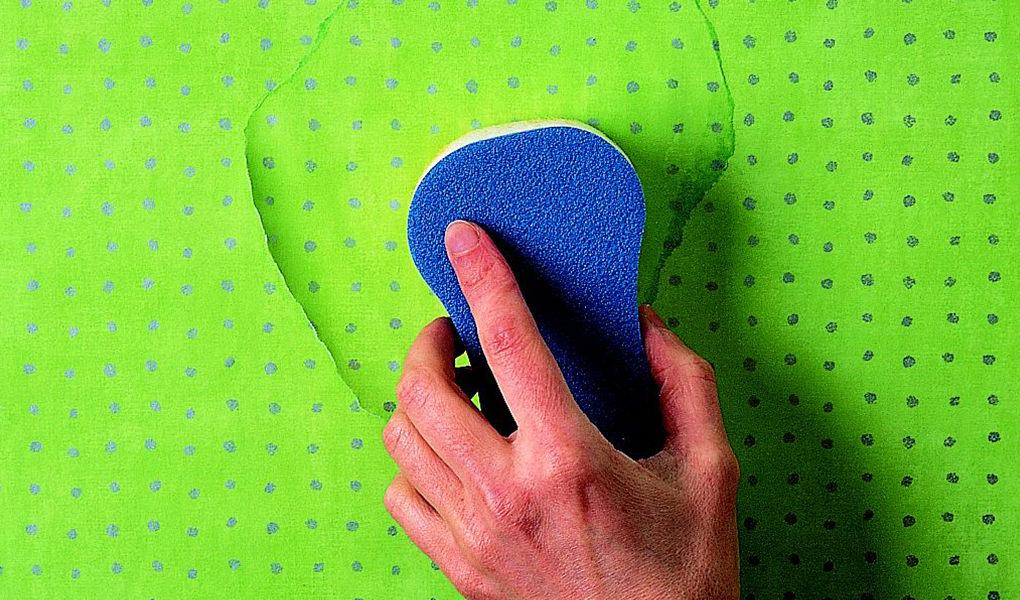
Shiny patches
Shiny patches can appear on matt wallpaper if you rubbed it too hard when hanging it. Try gently rubbing the shiny areas with a ball of white bread to dull the shine. You can actually use bread to remove dirty marks, too. Next time you hang matt wallpaper, make sure you smooth it carefully with a clean dry sponge to avoid this problem.


Torn patches
Remove all the damaged paper, so you only leave paper that is firmly attached. Tear around the edges of a patch of fresh wallpaper (this makes a less noticeable repair than a square-cut patch) and paste it over the damaged area so the pattern matches exactly. Then smooth it down with a sponge.

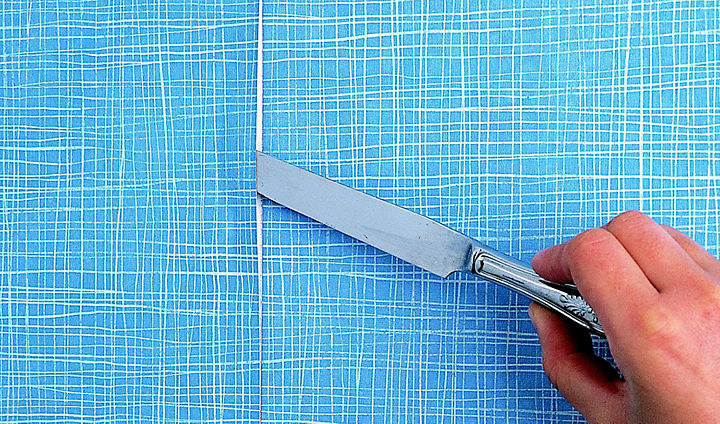
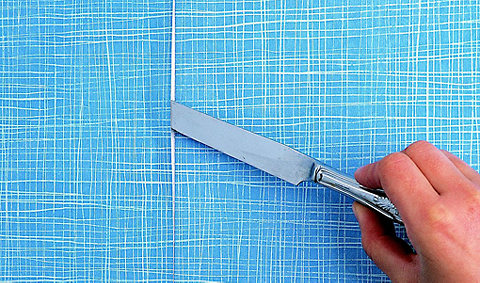
Lifting seams
Seams can open up if you've applied too little paste at the edges - particularly in the case of vinyl and relief papers. If this has happened, lift the seam with a round-bladed knife and apply fresh paste with a fine brush. Then run down the seam with a seam roller to press the edges together.

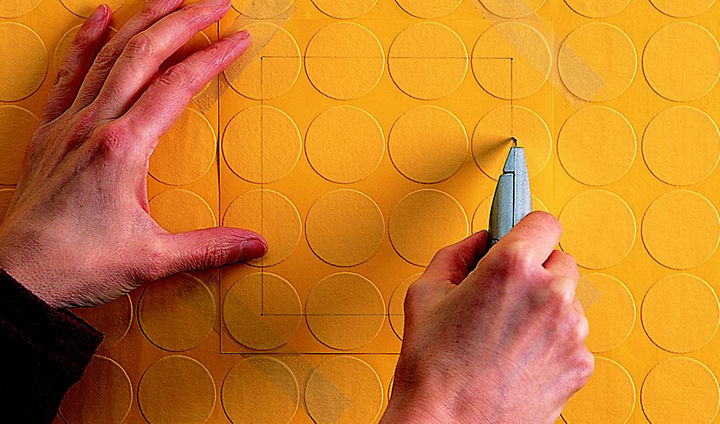

Damaged vinyl wallpaper
As you can't tear vinyl paper, cut a square larger than the damaged area. Tape the square over the damage, then with a trimming knife cut within this (through both layers) a square large enough to remove all the damaged area. Take out the old square of vinyl, apply paste to the patch and fit it into the gap.