How to remove and replace sealant
The silicone sealant around the tiling in the bathroom or kitchen can often get discoloured over time. It can get mouldy, particularly if the sealant is damaged or worn away and water gets in. However, this is easy to resolve by removing and replacing the sealant to restore the look of the tiling. Follow our steps below for a guide.
Materials:
Tools:
- Cartridge gun - if required. Check the product instructions for the sealant.
- Sealant remover tool and Sealant smoother tool - or you can get combined sealant remover and sealant smoother tools.
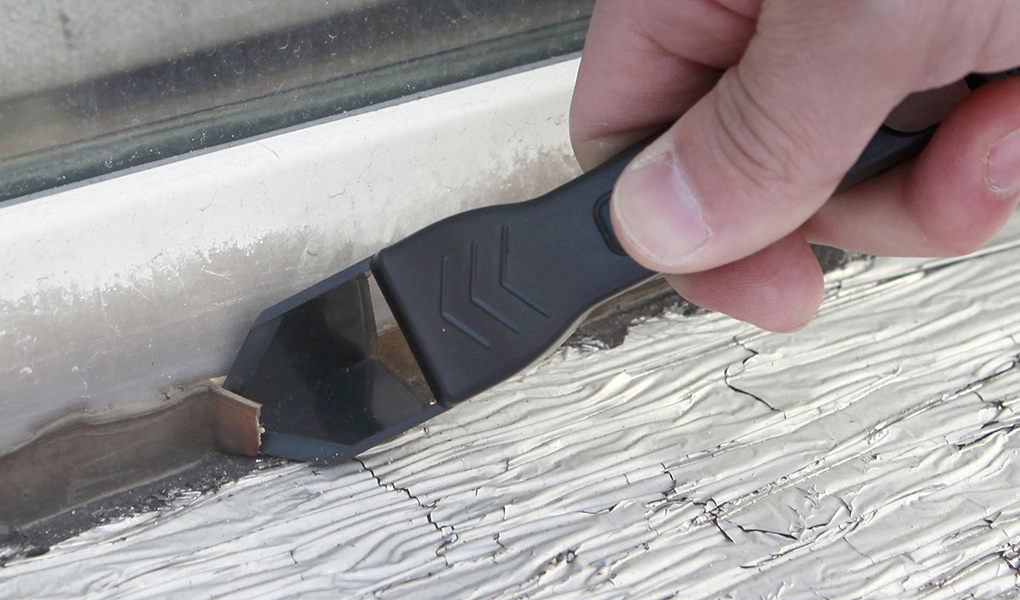


1. Remove the existing sealant
Use a sealant remover tool to remove the existing sealant. The tool has a pointed tip to pierce the sealant and scrape it away.
2. Clean the area
If the sealant was mouldy, clean the surface with mould remover. Leave the mould remover on for as long as directed on the product instructions. Rinse off the mould remover, as directed by the product manufacturer and let the area dry thoroughly.
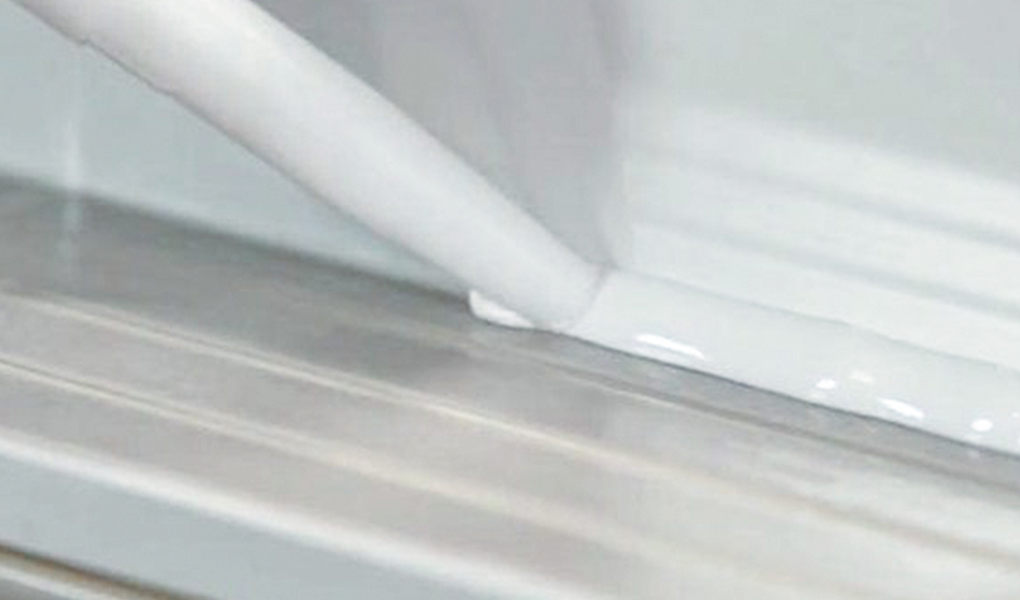


3. Apply new sealant
Re-apply anti-mould waterproof sealant using the cartridge gun, applying as directed on the product instructions. Work from one end of the tiled wall to the other. Try to keep a steady pressure and speed when you're doing this.

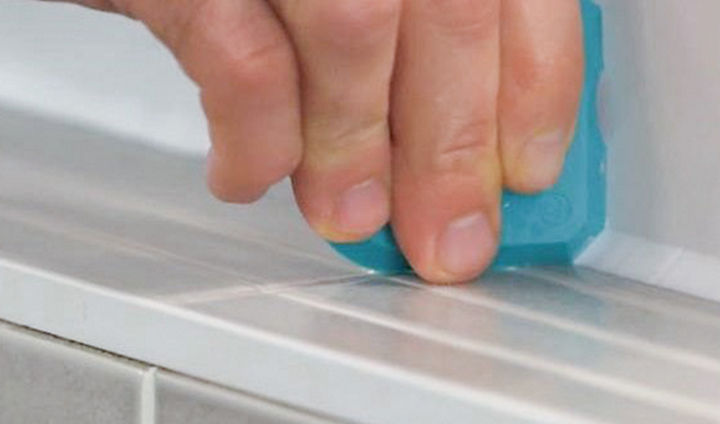
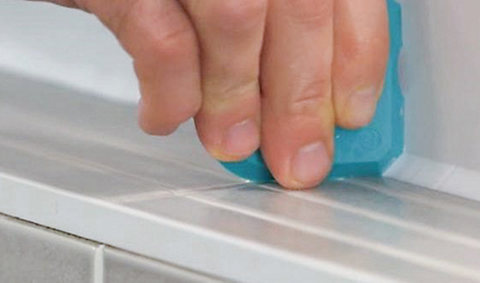
4. Smooth the sealant
Smooth down the sealant with a sealant smoother tool and leave it to dry. Alternatively you could use your finger to smooth the sealant, but ensure it is wet otherwise the sealant will stick to the skin.