How to paint a wall two colours
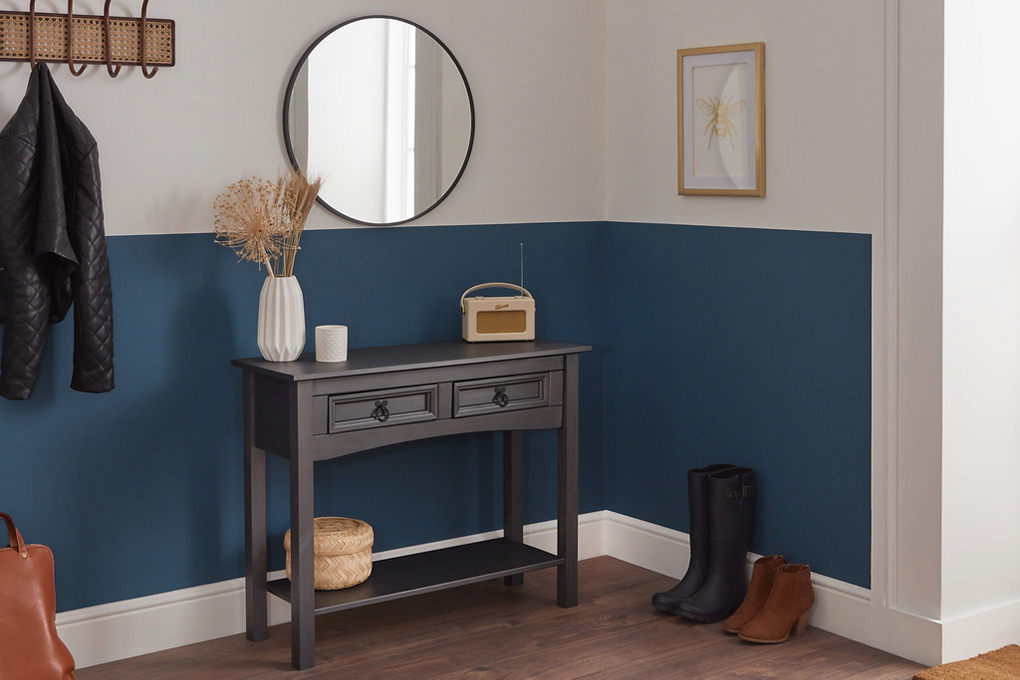
Why choose one colour when you can have two? The possibilities and colour combinations are endless when you think outside the box. And we're not just talking horizontal lines, try geometric patterns for a real show-stopper. With this easy to do project, your walls will be Instagram ready by bedtime!


Project shopping list
If you can't make it into one of our stores try click + collect. Many of our products are ready in just four hours, and even more are available the next day. Simply pay for your items online, and pick up free of charge from your nearest B&Q store.
| Materials | Tools | Safety |
|---|---|---|
| Walls & ceilings paint | Paint brush | Goggles |
| Masking tape | Roller & tray | Gloves |
| Painters tape | Spirit level |
Step 1
Before you begin painting your walls, you’ll need to make sure the surfaces are properly prepared, so you’re left with a finish to be proud of. Take a look at our ‘Prepping your walls for painting’ article to find out how to do this.
Step 2
The first job is applying the lighter colour to the entire wall. Stir the paint thoroughly with a paint stirrer, if you don't have one then you can use an alternative like a chop stick or wooden spoon.
Start by cutting into the edges with a paint brush - cutting in is where use a paint brush to paint areas that are too tight for rollers (such as at corners or the trim). This part needs precision, so take your time to get a nice clean finish. As you don't need to load up your brush, try tipping a little paint into a small container to prevent it from dripping.


Step 3
Now you need to fill in the larger areas using a roller. Apply the paint in an M or W motion.
Brush out any drops immediately to avoid an uneven finish.
Now allow the paint to dry.
Step 4
Repeat the painting process for a second coat.


Step 5
Mark on your wall, using a measuring tape and pencil, where you want your second colour to be, whether that's a geometric shape, or half of the wall.
Extend the line using a spirit level to keep it straight.


Step 6
Run a line of masking tape flush above the pencil line.
Smooth the tape down thoroughly to prevent your paint colours from bleeding.


Step 7
Start by cutting in with a paint brush as before.
Paint along the line, slightly overlapping the masking tape.
Use a roller to fill in the larger areas and allow it to dry.
Apply a second coat of the darker colour if you need to when the first coat is dry. Remove the masking tape and allow it to dry fully.