How to paint a ceiling
We know you probably don't spend much time looking up at your ceiling, but take a moment to give it a glance. It takes up a sixth of your space, so why not give it some TLC? Sure, white paint has always been the go-to choice for ceilings, but there are endless possibilities to explore if you're prepared to be a little more adventurous.

Project shopping list
If you can't make it into one of our stores try click + collect. Many of our products are ready in just four hours, and even more are available the next day. Simply pay for your items online, and pick up free of charge from your nearest B&Q store.
| Tools | Materials | Safety |
|---|---|---|
| GoodHome walls & ceilings paint | Sandpaper | Goggles |
| Extension pole | Masking tape | |
| Roller | Duster | |
| Roller tray | ||
| Paint brush |
Painting a ceiling
Step 1
Sand any rough bits until you’re left with a smooth surface. Skip this step if you've got an Artex ceiling.
Step 2
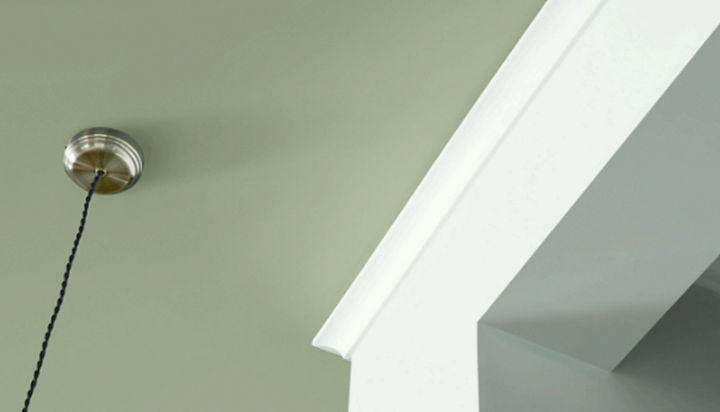
Mask the edges and around any fixtures such as lights or alarms. Prep this the night before if you want a head start.
Step 3
Cut in around the edges of the ceiling and around any fixtures - cutting in is where use a paint brush to paint areas that are too tight for rollers (such as at corners or the trim). This part needs precision, so take your time to get a nice clean finish. As you don't need to load up your brush, try tipping a little paint into a small container to prevent it from dripping.
Step 4
Using an extension pole, load up your roller with paint - be careful not to overload it to avoid any spillages! Apply your first coat and let it dry for about 4-6 hours, make sure you open windows and doors to keep the room well ventilated.
Step 5
Apply a second coat of paint. Let it dry and remove all the masking tape.
Step 6
Wow, look at that fresh new paint job! Remove those dust sheets and clean those brushes and you're all done.


