How to install and look after smoke alarms
Installing smoke and carbon monoxide detectors in your home is one of the most important steps you can take towards keeping you and your family safe. Making sure that they are fitted correctly and regularly maintained and tested will ensure that they work as effectively as possible.
To understand why and where you should fit smoke and carbon monoxide alarms in your home, and to discover helpful fire safety tips including advice on creating an escape plan for your home, read our guide.
B&Q has a comprehensive range of smoke alarms and carbon monoxide detectors, as well as other fire safety products suitable for your home.
These alarms are powered by an internal lithium power pack, which is supplied in a deactivated state. The power is switched on when the alarm is fully locked onto the base plate and disabled when removed. It is important to know that these alarms will not work until it is correctly located and secured onto its base plate.
Most wireless smoke alarms and carbon monoxide detectors are attached securely to the wall or ceiling using screws or adhesive strips.
This guide is a generic installation guide for battery operated (wireless) alarms and it will help you to install a screw fitted smoke alarm or carbon monoxide detector. It is important to make sure you have read and understood any specific product manual before installing your smoke alarm or carbon monoxide alarm.
Safety first
- If fitting an alarm to the ceiling, or near a staircase, take extra care and be sure to use the correct type of ladder for the task.
- Wear safety goggles to protect your eyes from any dust and debris as you drill the required holes.
- If you discover a fire, remember that it is always better to be safe, and if in doubt - get out, stay out and call 999.
You will need:
- Tape measure
- Pipe, cable and stud detector
- Power drill and appropriate drill bits
- Hammer, if required
- Philips screwdriver
Materials
Safety equipment
First of all, establish where you want to install your alarm by reading the product manual. For example, fit your smoke alarm to the ceiling, as close to the centre of the room or hallway as possible. Try to keep it at least 30cm away from the wall or any light fittings.
Step 1
Remove the base plate from the alarm and break out the tabs from the base plate (if they have them).
Step 2
Never drill into a wall or ceiling blind. Check your chosen location for hidden pipes or cables using an electronic detector.
Step 3
Hold the base plate up to the location you have chosen and use the fixing slots on the base plate as a guide to mark the position of the screw holes onto the ceiling (or wall) using a pencil.
If you have located the timber battens behind the ceiling plaster, you could screw the base plate directly into the timber, eliminating the need to use the plugs.
Step 4
With a drill bit of the correct size for the screw or wall plugs you will be using, drill holes in each of the locations marked. If drilling into a solid wall, use a drill with hammer action.
Don’t forget to wear safety goggles, especially drilling high up a wall or into a ceiling.
Step 5
Insert the wall plugs. The plugs should only require finger pressure to insert, but it should be a firm fit. Lightly tap the plug with a hammer to level it with the ceiling or wall, if necessary.

Step 6
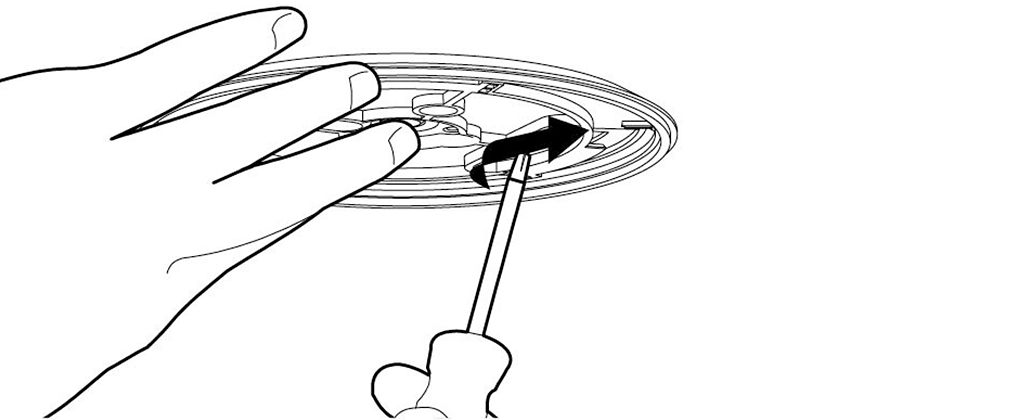
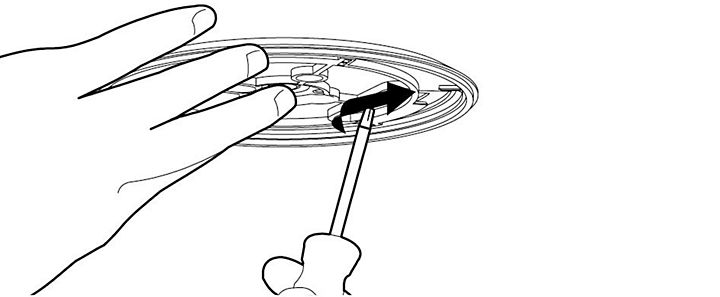
Fit the base plate to the ceiling or wall with a screwdriver using the screws provided.
Step 7
Install the battery (unless it is pre-fitted and inaccessible). Take care, as you may sound off the alarm as you do this.

Step 8
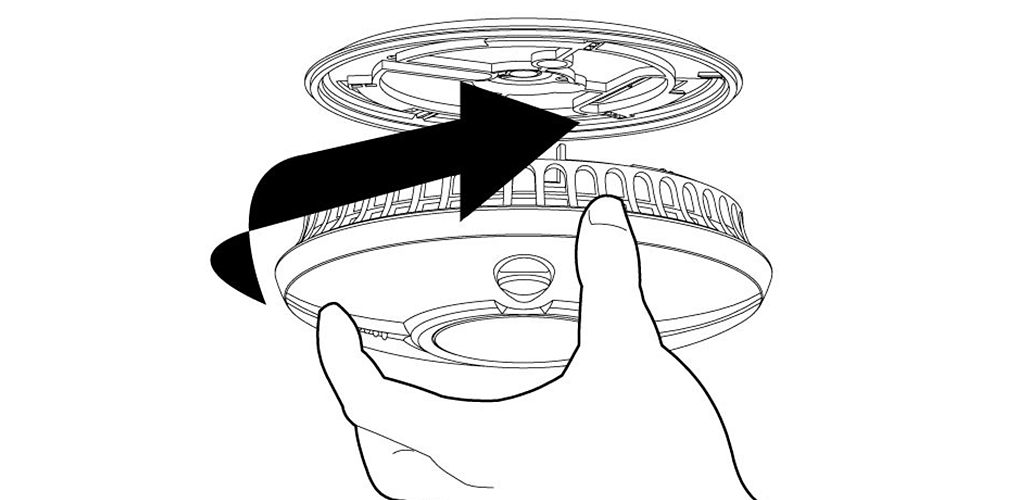
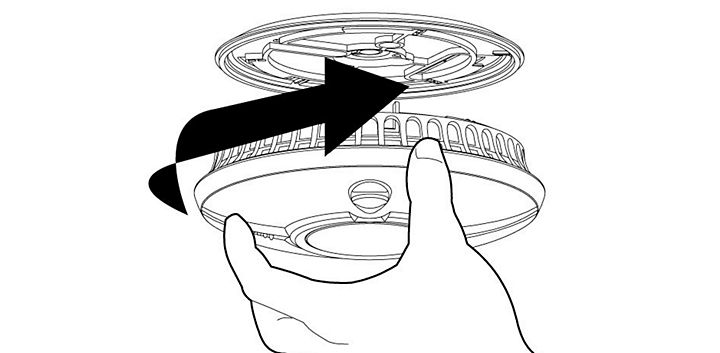
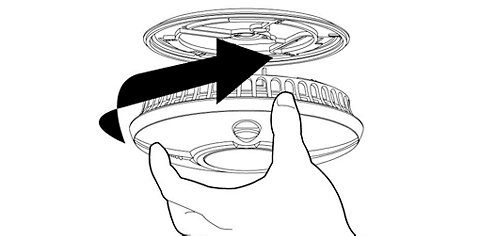
Fit the alarm to the base plate. Position the alarm on the base plate and then twist it clockwise until the alarm is locked in position. Make sure the alarm is twisted on fully.
Step 9
Once complete, press the 'test' button on your alarm to ensure that it is working correctly. The LED light on the front of the smoke alarm should flash every 40 seconds, or so, to show that the alarm is active.
Be aware, removing the smoke alarm from its base plate will de-activate the unit and prevent it from detecting smoke.
Top tip: Interlinking alarms
If you have a linked alarm system, refer to the instruction manual about how to link all the alarms to one network after the first alarm has been installed as above.
If reaching for the test button is too difficult or requires a ladder, try using the end of a long handled broom or mop to press the test button. Alternatively, upgrade your alarms to the latest smart systems. These clever alarms can self-test and they allow you to silence the alarm from your phone. No more climbing ladders every four weeks.
It is imperative that you test your smoke alarms and carbon monoxide detectors at least once a month, ideally once a week - less often than this and you will risk not discovering a broken alarm for too long.
- They're easy to check; simply press the test button that is visible on the unit.
- The unit will emit a loud alarm for approximately five seconds and then stop automatically.
- There is an LED light that will also flash during the audible signal.
- If your alarm does not sound or flash, this is a sign that the batteries need to be changed. You should do this immediately.
- If your smoke alarms are linked with other smoke alarms, every individual smoke alarm should be tested.
If your smoke alarm goes off without warning
This could be a sign that smoke and/or fire is present - always check there is no danger before silencing. Never ignore an alarm.
If your carbon monoxide alarm goes off without warning
This could be a sign that high levels of carbon monoxide are present.
- Switch off gas-fuelled appliances (boiler, cooker, gas fire) and open doors and windows in the room to ventilate. Do not sleep in the room.
- Evacuate the property and call the Gas Emergency Freephone Number 0800 111 999.
- Seek medical advice for anyone suffering from the effects of carbon monoxide poisoning. Symptoms include headaches, nausea and flu-like symptoms.
Top tip: Worried that you won't remember?
Set a reminder on your phone or add it to your calendar - this way you shouldn't forget.
Although the smoke alarms are relatively maintenance-free, it’s still important to follow a few simple steps to ensure they are working properly:
- Test your alarm at least monthly, or weekly if you can
- Change the batteries yearly - and test the alarm after fitting these
- Replace the batteries immediately if you hear the low battery warning - a low, beeping tone
- Always change all the batteries in the alarm - when you update them annually, or if the low battery warning sounds.
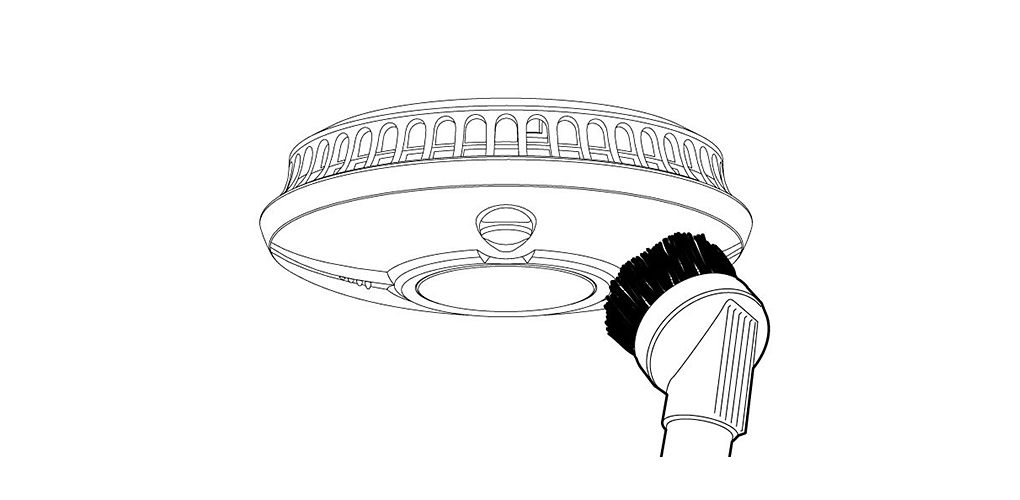

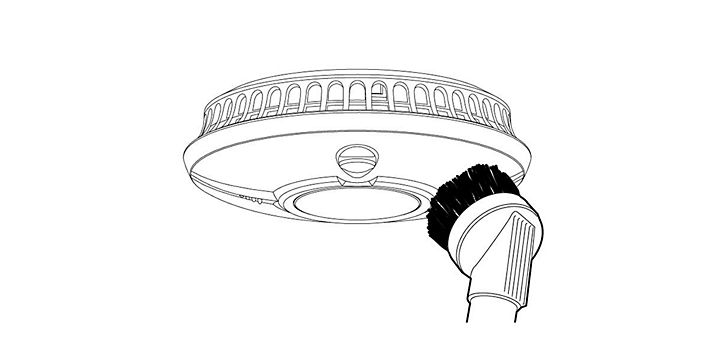
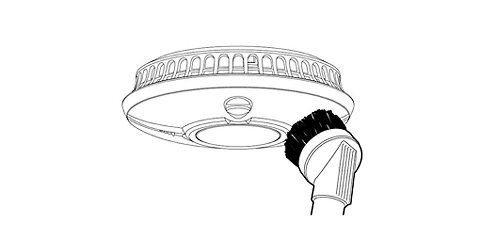
- Clean your smoke alarm every few months, using a slightly damp cloth or gently with a soft brush attachment on a vacuum cleaner. This will help to keep vents and sensors clear.
- Do not open the case/ unit as this may damage the parts inside.
Important: The alarm may sound as you are cleaning it as you could knock the sensor. To be sure, check for smoke or fire, then silence when you’re sure it was accidental.
Do not use solvents or cleaners on your alarms as they may cause damage to the sensor or circuitry. Equally do not paint the alarm as this may block the openings and prevent smoke or carbon monoxide from entering the sensor.