How to install an integrated basin to a vanity unit
This guide shows you just how quick and easy it is to install a basin in a vanity unit. All you’ll need is a pipe wrench, silicone gun, silicone, knee pads and a cloth. Just follow the easy step by step instructions to complete this simple task.
Be prepared to lift or move a heavy item in this project. If further assistance is required, grab a friend or family member beforehand. Always remember to bend at the knee.

1. Apply silicone to the vanity unit
Before fixing the basin in place, wipe both the vanity unit and basin with a cloth to remove any dust.
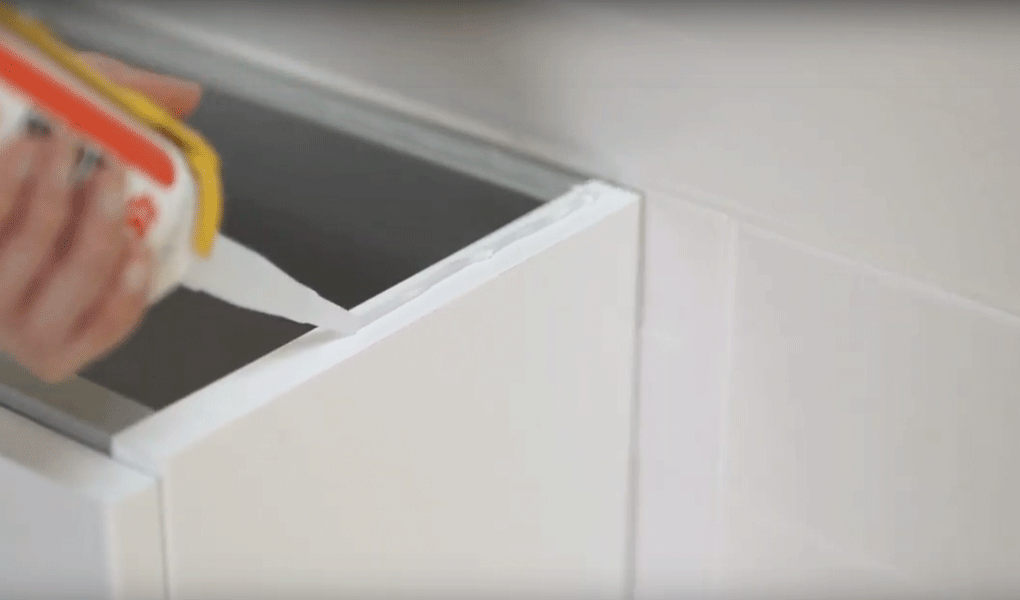
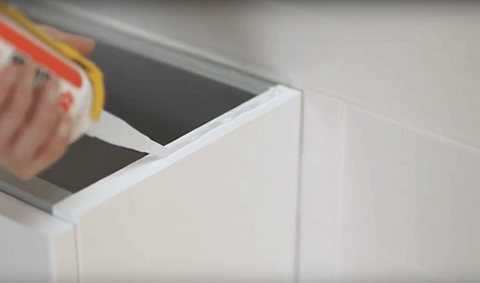
Apply a central line of silicone to all four top edges of the vanity unit, keeping the line as central as possible.

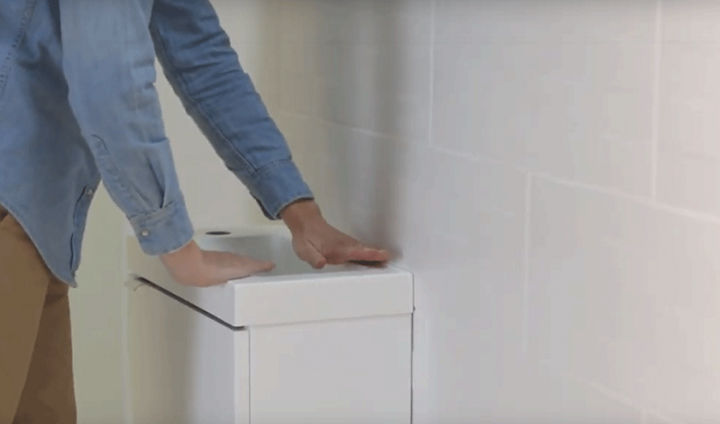

2. Fit the basin to the vanity unit
Carefully lower the basin into place on the vanity unit. Once in position, press down firmly all the way around so that the basin makes contact with the silicone. Leave to dry for 24 hours before use.
Before fixing the basin waste in place, remove its protective plastic cover.
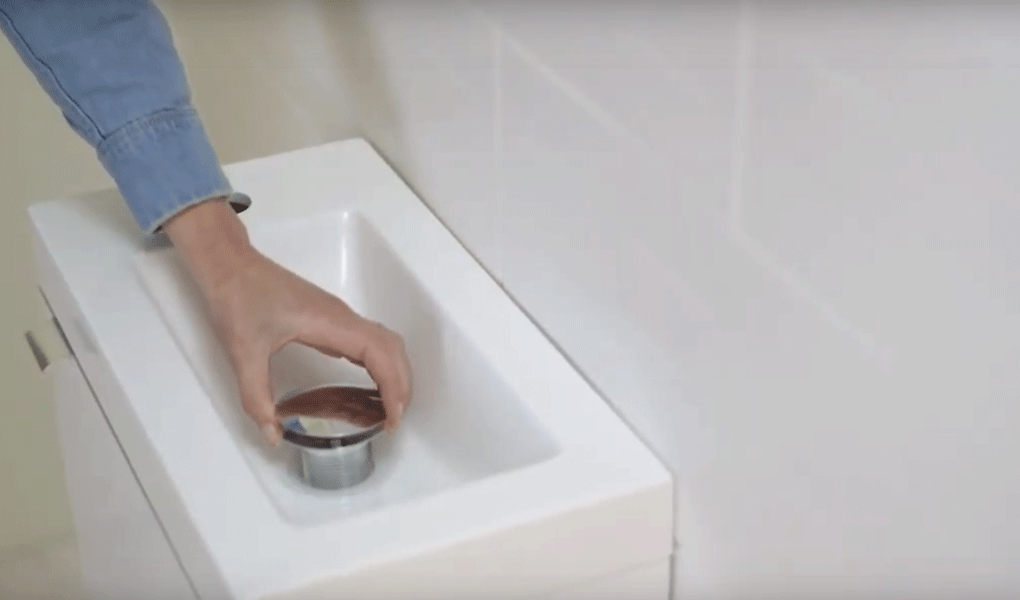


1. Insert the waste into the basin
Unscrew the large metal nut on the end of the basin waste. Remove the second rubber washer, but leave the other one on the basin waste. Insert the basin waste with its remaining rubber washer in the waste hole in the basin.
2. Secure the basin waste
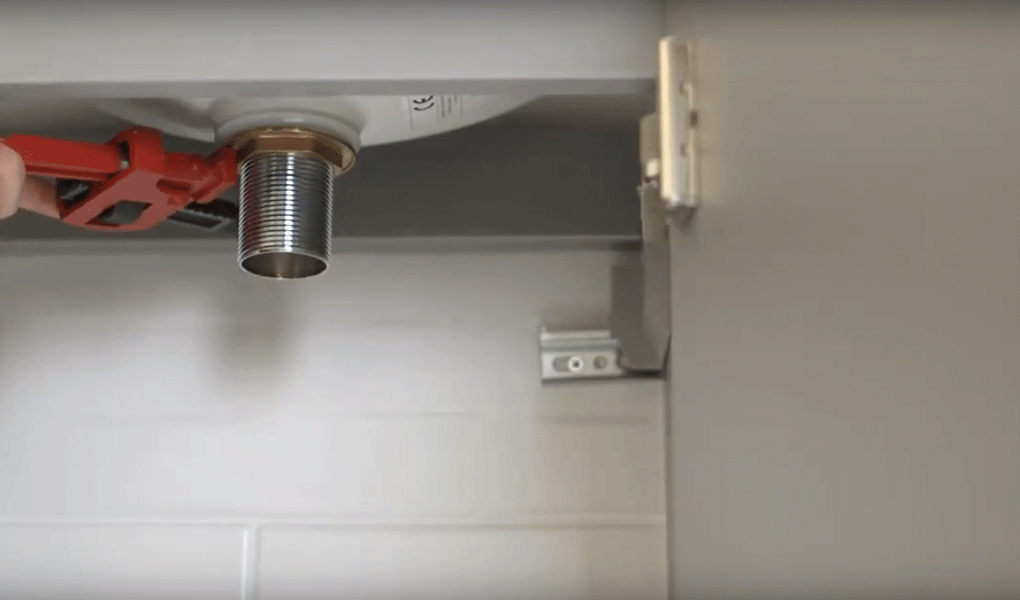
From underneath the basin, put the second rubber washer back on the basin waste with the lip facing upwards. Use one hand to push down on the basin waste from above and gently ease the rubber washer into place. It should be flush against the underside of the basin.
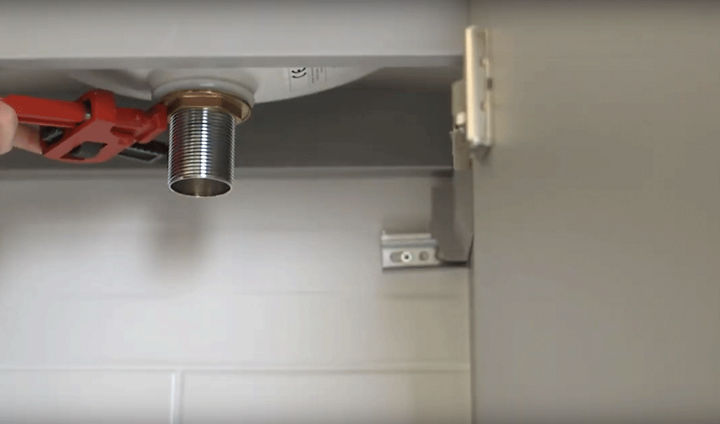
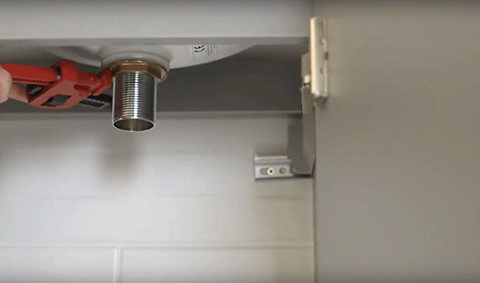
Screw the nut back onto the basin waste until it’s flush with the second rubber washer. Use a pipe wrench to secure the nut in place, but don’t over-tighten. Your basin is now ready to connect to the waste pipes.