How to install a water butt
Rainwater is not only free, it's also better for your garden than hard mains water as it won't leave limescale deposits or increase the alkalinity of the soil. This is particularly important if you want to grow acid-loving plants like blueberries and heathers. The best way to collect it is in a water butt connected to a downpipe. Stored water gives you a little extra reserve to last through the hottest periods when temporary use bans (also known as hosepipe bans) may be in place.
Materials
- Water butt
- Water butt stand
- Rainwater diverter
- Water butt pump - adds pressure to stored water so you can use for cleaning
- Connector kit - if connecting two water butts
Tools
- Hacksaw
- Power drill
- Spirit level
- Screwdriver - to secure the fittings, if necessary
- Tape measure
- Pencil or marker pen
Safety first
- Fit your water butt with a lockable tap to prevent any accidents if toddlers, young children and pets are likely to go anywhere near your water butt.
- Always keep the lid fitted on your water butt for safety and to keep insects out.
- Ensure that your water butt is securely attached - when empty, they’re light enough to be pulled over easily.
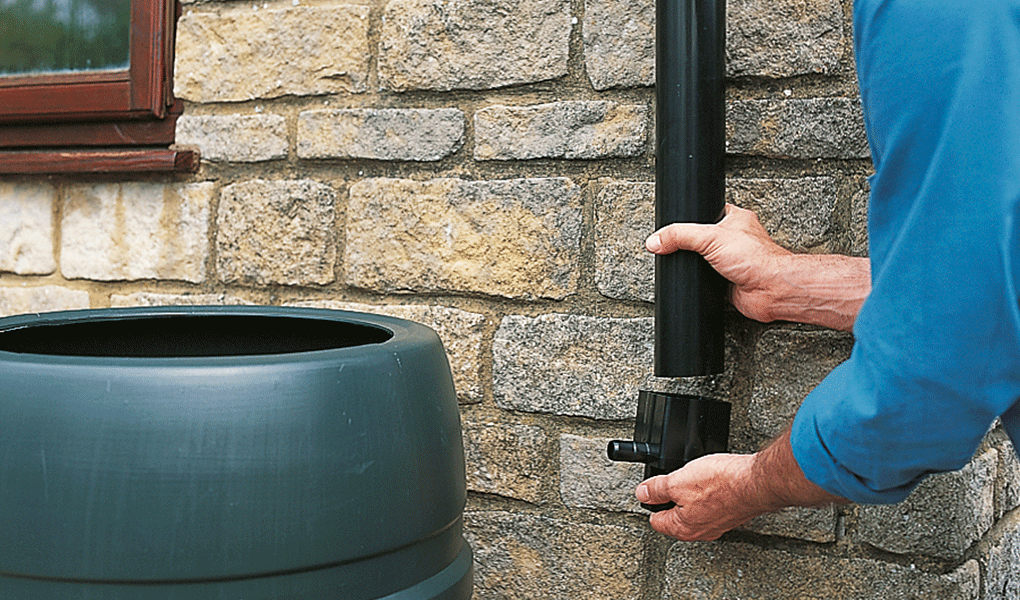

1. Fit the rainwater diverter
Choose a suitable and convenient downpipe for your water butt and place the water butt stand beneath it.
Next, cut the downpipe 3 centimetres (cm) below this point with a hacksaw.
Attach the rainwater diverter fitting to the downpipe. The cut section of downpipe fits onto the bottom of the diverter.
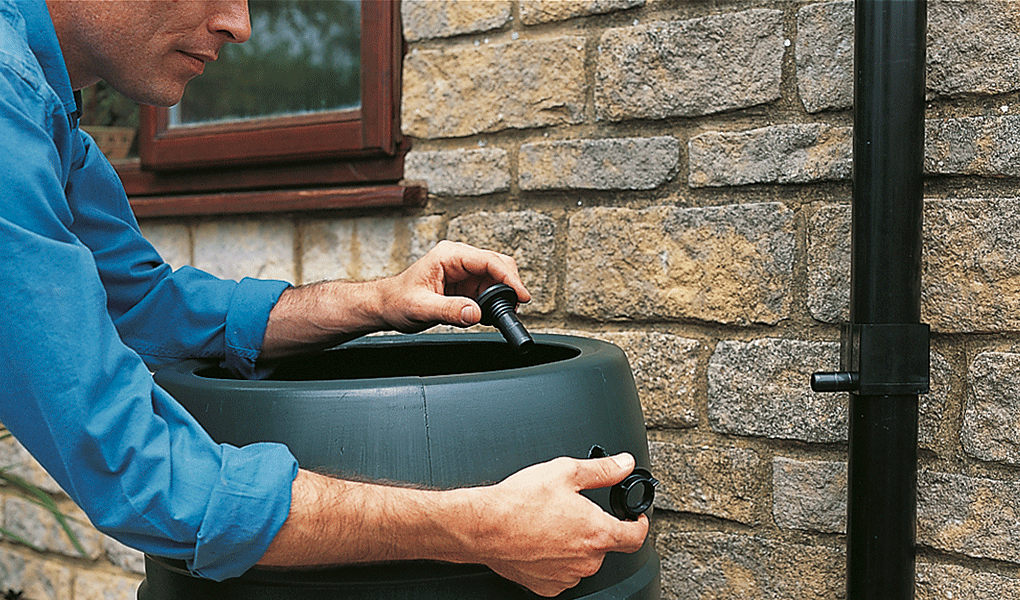

2. Fit the water butt connector
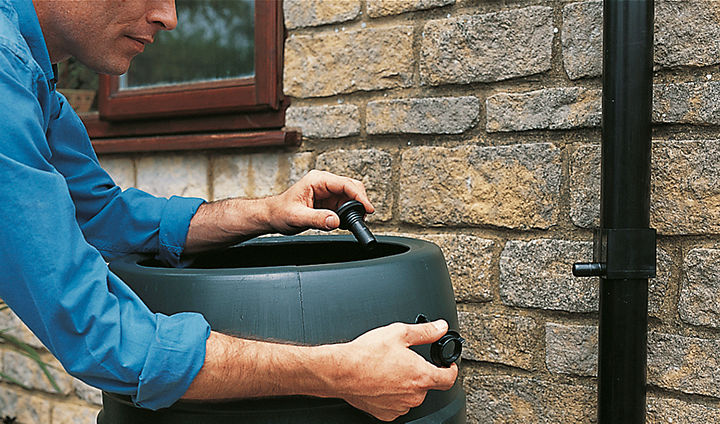
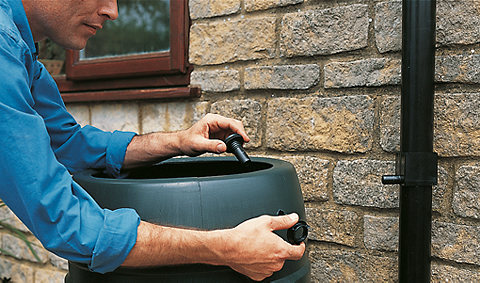
Use a tape measure to measure 8cm down from the top of the water butt and mark the spot. On this spot, drill a hole for the water butt connector.
Attach the connector to the water butt by pushing it through the drilled hole. If fittings are provided with the water butt kit, screw them into place.

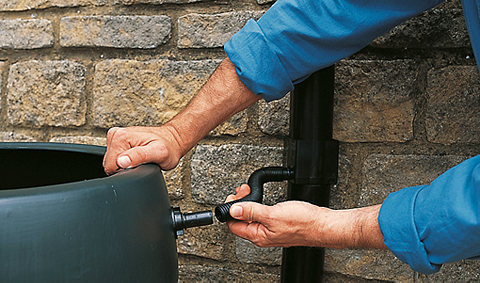
3. Connect to the drainpipe
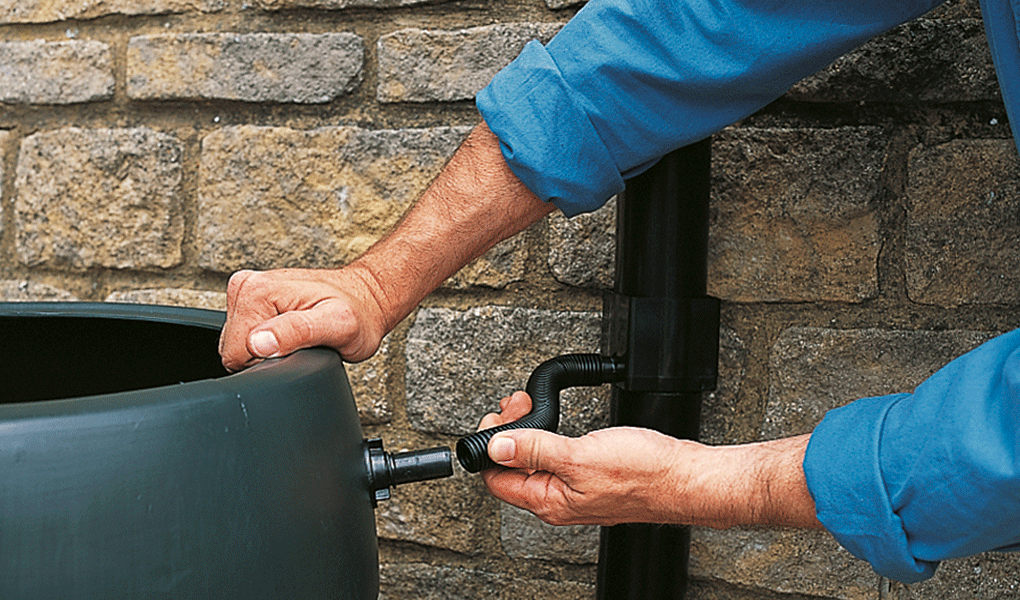
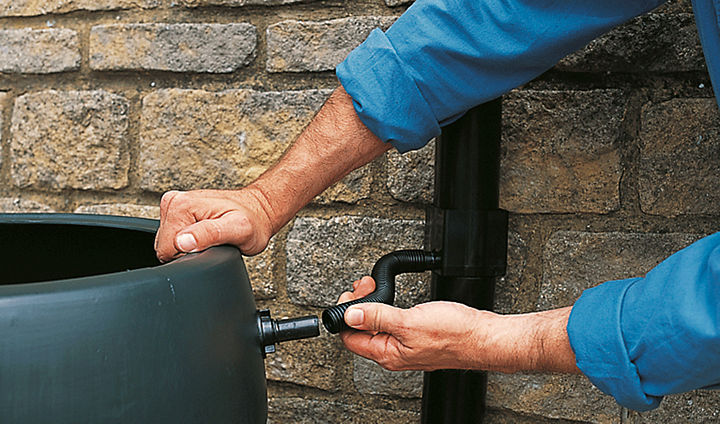
Attach the water butt connector to the rainwater diverter with the provided fittings that came with the water butt. Put the lid on the water butt and lock it into place.
You're now ready to start harvesting rainwater.