How to connect pipes & fittings
Pipes and fittings vary by home and by length, shapes and connectors. Thankfully, this is no longer a problem and there are lots of different solutions to make your pipework secure and reduce the risk of leaks.
At one time, domestic plumbing systems used iron and lead pipes. These days, water is usually carried around the home in copper pipes, with plastic pipes used for waste systems. The most common size of copper pipe has an outer diameter of 15mm, although you might find smaller sizes (10mm) feeding monobloc taps and radiators, and larger sizes (22mm and 28mm) feeding baths, storage cisterns, tanks and boilers.
If your plumbing system was installed before the mid-1970s, the pipework will almost certainly be of imperial dimensions (1/2, 3/4 and 1 inch inner diameters). You can join modern 15mm pipe to 1/2 inch imperial and 28mm to 1 inch using standard metric compression fittings, but to connect 22mm pipe to 3/4 inch you'll need a 22mm compression fitting with a special oversize olive. For soldered joints, there are metric/imperial connectors in the relevant sizes.
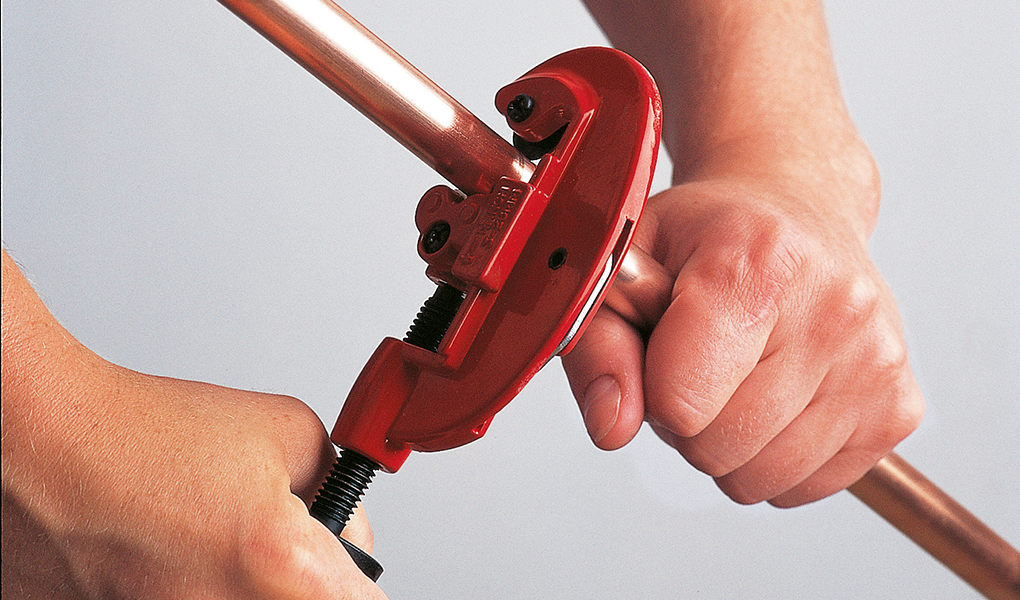
It's possible (but not ideal) to cut copper or plastic pipe with a hacksaw. Just wrap masking tape around the pipe as a cutting guide, and align its edges carefully for a square cut. But it's much easier to get a clean cut with a pipe cutter.

1. Measure & cut the pipe
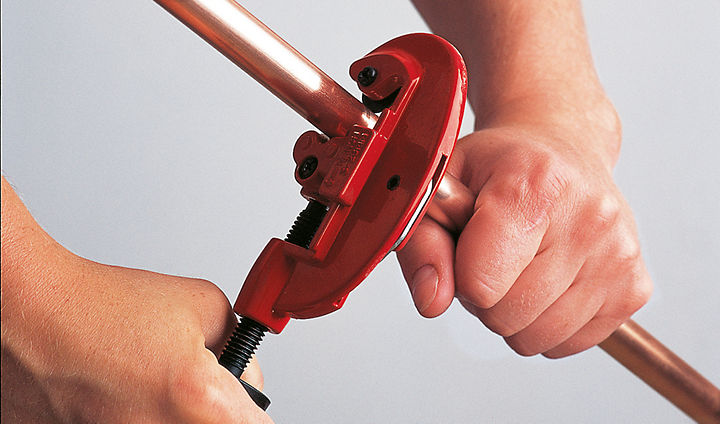
Measure the length of pipe you need and mark it with a pencil. Then place the cutter over the pipe so the cutting wheel lines up with the mark, and tighten the screw. Rotate the cutter around the pipe, steadily tightening the screw until you cut through the pipe.

2. Clean the pipe
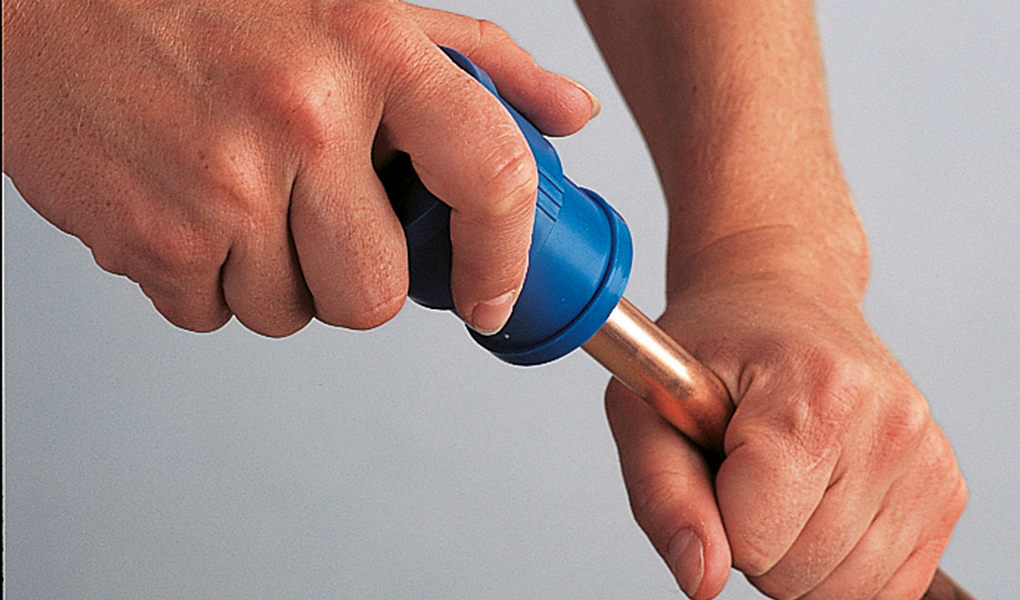
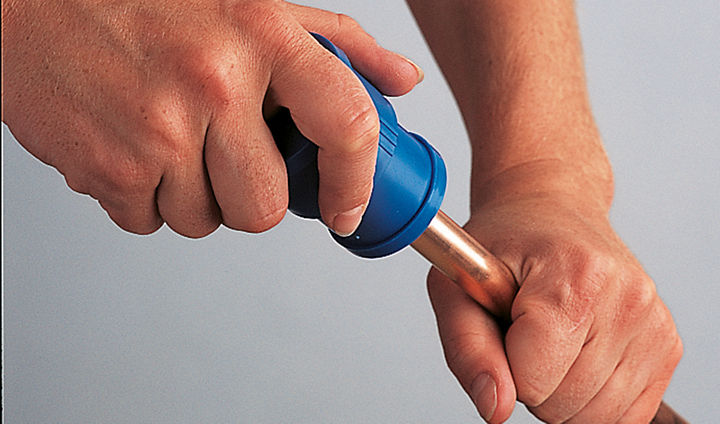
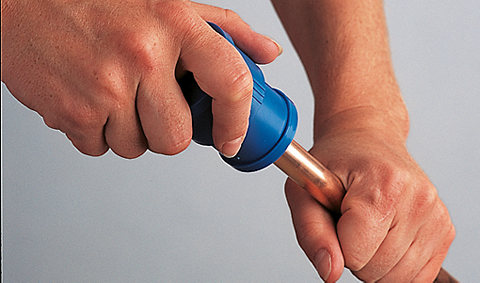
Remove the burr around the inside of the pipe's cut end by inserting the cutter's triangular reamer and rotating the tool. Make sure that no copper fragments remain in the pipe, as they could cause damage to valves or taps on the system.
Clean the outside of the pipe by burnishing it with wire wool. This gives you a good surface for the joint, and ensures you get a watertight seal. Or you could use a deburring brush (shown here), which will do the same job and prevent stray slivers of wire wool from sticking into your fingers or falling into the pipe.
You can bend plastic pipe into gentle curves by hand. If you want to bend small-bore (15mm) copper pipe, you can do this with a bending spring, which supports the pipe internally and stops it kinking. But as you'll need plenty of strength to use it, you might prefer a bending machine. This will make the job a lot easier, and is must for pipes with a larger diameter.

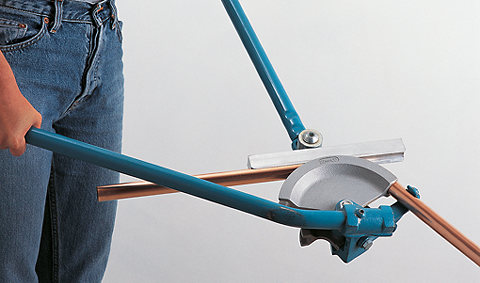
Using a bending machine
Step 1
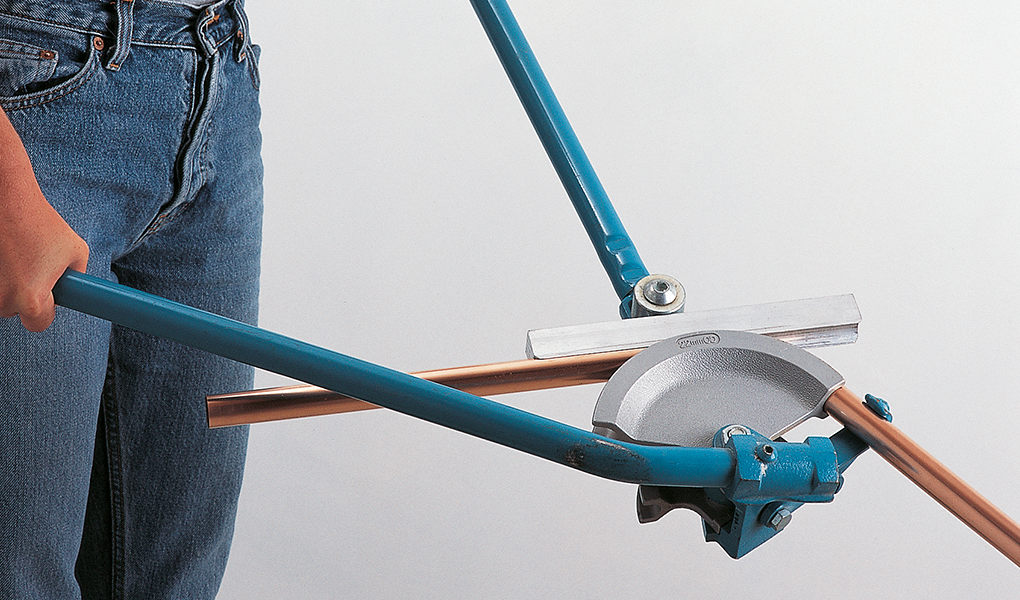
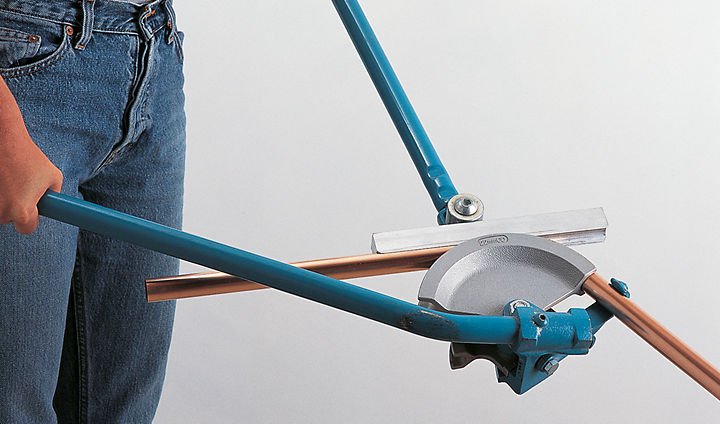
This machine gives you a lot more leverage than if you bend a pipe by hand. Place the pipe on the correct size of curved former (there'll be a range of sizes to choose from) under the pipe stop, then insert the straight former between the pipe and the roller.
Step 2
Draw the handles together to bend the pipe. Try to over-bend it slightly as it'll tend to spring back
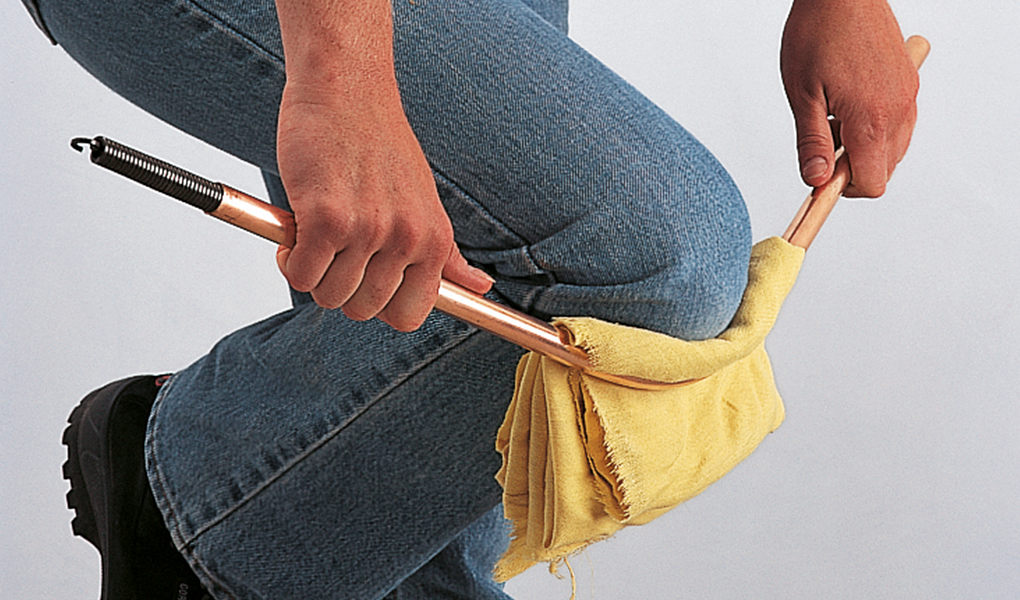

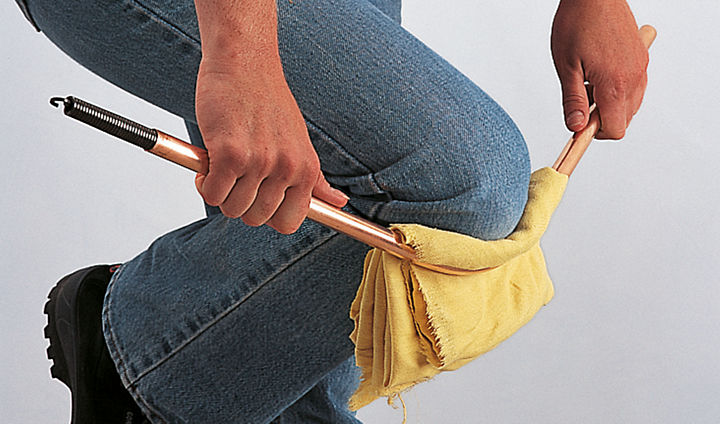
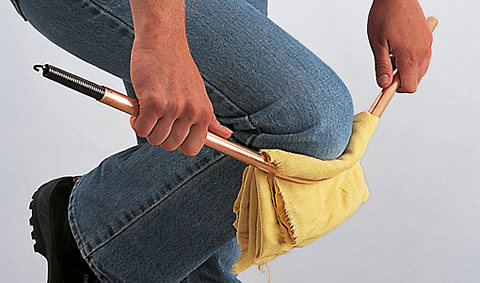
Using a bending spring
Step 1
Coat the spring with petroleum jelly and slip it into the pipe. If the bend is some distance from the end, tie a length of cord to the spring.
Step 2
Bend the pipe around your knee, over-bending it slightly and using a pad of cloth as a cushion. Check the angle is correct, then pull the spring from the pipe. If you can reach the end of the spring, inserting a screwdriver in the spring eye and turning it to tighten up the spring coils should help you remove it.
The traditional ways to connect copper pipes are with capillary joints that you need to solder, and brass compression joints that you tighten with an adjustable spanner. However, plastic push-fit joints are just as effective - and much simpler to use. They come with rubber O-rings for sealing, and work well with both plastic and copper pipes.
Safety first
Plastic push-fit joints on copper pipes break the continuity of a plumbing system's earth bonding. You must restore this by joining the two copper pipes with a length of 4mm2 single-core earth cable, secured by earth clamps.
Capillary joints
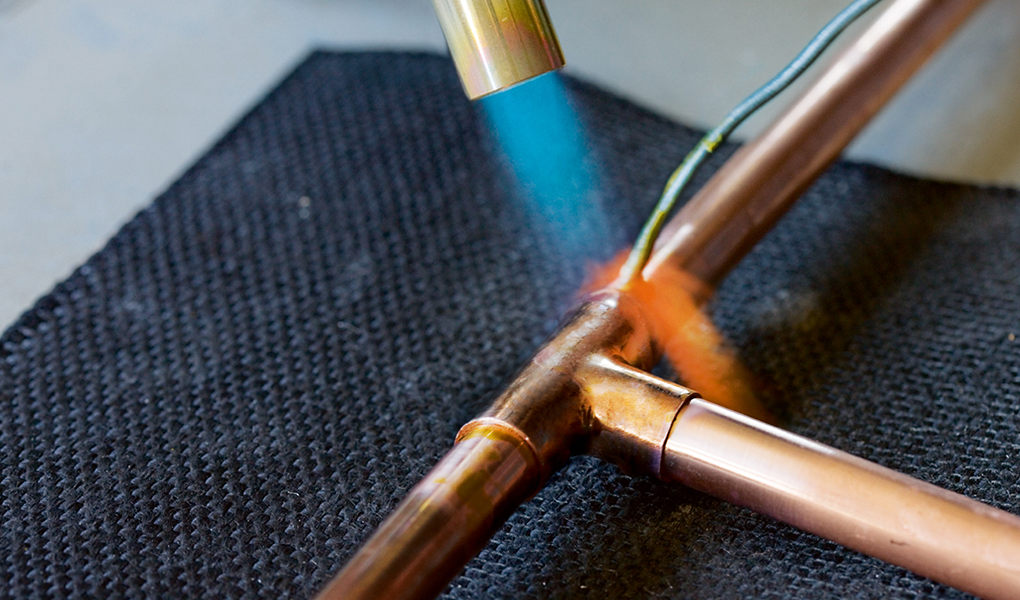
Soldered fittings are called capillary joints, because, when they're heated, solder is drawn between the fitting and pipe by capillary action. You can get two types: end-feed and solder-ring. In both cases, you'll need to brush a chemical cleaner (known as 'flux') onto the pipe end and inside the joint before it's heated. You should also flush the pipes thoroughly after you've joined them to remove all traces of flux - which is corrosive.

End-feed joints
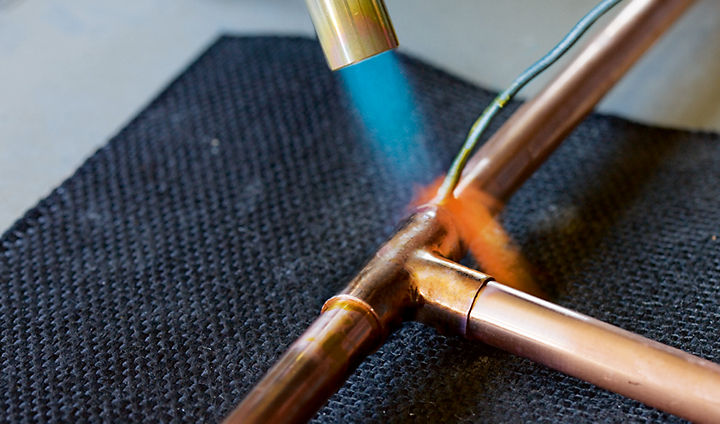
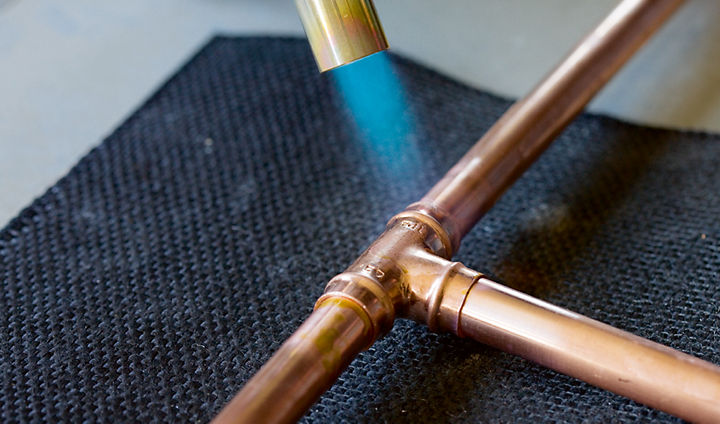
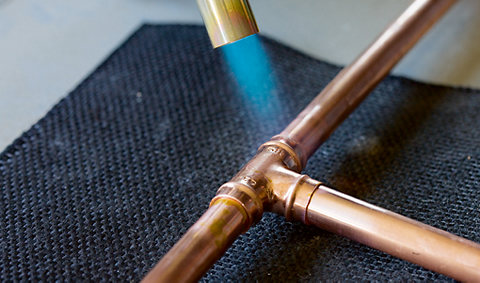
This is the type of fitting that professional plumbers normally use. You'll need to add lead-free solder to the mouth of each joint, as it's heated with a blowtorch.

Solder-ring joints
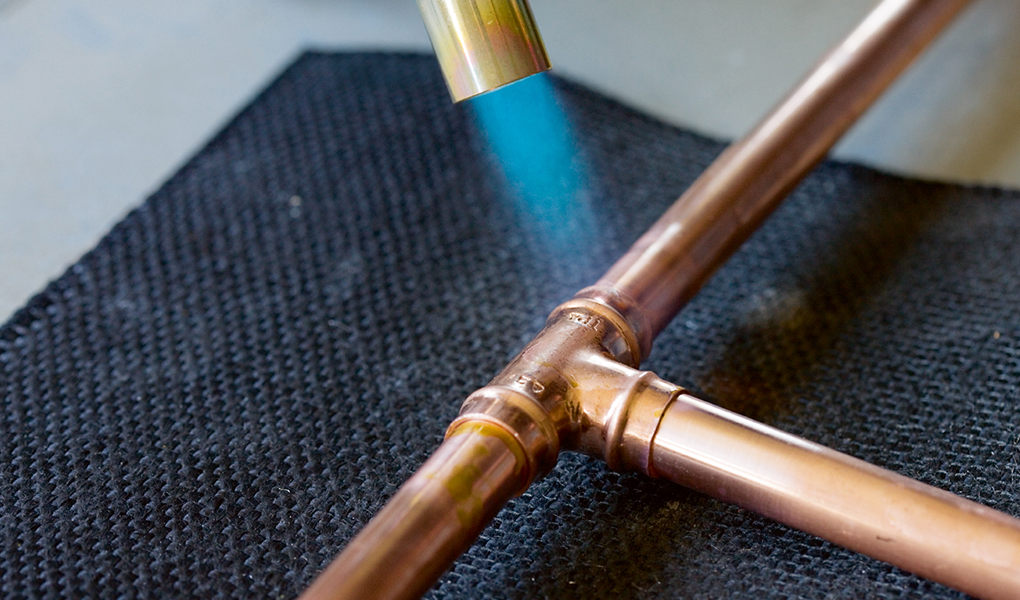
Solder-ring joints are made with a ring of solder already inside the mouth of the joint, so only heating is needed.

Compression joints
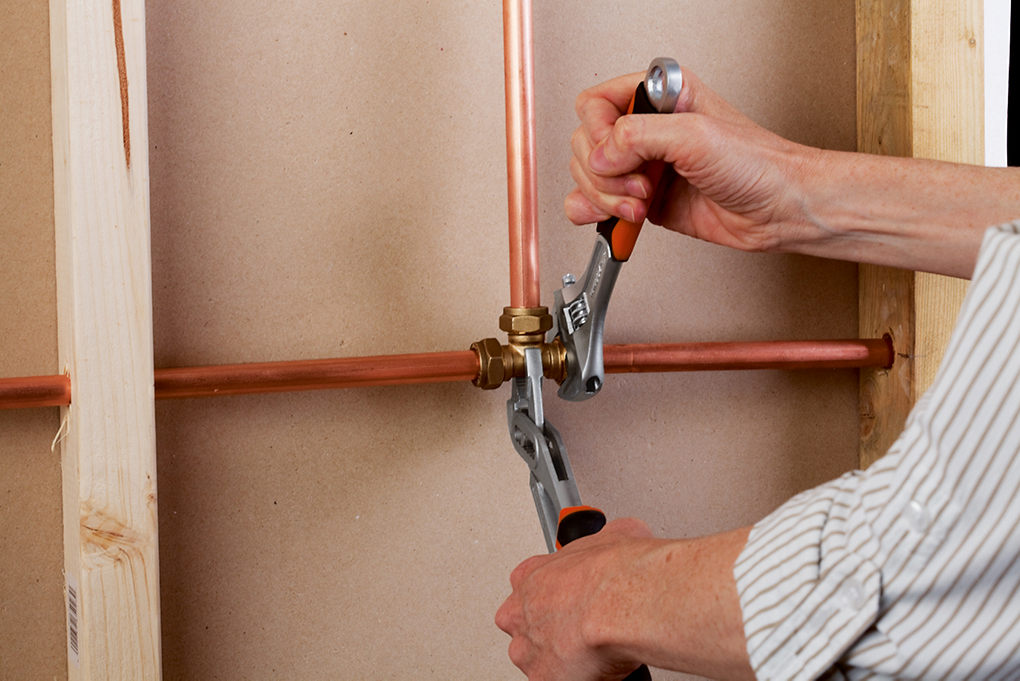
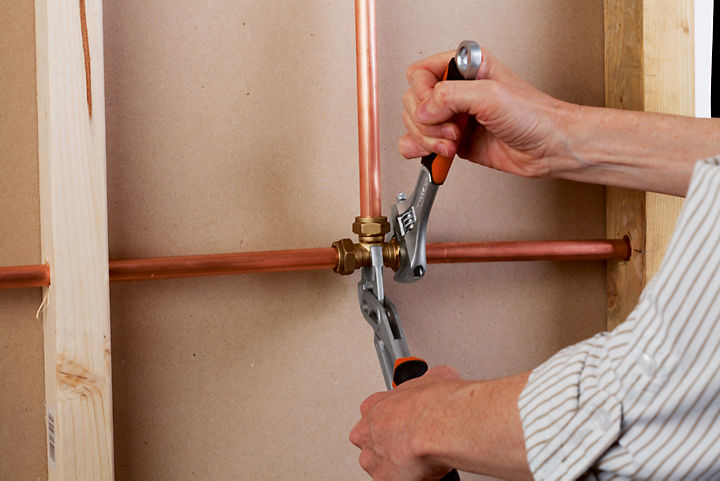
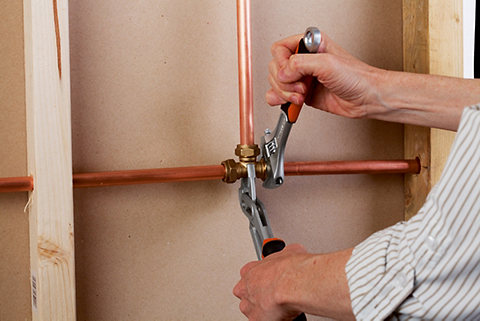
Usually made from brass, compression joints give you a watertight seal by squeezing a special metal ring (called an 'olive') between the pipe and the body of the fitting. A cap nut screws on to the end of the joint to provide the necessary pressure against the olive. Wrap about five turns of PTFE tape clockwise around the threads of the fitting, then tighten the cap nut with an adjustable spanner while holding the fitting firmly with a pipe wrench or water pump pliers. Even though compression fittings are bulkier than capillary fittings, you can undo and re-tighten them more easily - and they need no heating.
Hold firm
While you're tightening the cap nut of a compression joint with an adjustable spanner, you should hold the fitting firmly. A pipe wrench (or 'Stillson wrench') is designed for gripping pipework. The jaws self-tighten as you apply more force. Water pump (or 'slip-joint') pliers have long handles and an adjustable slip jaw.

Push-fit joints
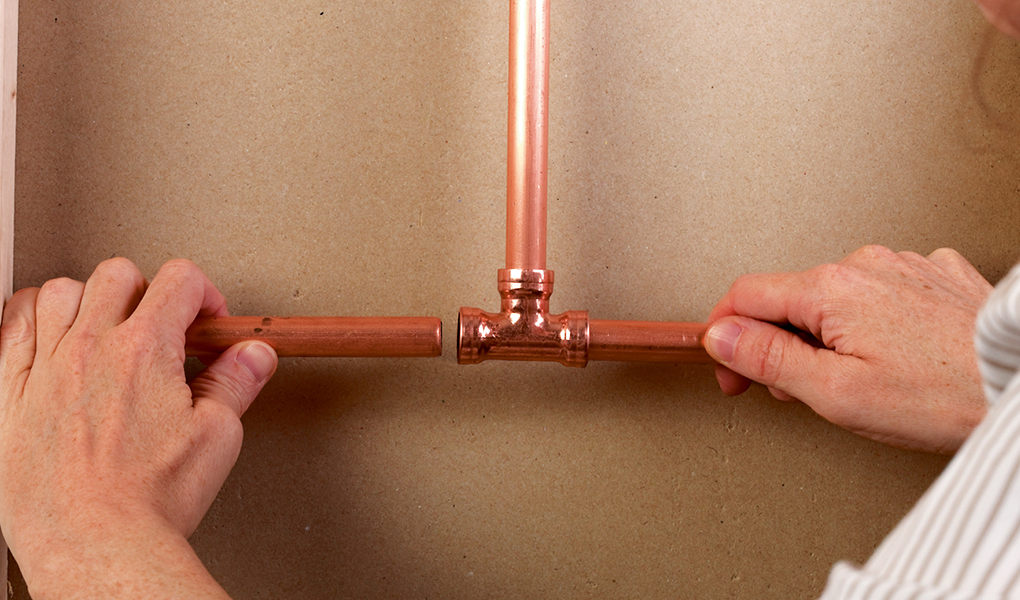
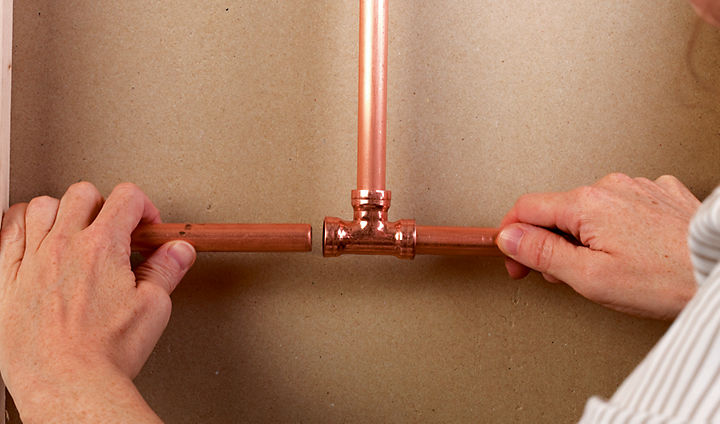
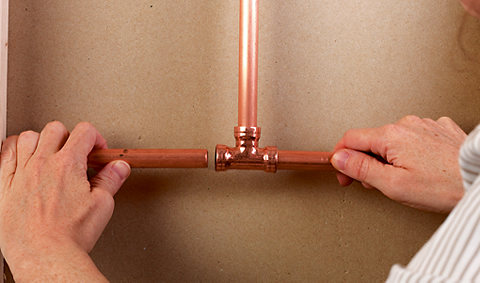
Originally developed to be used with plastic pipe systems, push-fit joints are a good way of joining copper pipes too (although they can't be used with stainless steel or chrome-plated copper pipe). It's important that your pipe ends are cut cleanly, so make sure you use a pipe cutter rather than a hacksaw. Then simply mark the depth of the joint on the cut ends of the pipes and push them fully home, and pull the fitting to test it's secure. As the sharp metal teeth can cut into plastic and cause leaks, you should use a special protective insert when you're working with plastic pipe. They can cut fingers too, so keep yours well clear.
Push-fit release tool
This simple tool makes light work of releasing a copper push-fit joint. Without it, you won't be able to undo the fitting.
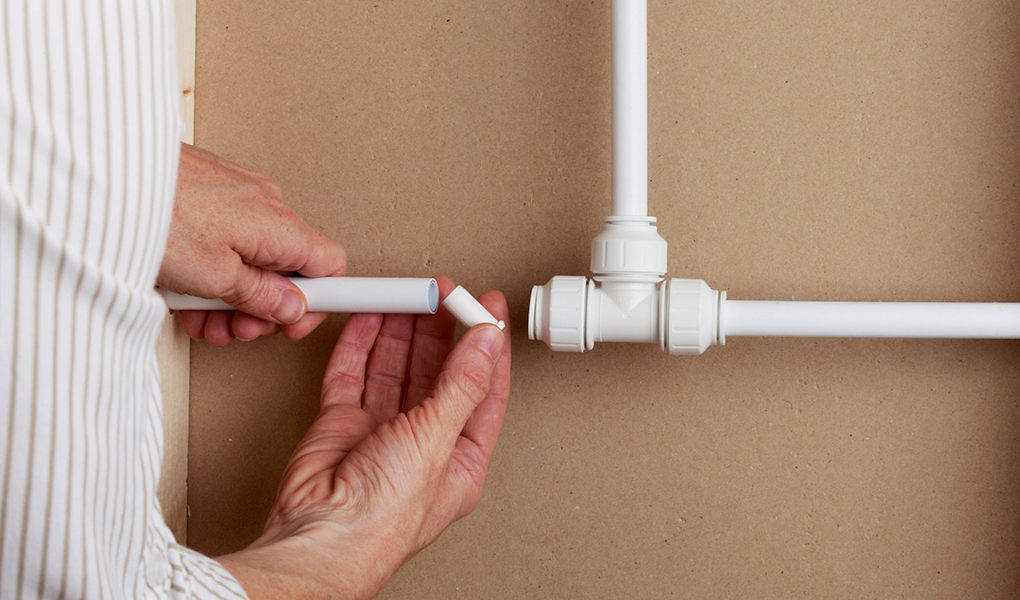

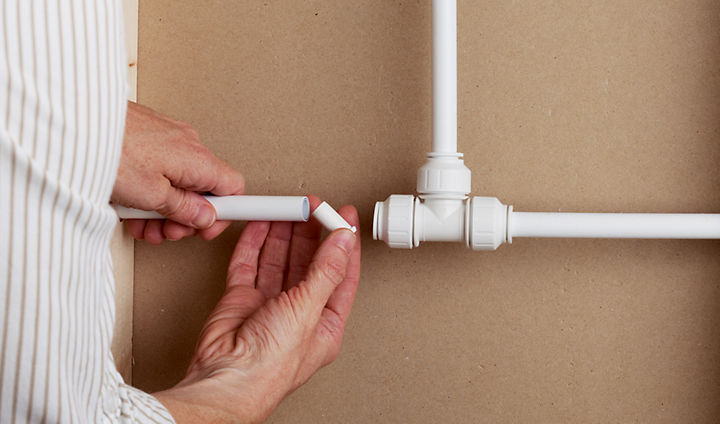
Plastic push-fit joints
You'll need a special plastic protective insert when you use push-fit joints on plastic pipes. It'll stop the fitting from damaging the pipe.
Moving or modifying elements of your plumbing system often means you need to run new pipework. There are plenty of options for doing this. Plan the route first, and try to keep bends to a minimum so the water can flow freely.
Along your walls
The easiest and quickest way of running new pipework is simply to clip the pipes to a wall. They'll stand out less if you keep them neat, straight and parallel - and if you run them up a corner, around a chimney breast or along the skirting. You can buy plastic ducting to hide them, or box them in with plywood and timber battens. Alternatively, you can take off your existing skirting and build a false version to contain them. If you're building a stud partition wall, try and run any new pipework through the studs and noggings before you close off the cavity with plasterboard.
Under a suspended floor
You have a few choices here. You can either clip your pipe to the side of a joist, support it on battens attached between joists, run it in shallow notches cut into the top of joists, or (if there's enough space) pass it through holes drilled in the joists. It's a good idea to run the pipes at least 50mm below the top of your joists to stop them being punctured by nails driven through the floorboards. Also, remember to mark the pipe runs in pencil on the boards to remind you where they are. And always be wary of cutting into joists, as they're essential to a building's structure. Try to remove as little timber as possible.
Insulating your pipes
Use split foam tubes to lag any pipes that are at risk from freezing - such as those than run under your ground floor, through your loft space or against an outside wall. By doing this, you could prevent a plumbing disaster. It's also well worth lagging your hot water pipes to prevent heat loss.
Pipe clips
If you're running pipes along a wall or concealing them behind or beneath it, you must make certain they're firmly held in place at regular intervals with pipe clips. This will stop them from creaking or vibrating. Pipe clips come in a range of styles and sizes to suit every situation.