How to care for real wood floorboards
Want to improve the look of your room? If you have a boarded floor, why not strip it back to the bare wood and seal it with a varnish, so the beauty of the wood grain shines through? The results look great, but it can be a dusty and noisy job. And as with so many home improvement projects, the quality of finish you achieve depends on the amount of effort you put into the preparation.
Before you start sanding your floor, make sure the boards are in good condition, with no wide gaps or nails sticking out.
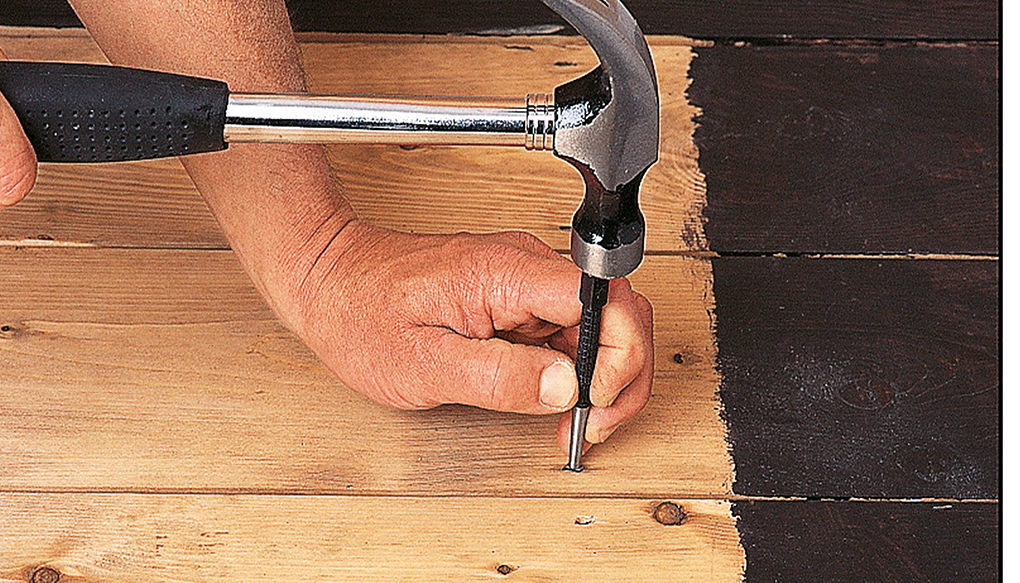

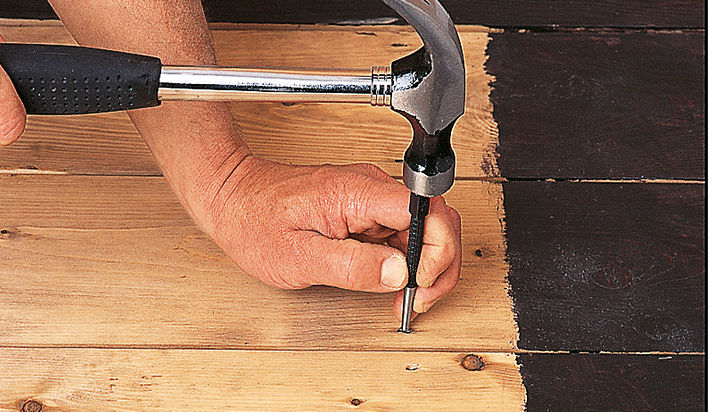
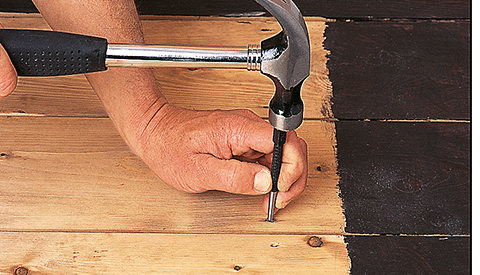
1. Fix loose boards
First, drive in any nails below the surface with a hammer and punch as if you leave any sticking out you'll tear your sanding sheet. Nail down loose boards and replace any damaged ones, ideally using boards of a similar age. You might even be able to take these from other rooms in your home where the floorboards aren't exposed.
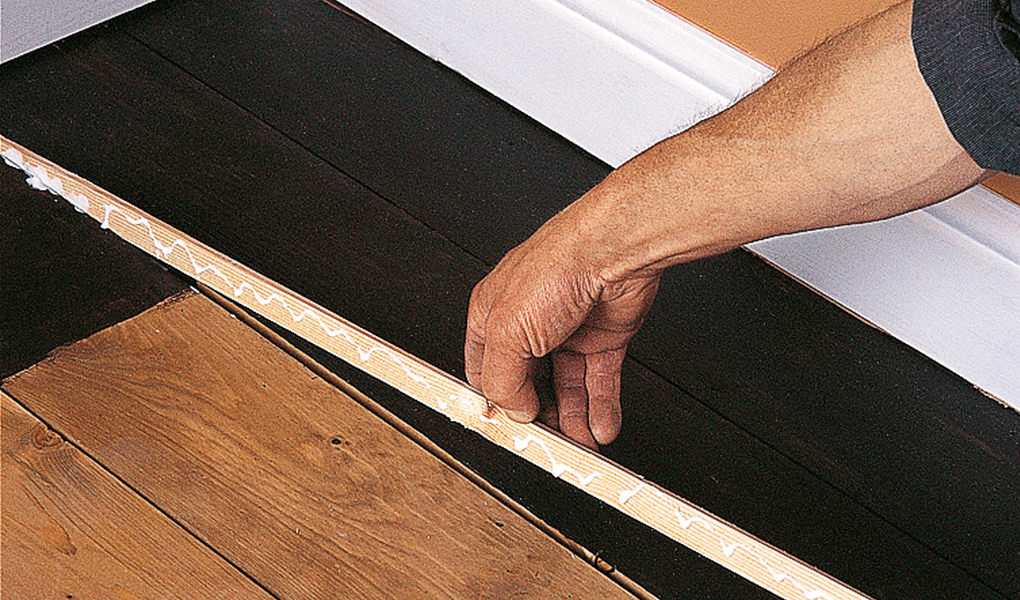

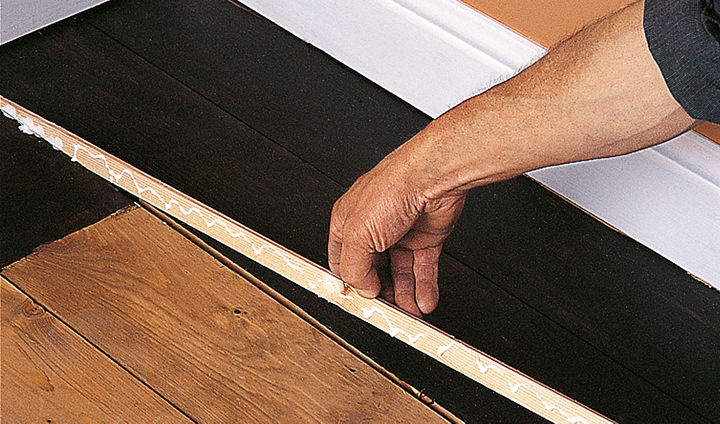
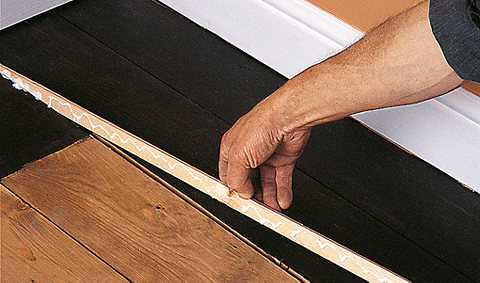
2. Fill in the gaps between boards
Next, fill the gaps between the boards. If they're very wide, you might be better to lift and re-lay the boards more tightly, filling the final gap with an extra board. Otherwise, you can glue in narrow strips of wood.
Leave the filler strips slightly raised and let the glue dry. Then plane or sand them down until they're level with the surrounding boards. Finish the job by sweeping your floor clean.
You'll need to hire a heavy-duty industrial drum sander and rotary edge sander to sand your floorboards properly. Make sure someone shows you how to change the abrasive sheets. As sanding creates a lot of dust, it's a good idea to seal doors to other parts of your house with masking tape and sweep up after each sanding session.
Sanding a floor is a very dusty job. You must wear a dust mask and close-fitting eye protection. Keep the flexes of sanders out of the way by draping them over your shoulder, and plug them into a residual current device (RCD) to protect you from shocks if the flexes become damaged. Always unplug the sander before changing the abrasive sheet.
You can use a clear or tinted varnish to seal sanded floorboards. Put on three coats to get a really hard-wearing finish and make sure your brush is completely clean before you start.
Top tip - Wire wool
Want to get a really clean, polished finish? Before applying your final coat of varnish, go over the dry floor lightly with some wire wool.
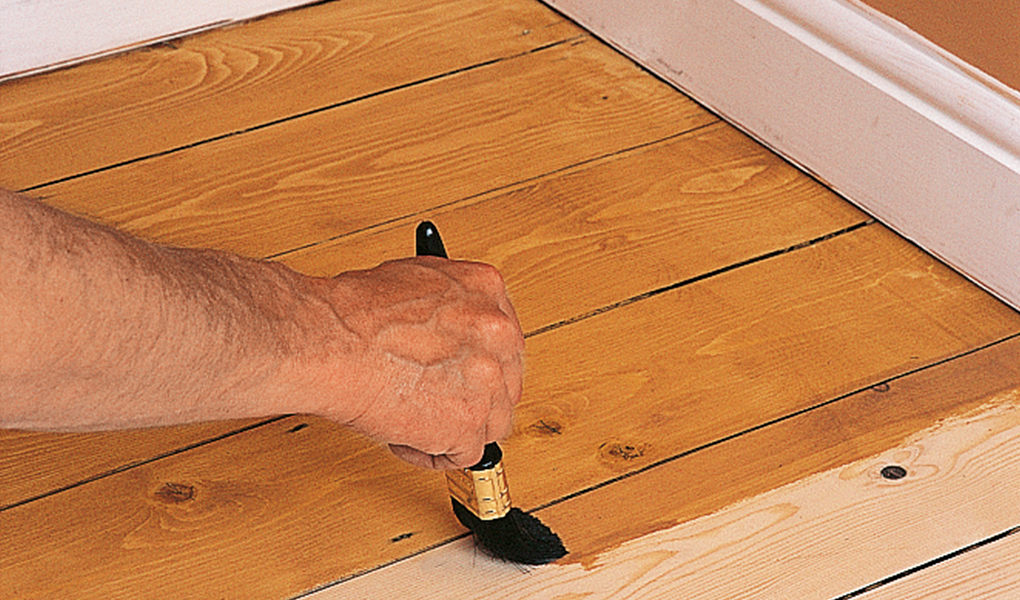

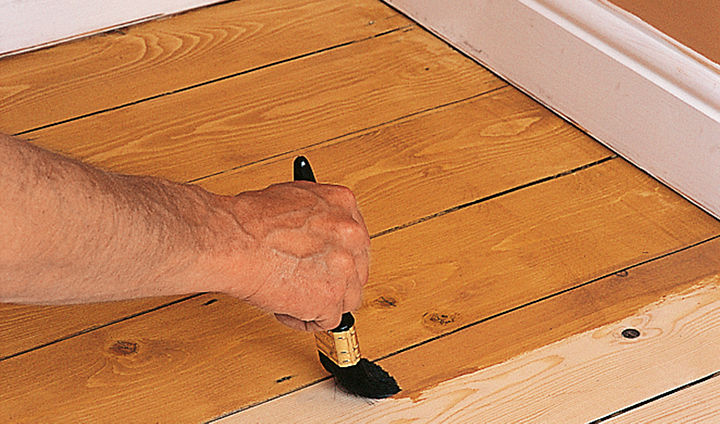
1. Clean the floor
Sweep the sanded floor thoroughly and give it a good vacuum. After that, go over it with a lint-free cloth dampened with white spirit.
2. Apply varnish to the floor
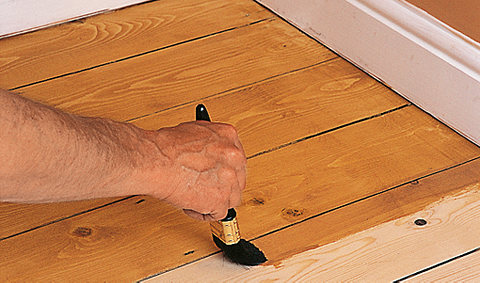
Thin the varnish for the first coat by adding 10% of white spirit to make it more workable. The first coat will seal the wood. Then, working towards the door, brush the varnish in the direction of the wood grain, checking that no pools form.
When the first coat has dried, remove any lumps or specks with fine abrasive paper and wipe clean with a lint-free cloth dampened with white spirit. Apply a second, unthinned coat and let this dry. Then put on your final coat.