Christmas clearance has landed! Click + Collect selected items in just one hour. Shop now >>
How to build an outdoor kitchen
Socialising with family and friends nearly always involves eating and drinking. And when the weather’s good, that means get-togethers in the garden, having barbecues and relaxing.
You can, of course, just have a standalone barbecue. But the best outdoor kitchens give you more than just a place to cook. Depending on your budget and space, you could have storage, an area for food prep and plating-up, a sink and even electrical appliances.
The possibilities are endless, whatever your budget. You can repurpose old materials or invest considerably to get your perfect outdoor kitchen. And we’re here to show you how.
This guide shows you how to build an outdoor kitchen for a barbecue or pizza oven. It highlights things to consider before starting and how to plan it out. We guide you on how to build an outdoor kitchen either using a wood frame or using bricks.
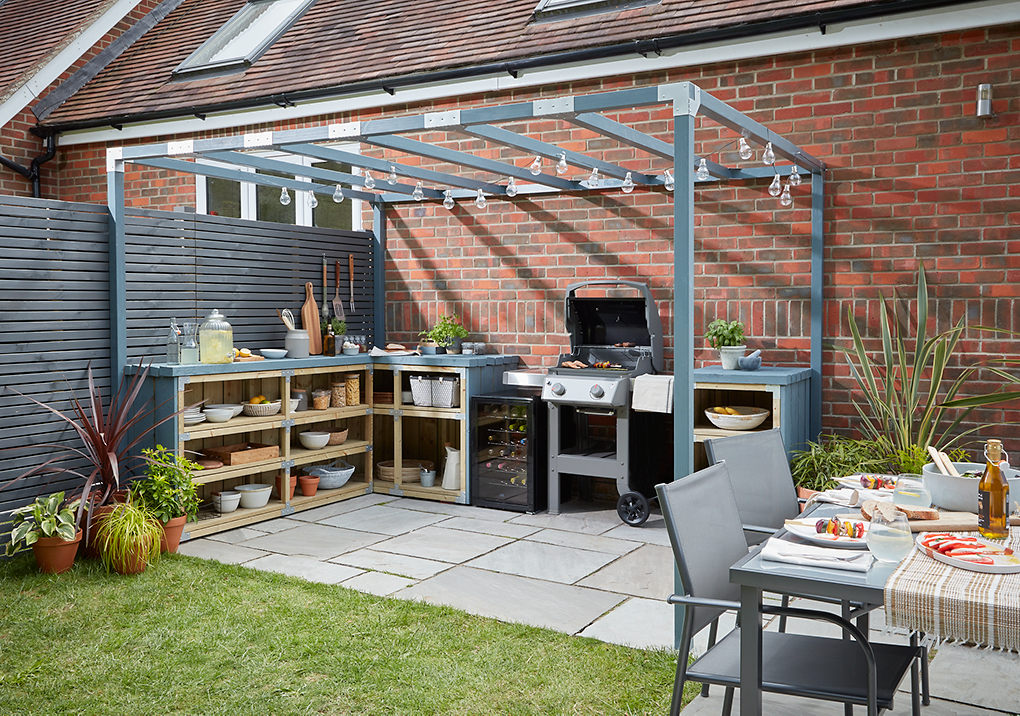

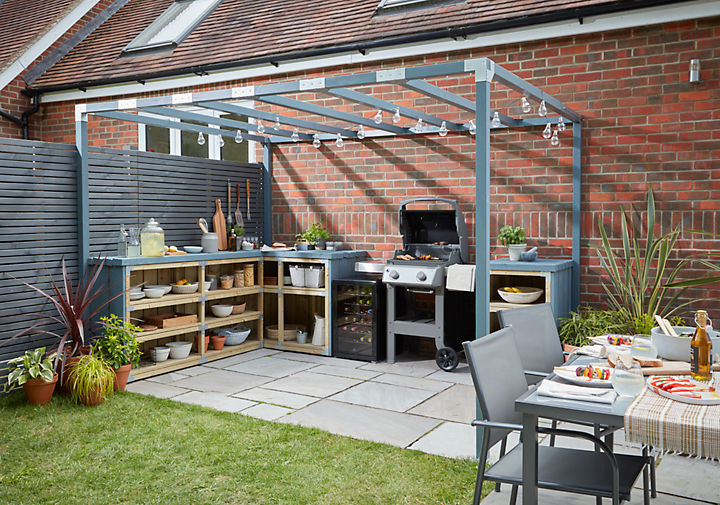
Deciding what kind of cooking area you need
Before you rush out to buy tools and materials, there are some things to consider:
- Space and location:
Your garden’s size will determine the size of your outdoor kitchen. Also, think about the following:
- exposure to the elements
- the position of the sun at different times of day
- whether it’s overlooked by neighbours
- if it’s a safe distance from flammable materials
- whether there’s enough space for a table and chairs - Budget:
Work out costs before starting to ensure you can install everything you want within your budget.
- Materials:
Will you use a bar or pergola as a base? Or will you build from scratch using timber? Do you need a barbecue or oven? Will you install a sink or fridge?
- Style:
Do you want a contemporary look or something more rustic? Consider how your choice will work with the rest of your garden.
- Practicalities:
How accessible is the area from your kitchen? Can plumbing and electrics be installed in your chosen location if you want a sink or appliances?
We think you'll love...
Tools you need
The exact tools you’ll need will depend on the type of outdoor kitchen you’re building. But the following are essential for building an outdoor kitchen with a wooden frame:
- Tape measure
- Mitre saw
- Spirit level
- Set square
- Spray adhesive
- Drill
- Electric screwdriver
- Exterior instant grab adhesive
- Hammer
If you plan to paint your frame, you’ll also need the following:
Make a plan
The planning stage is essential!
First, think about your overall garden design. For example, you may want to add a wall to protect your cooking area from the wind and create garden zoning.
Next, think about your base. Will your outdoor kitchen be built on a patio, decking or outdoor tiles?
Do you need a sink or appliances? In this case, plumbing and electrics need to be planned from the start and installed by professionals.
Also, think about how much of the kitchen you’ll need for cooking and the size of the worktops.
Wood frame outdoor kitchen
This section tells you how to make an outdoor kitchen using timber.
Top tip: Always use constructional timber suitable for outdoors. Read our timber buying guide if you need help choosing.
- Step 1: Create a basic frame structure
Measure and cut your timber to create the frame’s basic structure. You’ll need legs in each corner (more if the structure is long), plus horizontal beams. Use spray adhesive to join the pieces temporarily, then drill pilot holes and use outdoor screws to join them permanently. Use a spirit level and set square as you work to ensure the beams are level.
- Step 2: Add support beams
Add more horizontal supports between the legs, about a third down from the top and an inch off the ground. Use glue, then screws to attach each piece.
- Step 3: Paint the frame
If you plan to paint your outdoor kitchen, paint the frame before adding more wood.
- Step 4: Cover the frame
This can be done using timber slats. First, measure and cut the slats to size, then paint them before attaching them. Attach them first, using instant grab adhesive, so you can adjust them (within 10-15 minutes) if necessary before securing them with nails.
- Step 5: Add plastic feet and attach the frame to the wall
Plastic feet will stop the timber from rotting. The structure can be freestanding, but fixing it to a wall will make it more stable.
- Step 6: Attach the worktop
Measure and cut your worktop to size, making any necessary cutouts for sinks and your chosen cooking equipment. Stick it down using instant grab adhesive, then secure it using zinc-plated brackets.
Outdoor cooking area ideas using bricks
If you’re an experienced DIYer, you could consider building an outdoor kitchen using masonry materials. Or get a professional to do it for you.
There are a few options, depending on the look you’re going for. For example, standard red or grey bricks will give a neat and contemporary finish. Or you could opt for more decorative stones used for walling if you want something a little more rustic.
Choosing the best method of outdoor cooking
Once you’ve finished building an outdoor kitchen, it’s time to add your cooking equipment. So, think about what sort of food you want to cook.
You can keep it simple with a barbecue. There’s a wide range to choose from, with charcoal, gas, and electric options. See our barbecue buying guide if you need help deciding.
Another option is a pizza oven. They cook pizzas, and you can roast meat and bake bread in them too.
Or, if you’re looking to wow guests with fine dining, install ovens, hobs, rotisseries, and smokers. Just make sure you choose good-quality outdoor versions.
We think you'll love....
Dressing and finishing touches
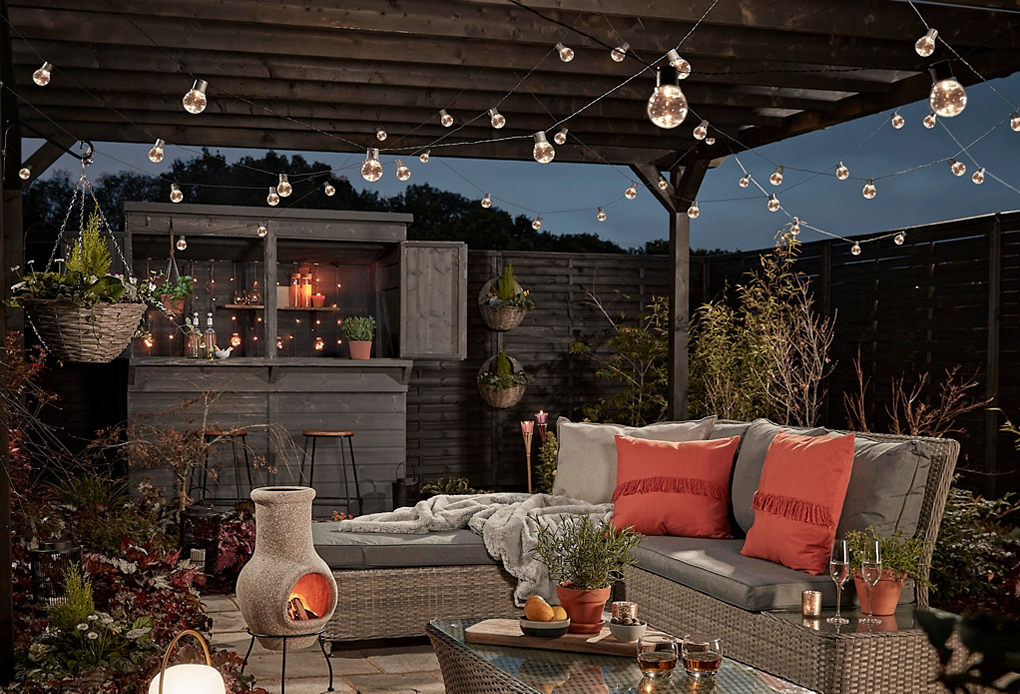
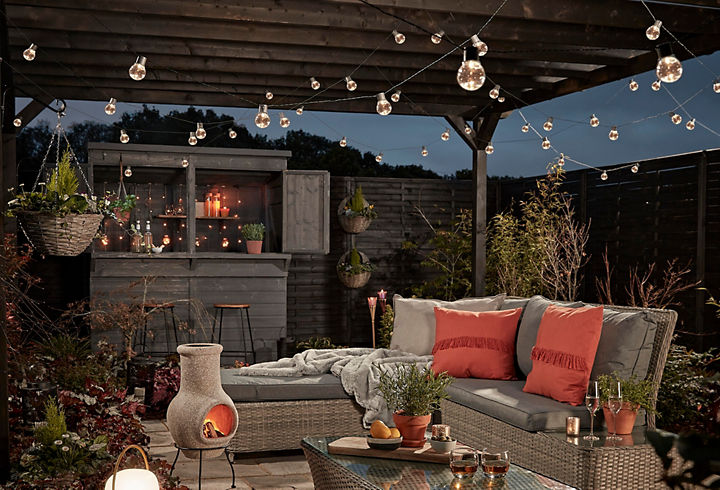
Outdoor kitchens are fantastic, but it’s the finishing touches that really bring them to life. Of course, you’ll need some garden furniture. But also consider adding rugs, outdoor lighting, garden ornaments or water features to create a beautiful, relaxing space.

Safety first
As with any DIY project, don’t forget to take safety precautions. For example, wear gloves and safety goggles to protect yourself from splinters and flying debris when cutting wood.
FAQs
The best way to build an inexpensive outdoor kitchen is to follow our guide using recycled materials such as wooden pallets, old decking or sheds, or reusing old bricks and stone.
Treated wood or brick will provide the most durability for an outdoor kitchen, but it really depends on your budget.
Typically no, as it isn’t considered a permanent structure, and you’re not planning for it to take up more than 50 per cent of your garden, but it is always best to check your local council website to be sure.
Your kitchen needs to sit on top of a firm, level base. For an area described in this guide, typical 4” patio concrete will be strong enough, but the heavier the total weight of appliances, the stronger the footings will need to be.
Granite has all the properties you need for a perfect countertop. It is highly durable and can stand through all seasons.
No, but shelter from the elements will allow you to use the area all year round!

