
How to fit a bath panel
Once you’ve installed your shiny new bath, the last step is fitting a bath panel to hide the pipework and make it look tidy. In this guide, we outline how you can measure and fit an acrylic bath panel. It’s important to note all bath panels will be different, so check your manufacturers instructions before attempting to install your own.
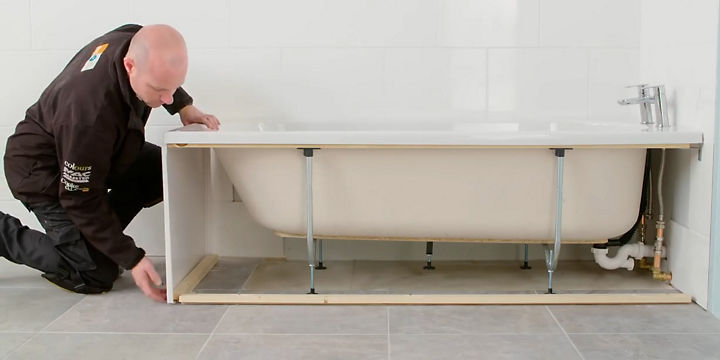
1. Measure your bath
Before proceeding, it's crucial to confirm that your bath panel is the correct size. Keep in mind that some panels may require trimming to fit perfectly.
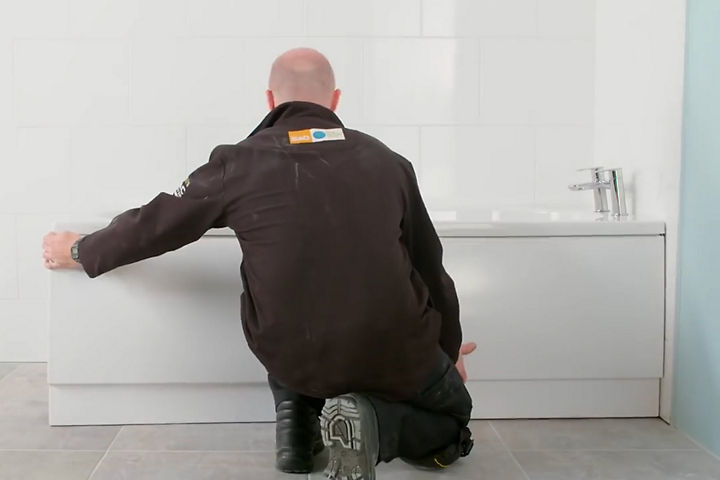
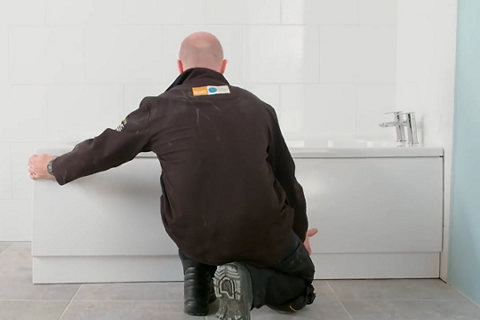
Start by measuring the distance from the rim of your bath to the floor. This measurement will determine the height needed for your bath panel. Next, measure the length of your bath to determine the appropriate panel length.
Once you have a panel that you believe is the correct size, hold it up against the bath to test the fit. Then, use a spirit level to ensure that it's straight. Additionally, check if any adjustments need to be made around pipes or skirting boards, which may require you to cut the panel.

2. Trim the panel
If the size of your bath panel is slightly off or skirting boards and pipes are in the way, you’ll need to trim it down.
To cut down your bath panel, simply mark up the panel and use a hacksaw to carefully make the cuts. You can then use fine grit sandpaper to smooth over any rough edges you've created. Even though cutting down a bath panel is sometimes unavoidable, we always recommend purchasing the correct size where possible.
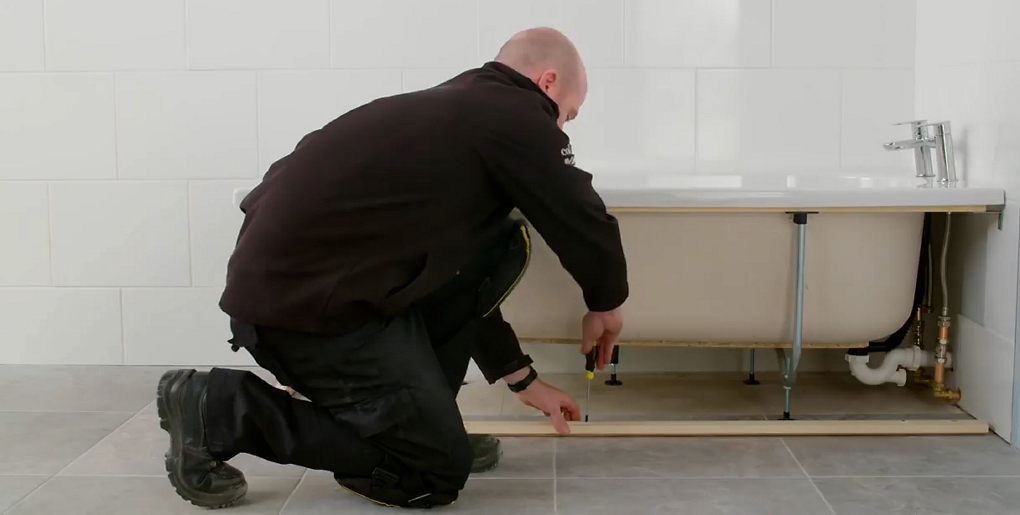
3. Mark the position of the bath panel
Once you’ve cut your bath panel down to the correct size, you can then reattach it to your bath. Use a spirit level to make sure the panel is level, then mark the position of the front and back of the panel on the floor. This will help you align your wood batten later on.
Different bath panels will be attached in different ways. If the bottom of your bath panel has a lip, you’ll need to purchase or create your own piece of rebated timber. This is timber that has a groove cut into its edge that the lip of your bath panel can slide under.
Some bath panels will be supplied with pre-drilled holes. If this is the case for your bath panel, you can use a standard piece of timber and screw your bath panel straight into it. If your bath panel is supplied without pre drilled holes or a lip, you’ll need to drill your own holes first. Once again, it's important to check the specific instructions for your own bath panel.
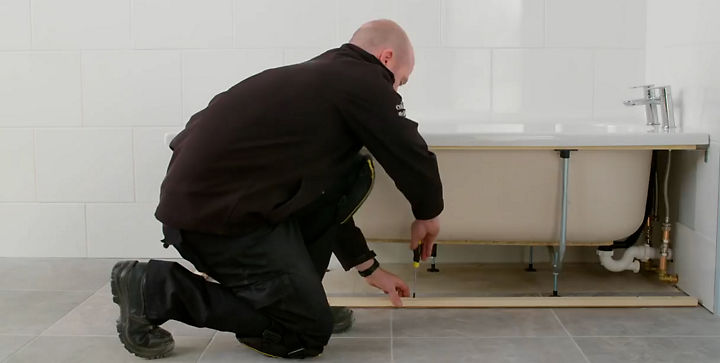
4. Screw down the wood batten
Using the markings on the floor you made earlier, you can now attach your rebated timber or wood batten to the floor. Align your timber to the line you drew and screw it down. Remember to use a detector to check for pipes and cables under your floor first.

5. Slot your bath panel into place
You can now slot your bath panel into place against the timber you’ve attached to the floor. The type of bath panel you’ve purchased will determine exactly how you finish the installation, be sure to check your instructions.


If all went to plan you should now have a bath complete with a fitted bath panel. If you're looking to complete your bath installation, take a look at our guide to sealing a bath.

