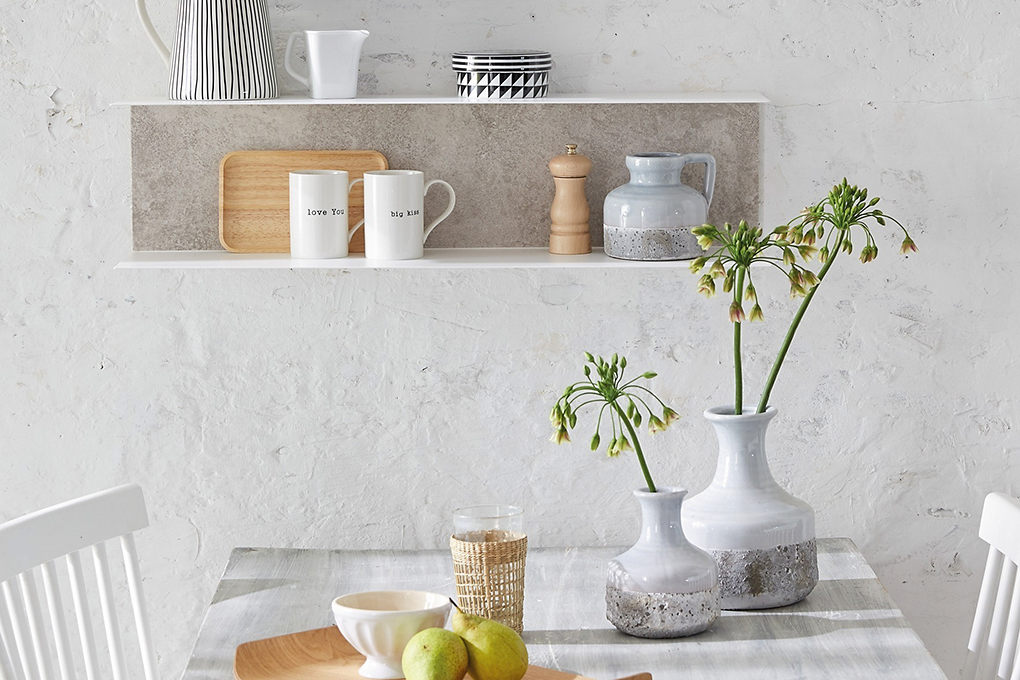
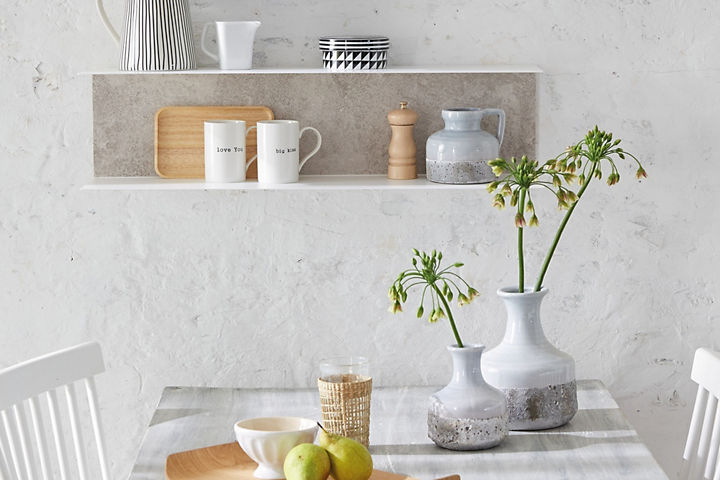
Upcycling ideas: sticky back plastic
Top tips for upcycling furniture with sticky back plastic
Spruce up your dreary furniture without breaking the bank. You can give your furniture a quick and easy makeover with sticky back plastic. From your bathroom to your bedroom, you can use it on cabinets, tables, walls and pretty much anywhere else you can think of. Check out these sticky back plastic ideas and get some inspiration for your next DIY craft project...

Sticky back plastic ideas


We’ve chosen three of our favourite upcycling projects. Find out how to recreate them yourself using sticky back plastic and a few tools you've probably got lying around the home. Let’s get started...
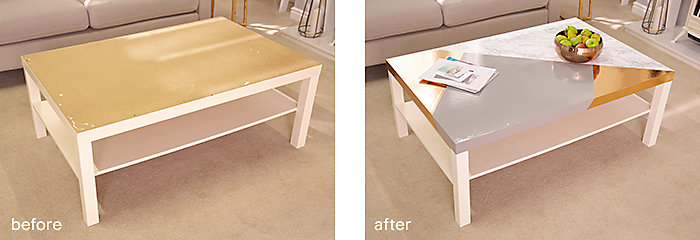
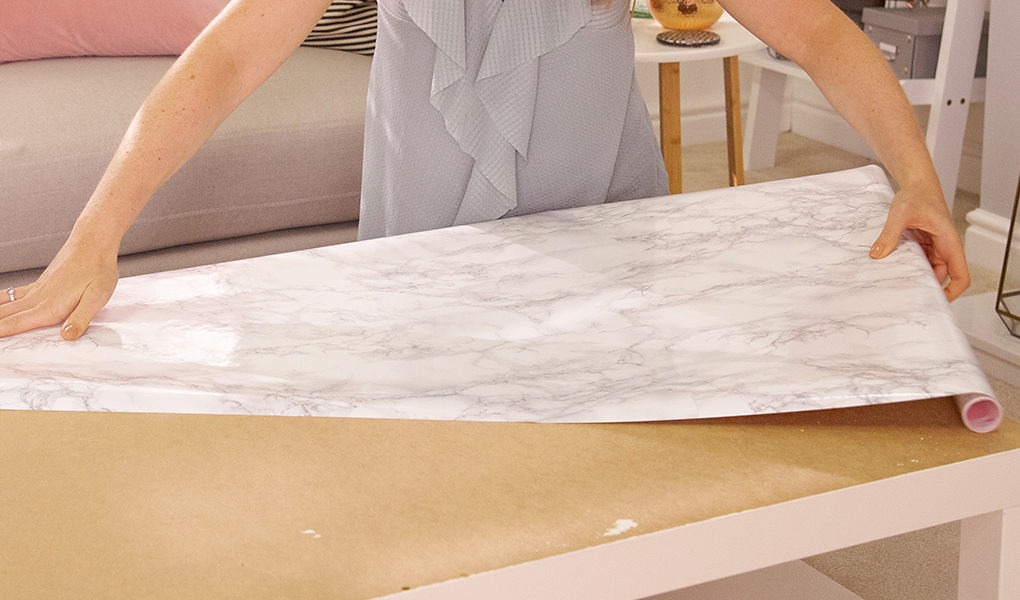
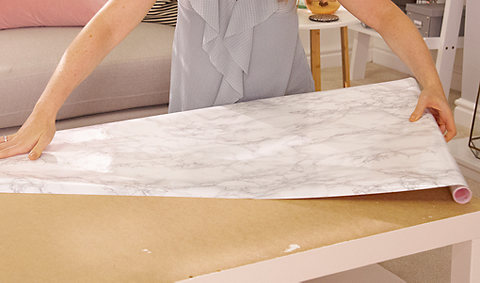
If your coffee table is looking tired and worn, or just doesn’t match the style of your living room – you should consider giving it a facelift. Choose from gorgeous finishes such as marble, metallic or plain … or why not pick all three? This crafty project has combined three styles of sticky back plastic to create a stylish upcycled coffee table.

You will need:
- 1 roll of d-c-fix marble grey 67.5cm x 2m
- 1 roll of d-c-fix plain grey 67.5cm x 2m
- 1 roll of d-c-fix metallic rose gold 45cm x 1.5m
- d-c-fix application kit
- Scissors
- Pencil
- Tape measure
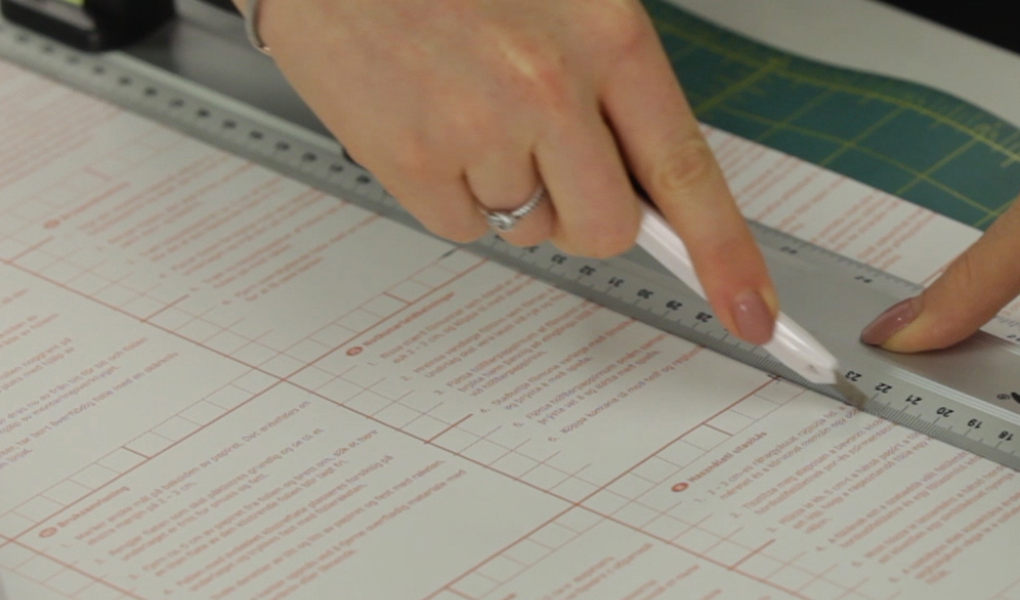
Carefully decide on the positioning of the three designs. Once you’ve decided, peel away the backing paper and stick into position. Smooth into place and trim away excess. Apply the next design and smooth into place then trim excess. For the corners – use scissors to make a diagonal cut into the corner to form two triangle shapes.
Top tip
It’s usually easier to cut the film slightly larger than the surface you’re applying it to and then trim away the excess.


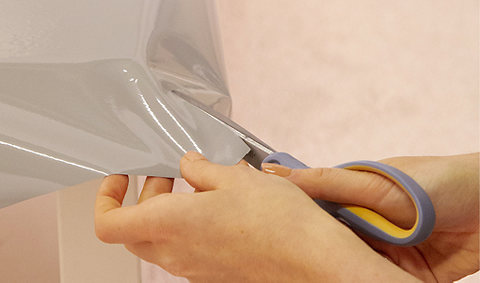
Wrap one around the corner and stick down. Trim away second triangle shape to leave a neat corner. Repeat this for all four corners. Apply rose gold in the remaining gaps to complete the look. Use the tip of the scalpel blade to pop and smooth away any air bubbles.
Lastly, smooth all over and ensure all the joins line up. You don’t necessarily have to use these three designs, pick and choose whatever style sticky back plastic you like to create a truly unique finish.
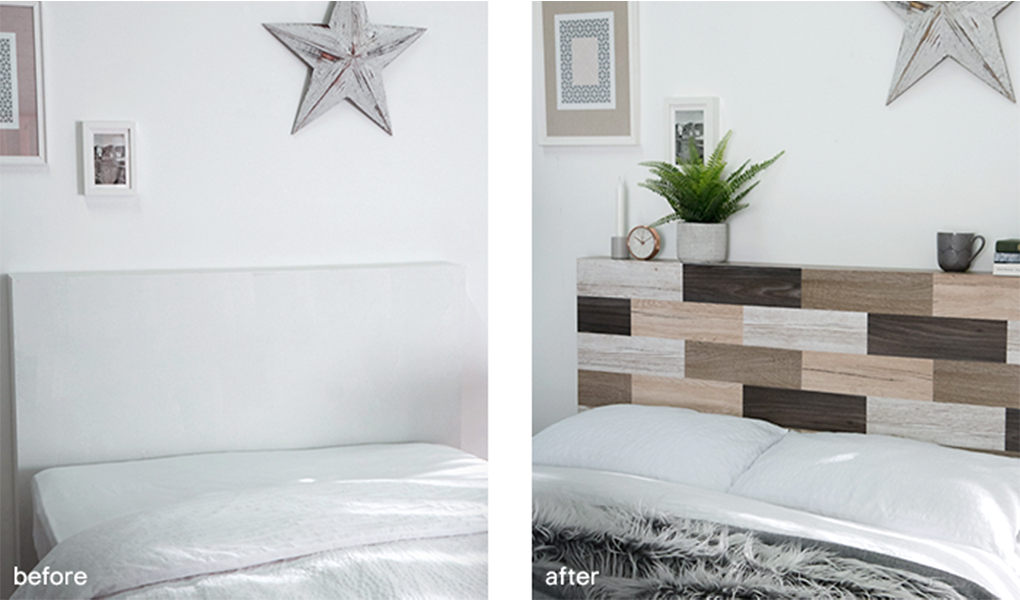

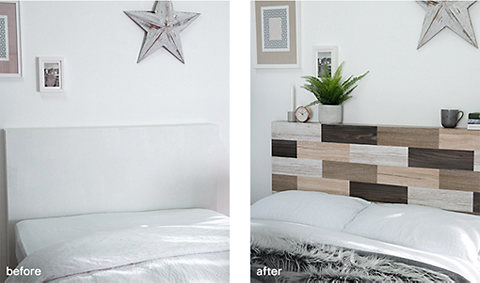
Headboards can often be overlooked, however updating their style can have a dramatic impact on the overall look of your bedroom. Give your room a reclaimed feel and fashion yourself a rustic wooden headboard using four different tones of d-c-fix woodgrain effect film. It’s surprisingly a lot easier to do than it seems…


You will need:


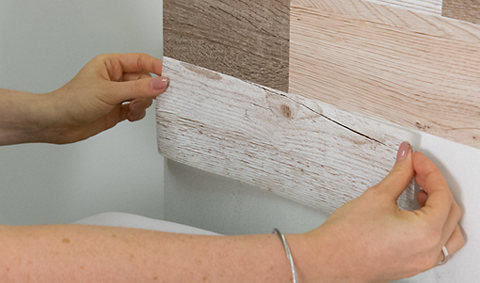
Firstly, measure your headboard and figure out the size you’ll need the individual bricks to be. Measure them out and cut the shapes out of the film. Peel away backing paper and apply the film in a staggered formation. Smooth into place, trim, and don’t forget to cover the tops and sides!
Top tip
Don’t be tempted to remove the backing paper in one go. Peel it back little by little as you smooth the film into place working from side to side.
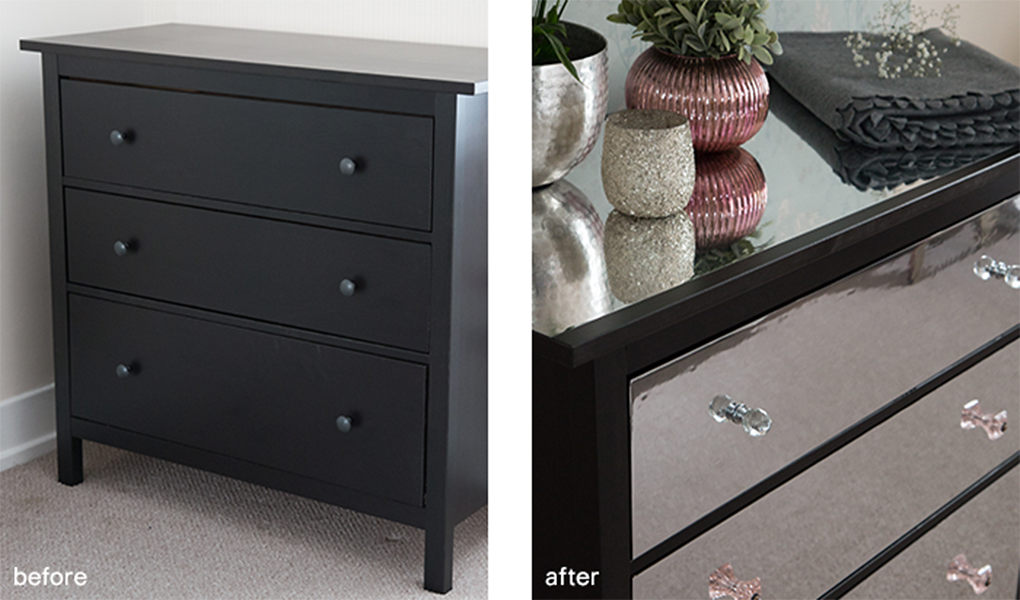

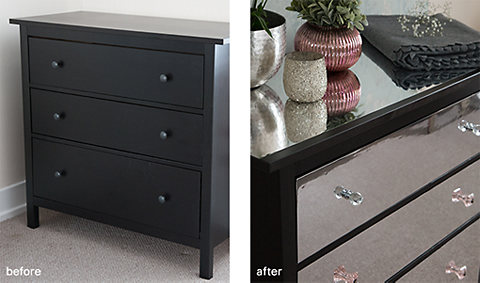
It’s a well-known trick that reflective surfaces will make your room appear bigger. So, if your room is feeling a little claustrophobic, give this project a try. These mirror effect upcycled chest of drawers are stylish, unique and a must for your bedroom.
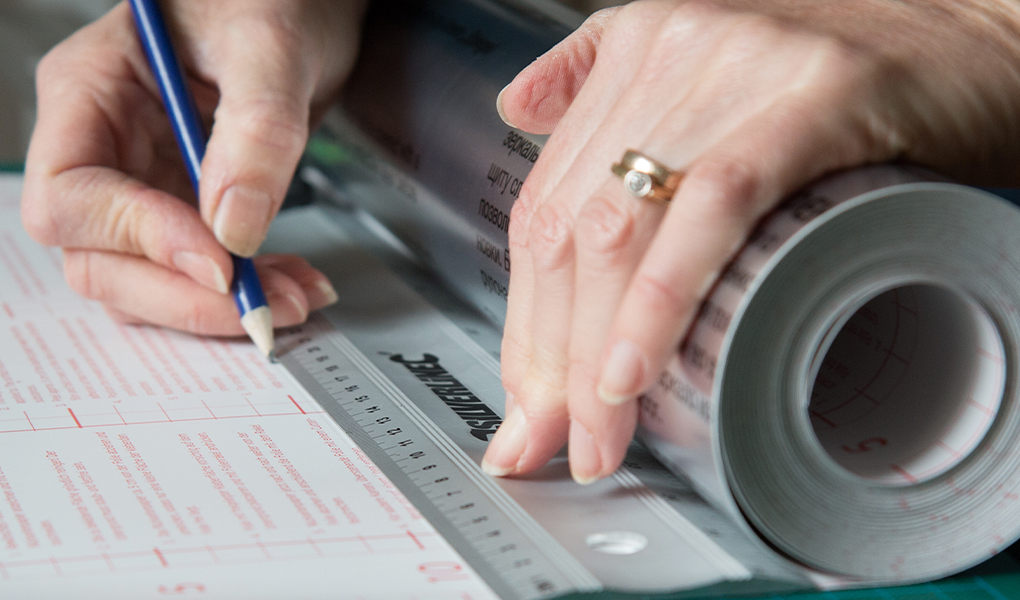


You will need:
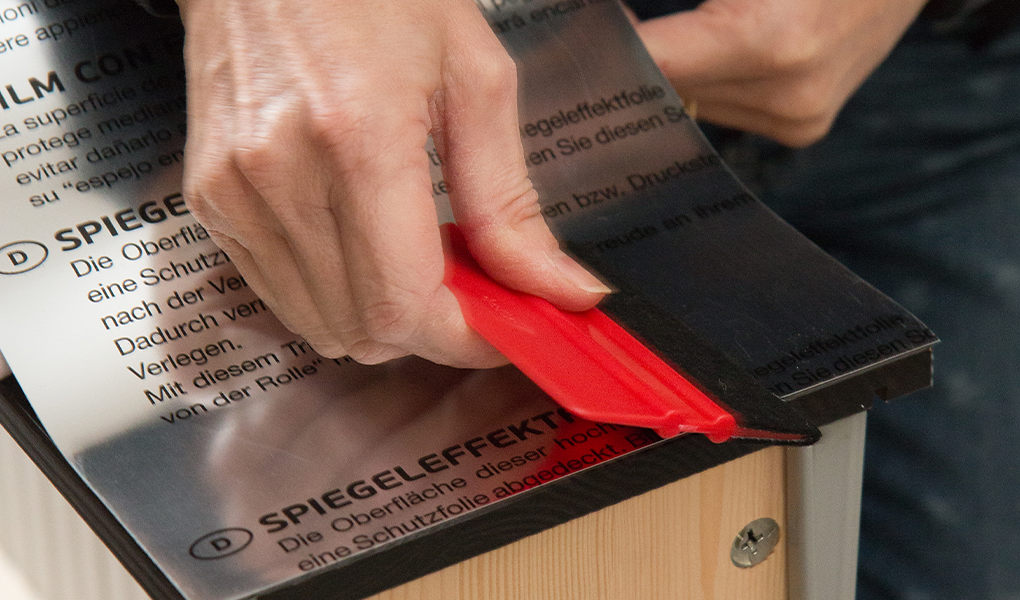
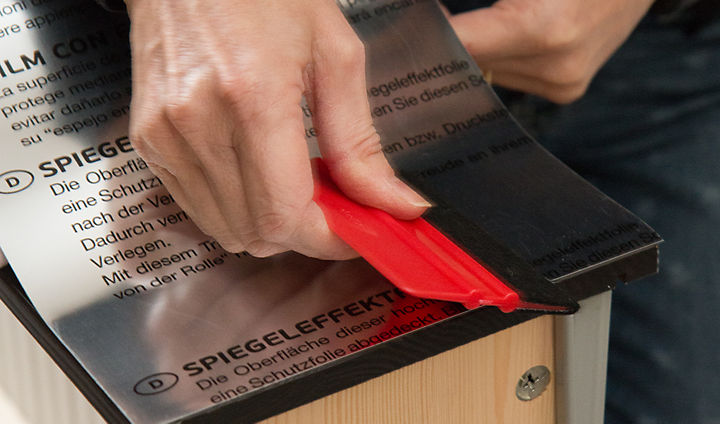

Measure your drawers and mark the measurements on backing paper. Cut slightly larger than the drawer size (remember you can trim away excess once it’s applied). Smooth over the drawers, leaving the protective film in place. Trim away the excess so it fits over the drawers perfectly and remove the protective film. Voila, within just an hour you’ve got a totally revamped chest of drawers.
Top tip
To eliminate air bubbles prick the film with a pin and smooth out.